One of the most recent additions to Knope-Jenkins Personal Training was a climbing wall! Here is the build process we followed. If you would like a detailed write up of how to make your own, click here.
 |
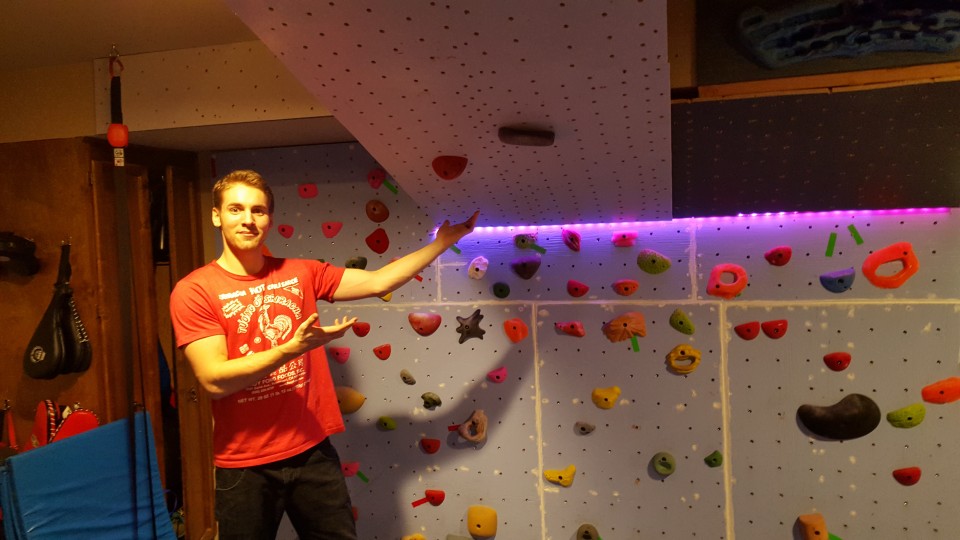
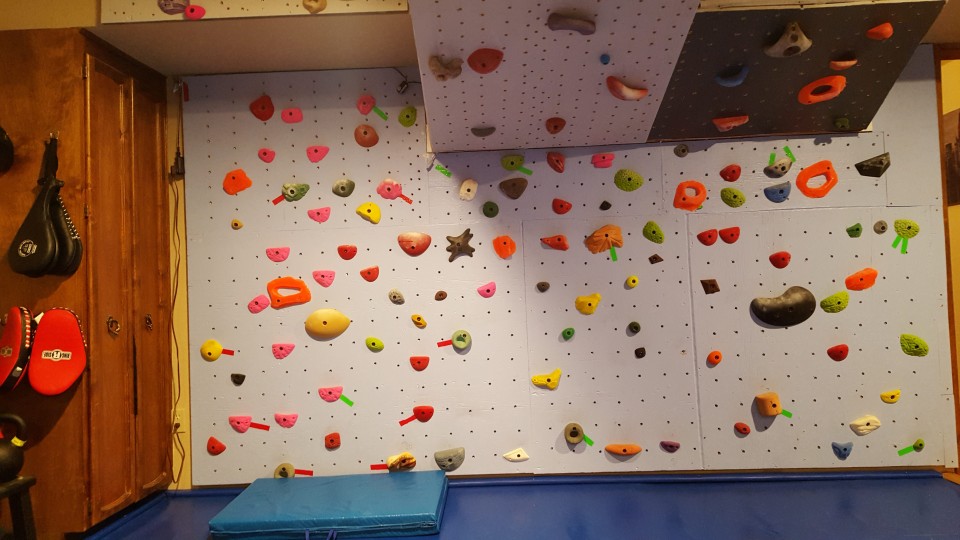
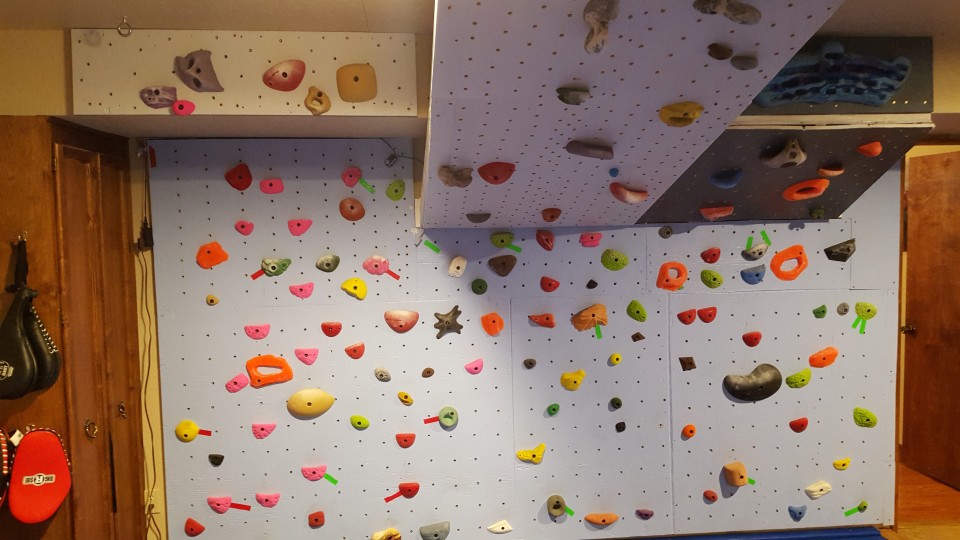
| As per tradition, here is the finished product first! |
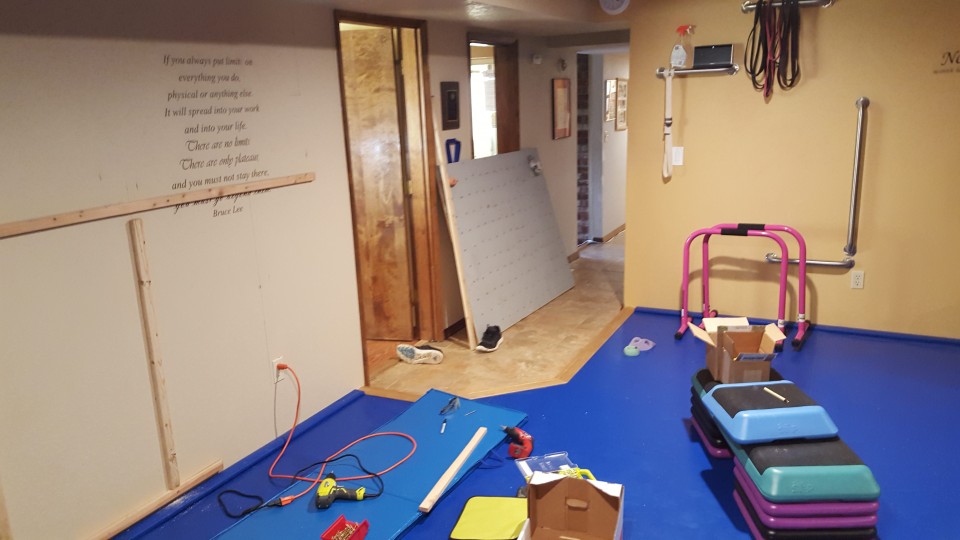
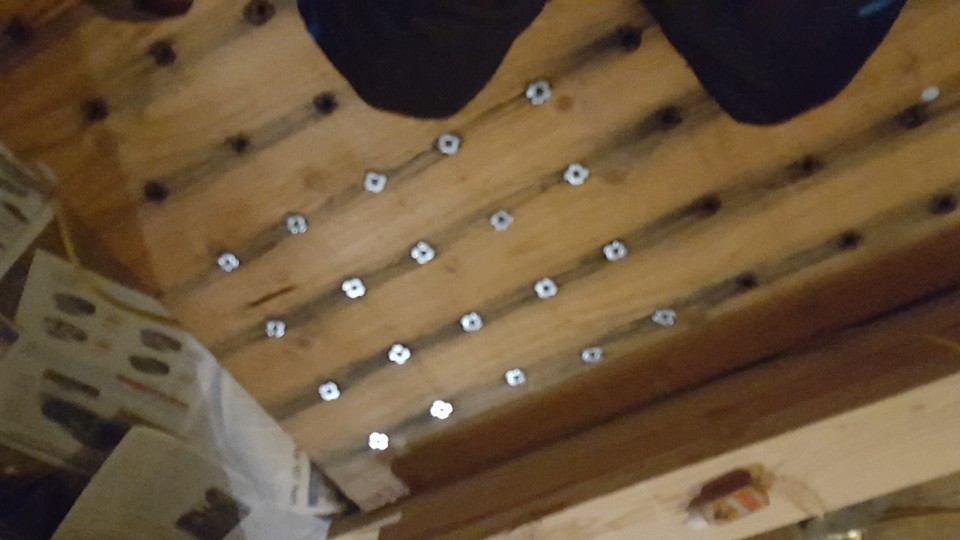
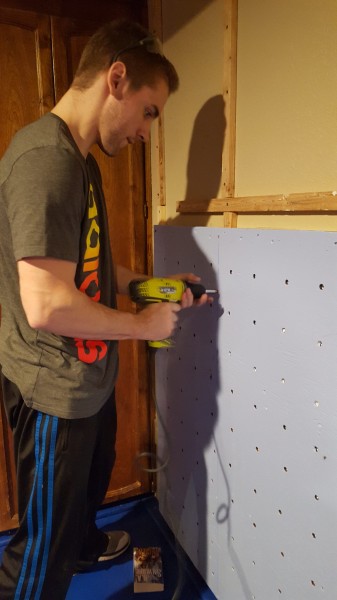
| Here is where we started. I had a blank slate, and I knew I wanted to turn it into a climbing wall. I found a used wall on craigslist, some guy had it up for his kids, so I went and got it. I put up little half inch spacer boards behind it to keep the bolts from going into the drywall. Don’t worry, they are not at all structural! |
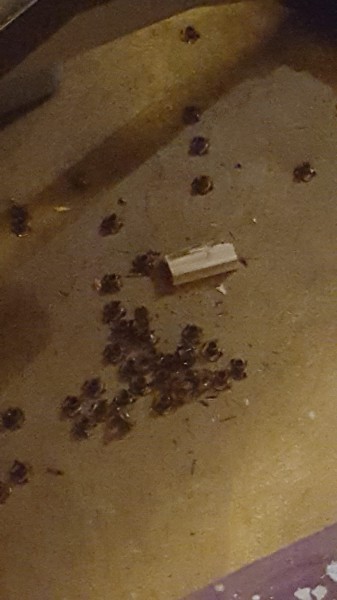
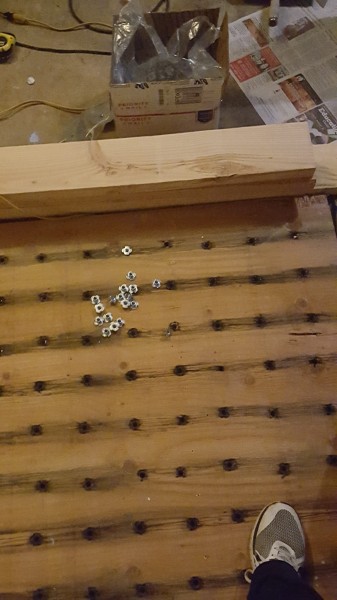
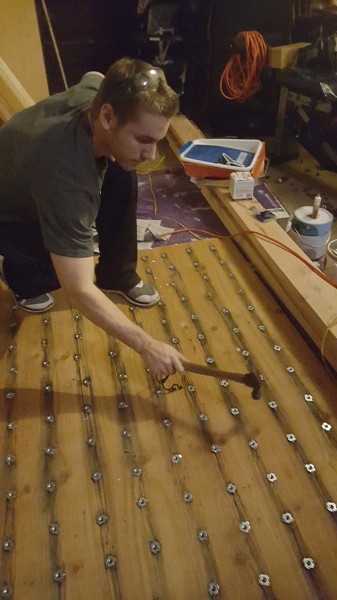
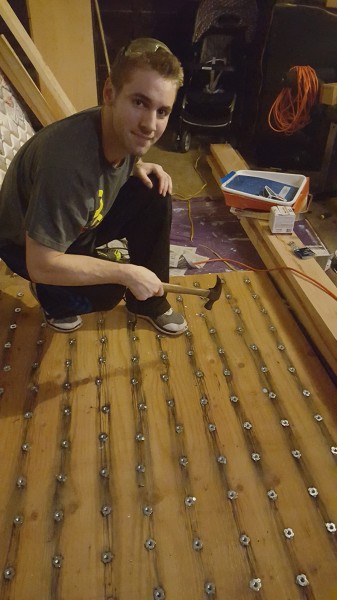
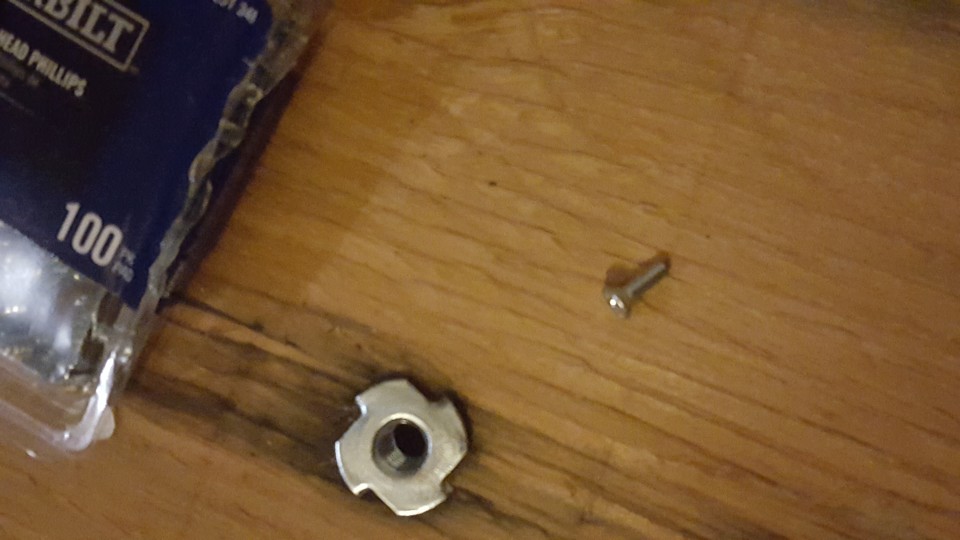
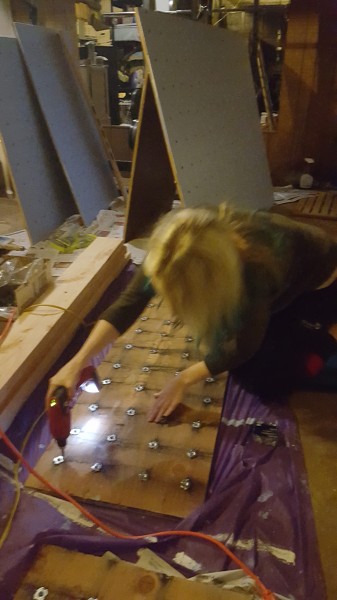
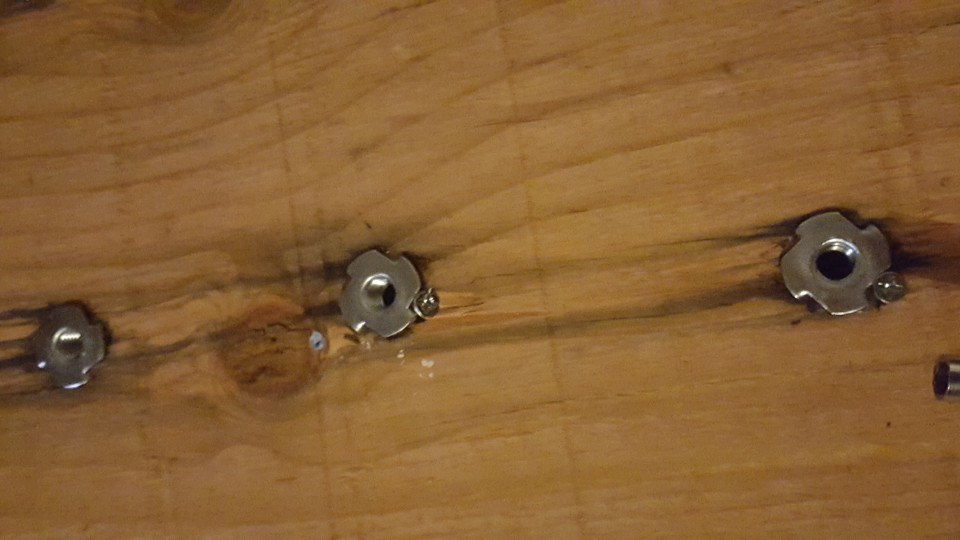
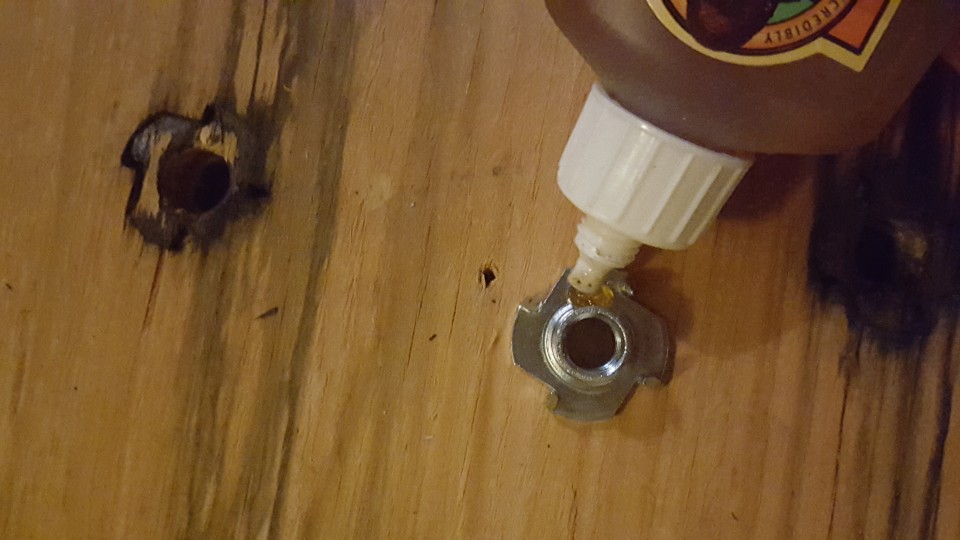
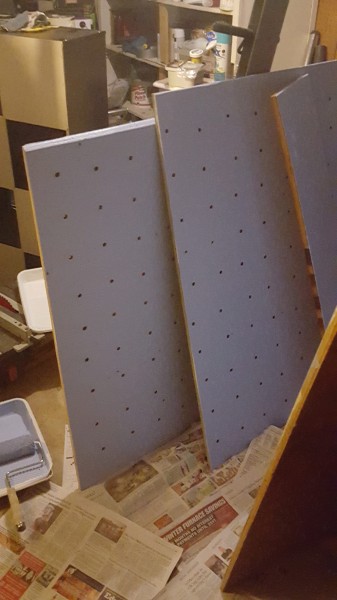
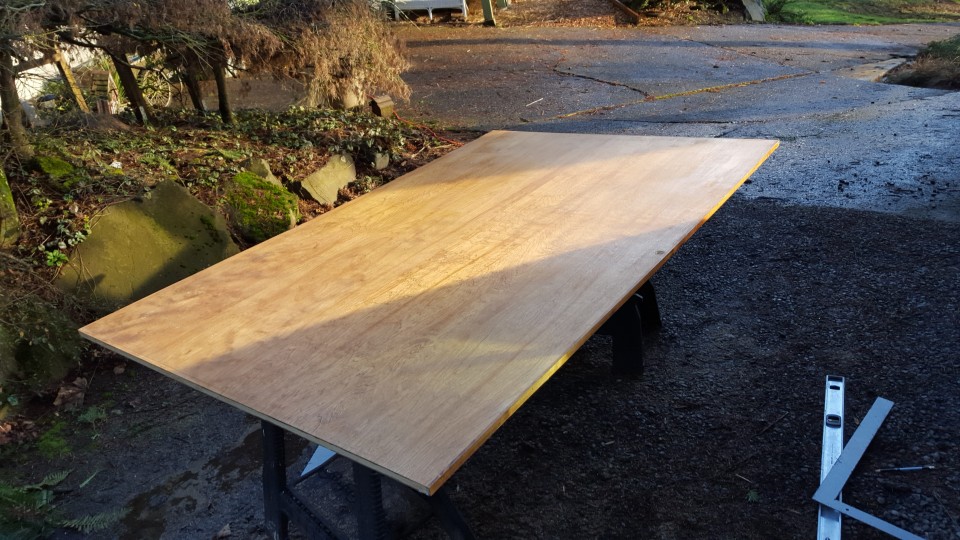
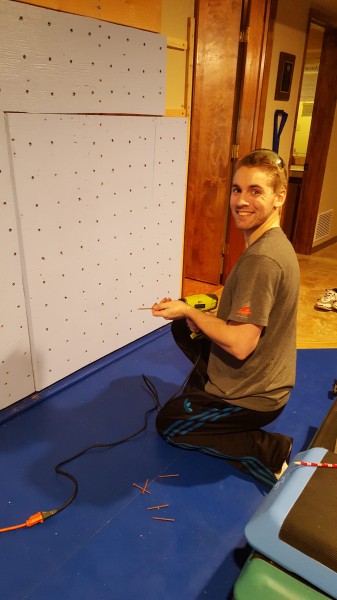
| Getting a used wall was without a doubt a mistake. If I could do it again I would have skipped that whole part, because it ended up taking so much longer because of it. I realized he had left it outside, and it had gotten wet, so the t-nuts were no good. I put up quite a few of the boards, then ended up, taking them down, and hammering out the old t-nuts. Once the t-nuts were out, I sanded them down, then repainted them. Once they were painted, I glued, and then hammered in new t-nuts. For extra security, I also screwed them in with wood screws. This was a ton of gluing, hammering, and screwing, luckily I had a helper! I also started prepping fresh plywood since the used wall I had purchased wasn’t large enough. |
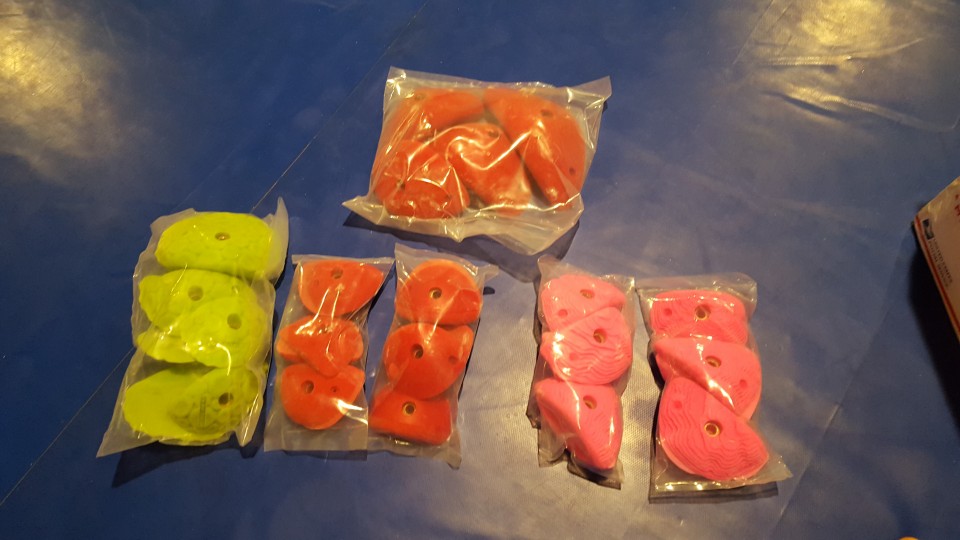
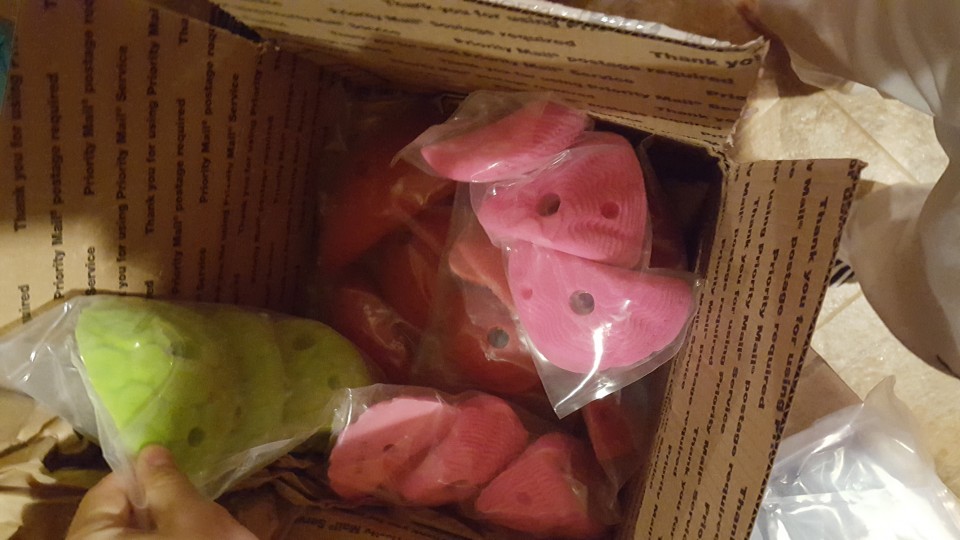
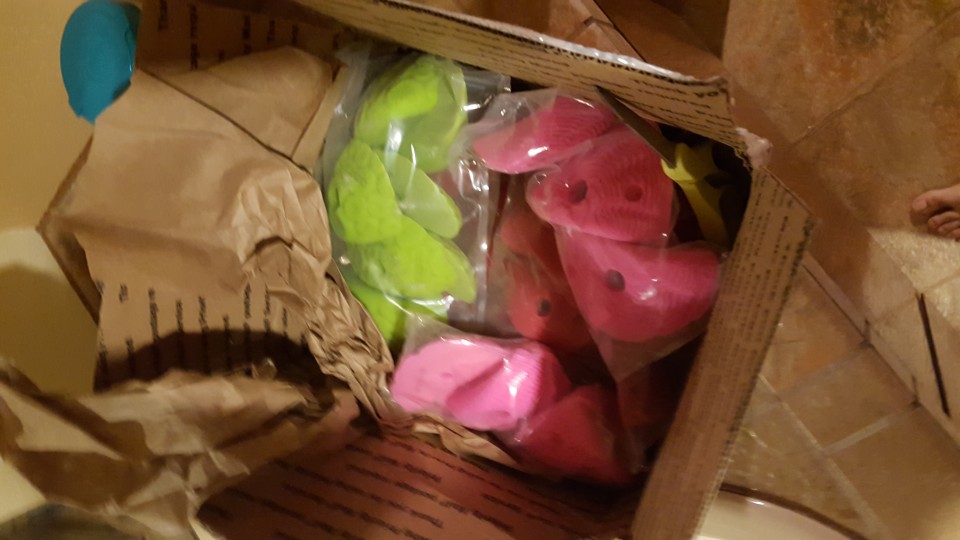
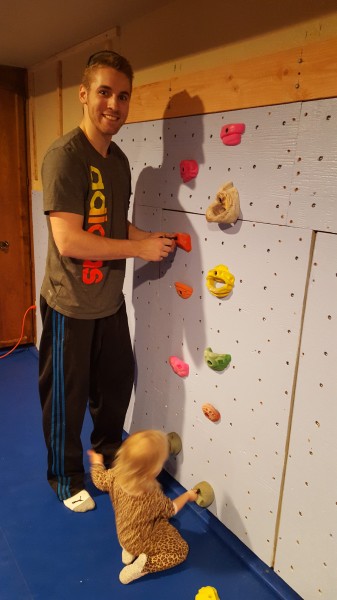
| Once most of the boards were prepped and painted, it was time to put them up on the wall. As soon as I had gotten that far, some of the holds we had ordered arrived! Of course we had to put them up and try them out! Its hard work, but luckily I had a helper. |
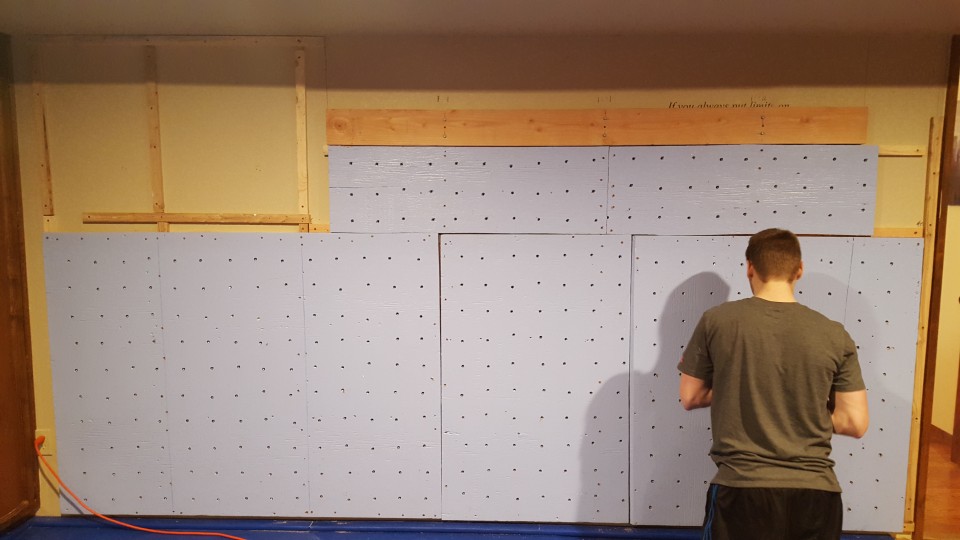
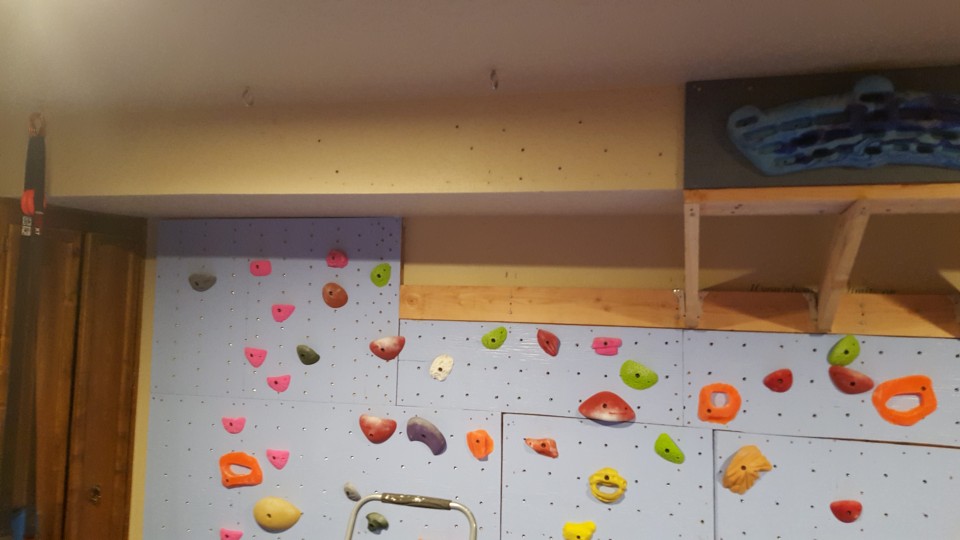
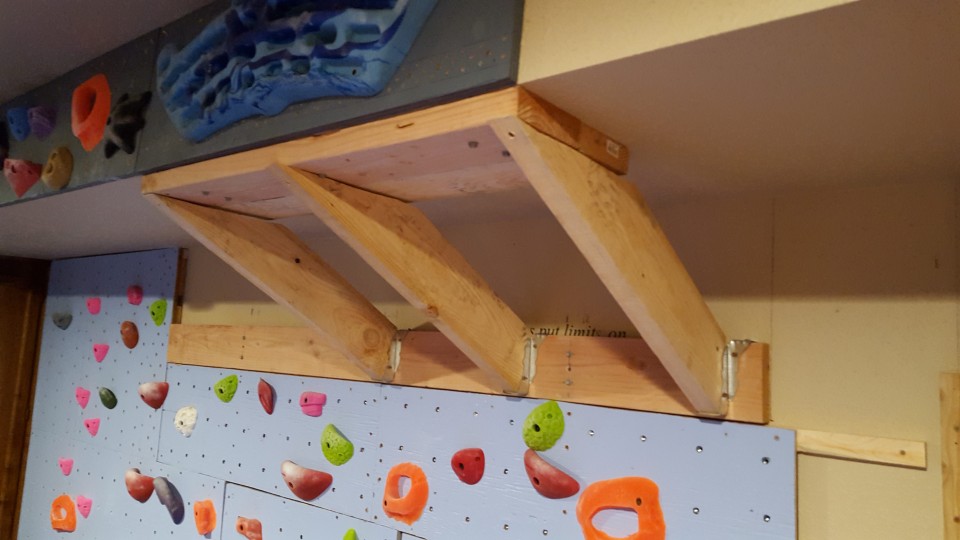
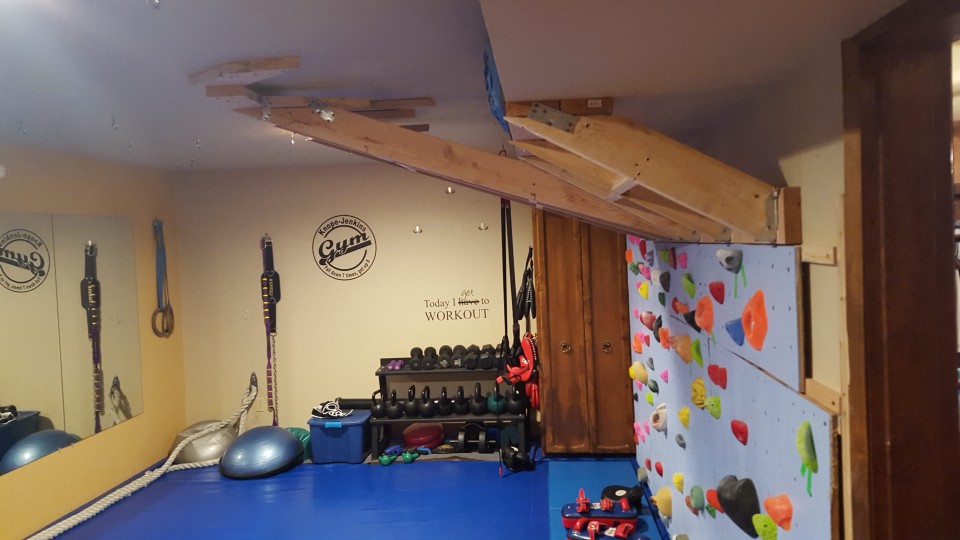
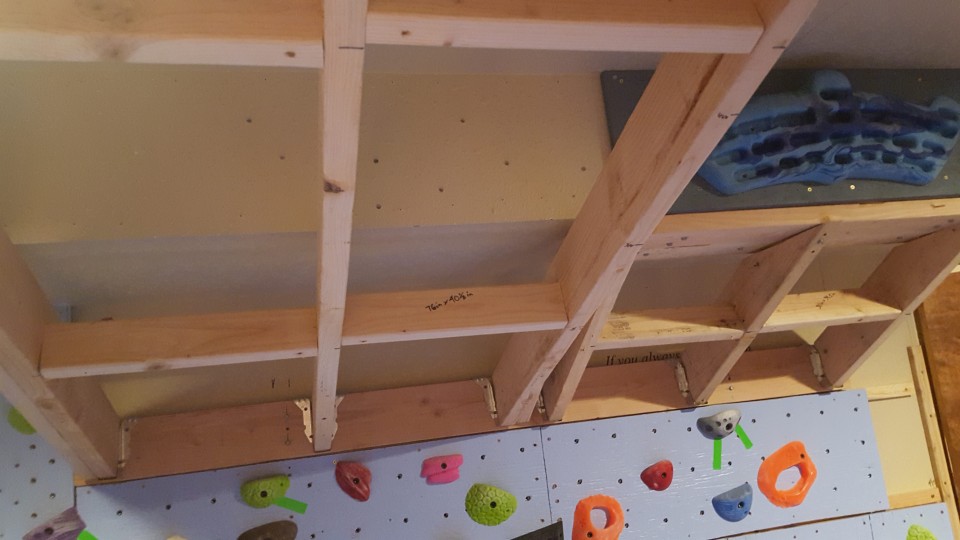
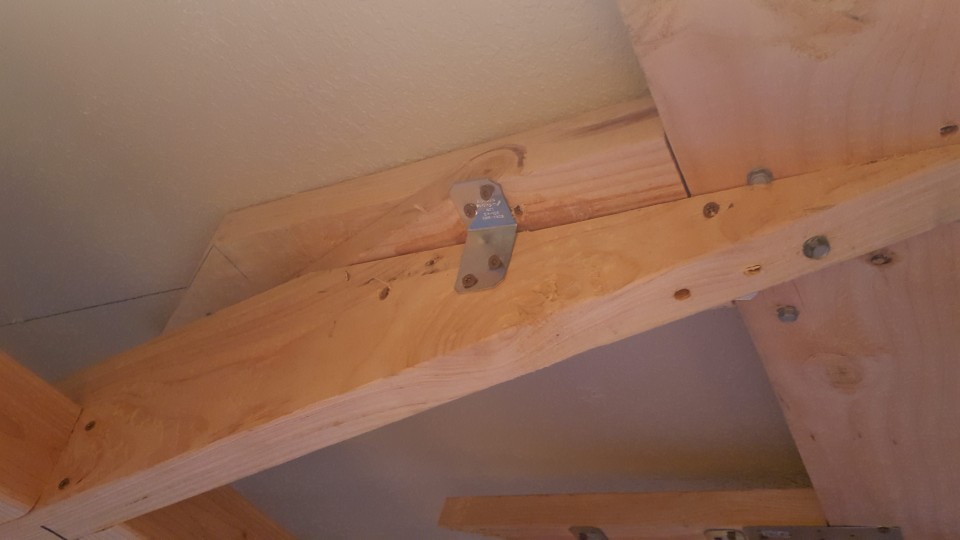
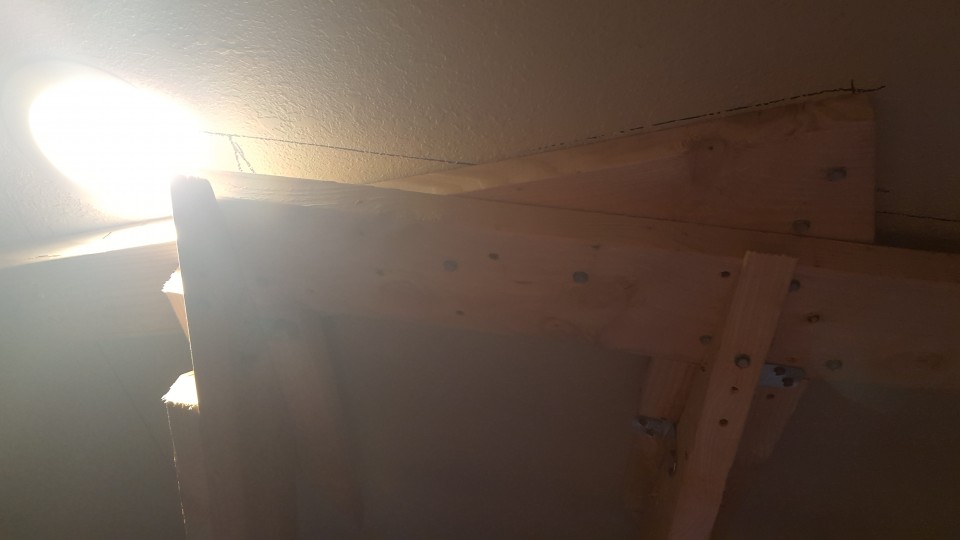
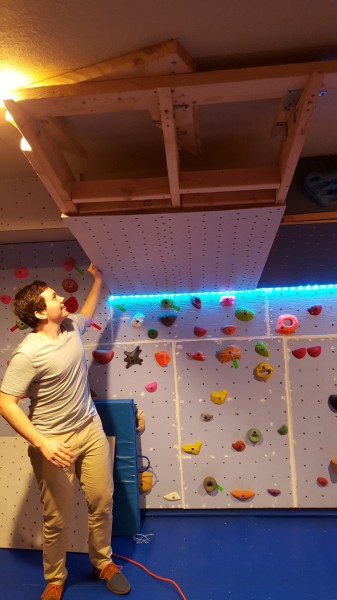
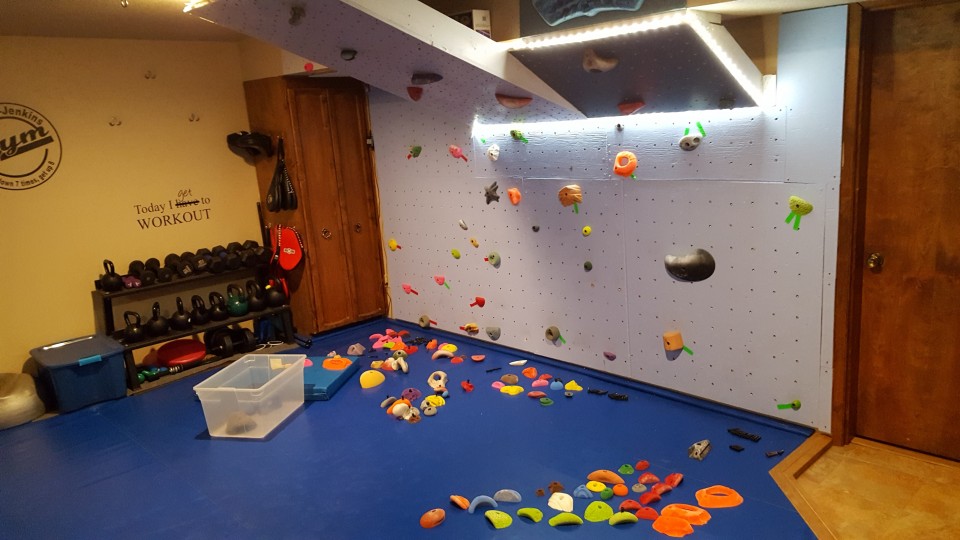
| As soon as you have the header and footer joists installed, its time to put up your framework! We forgot about the lights when we made the 3D Model, so our sleeper joists had to be adjusted. The purpose of the sleeper joist is to distribute the load of the wall over more then one ceiling joist, which we were able to do even with the light placement. |
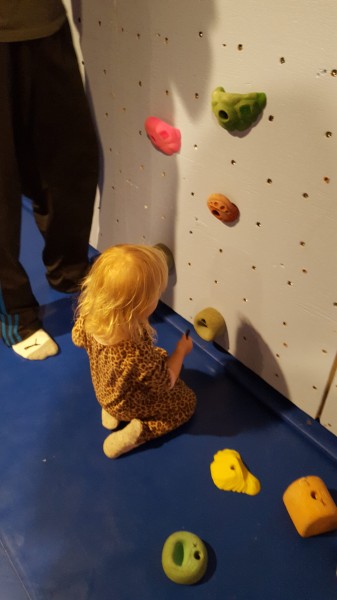
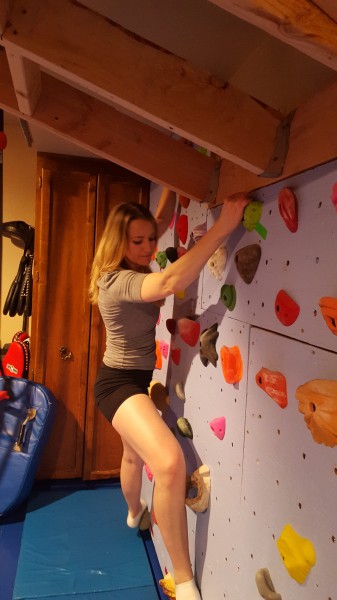
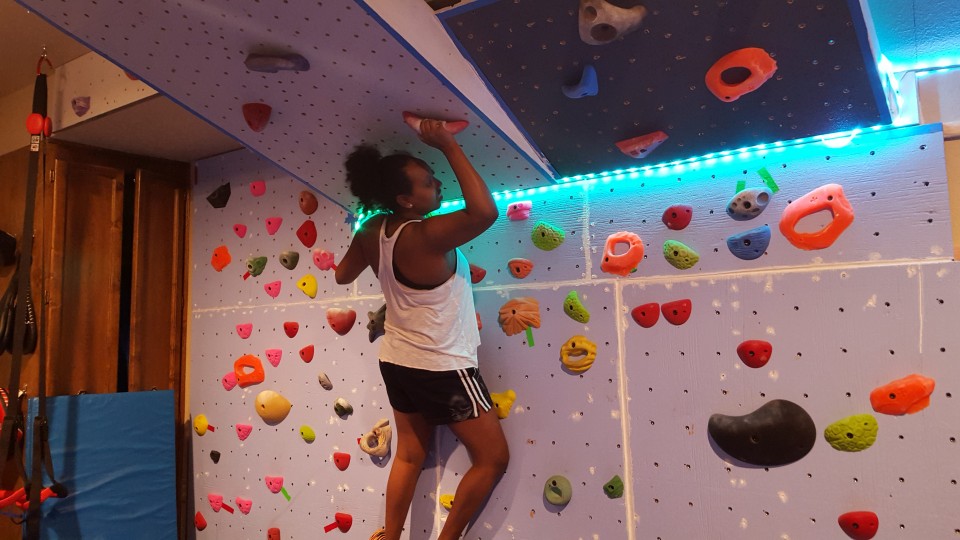
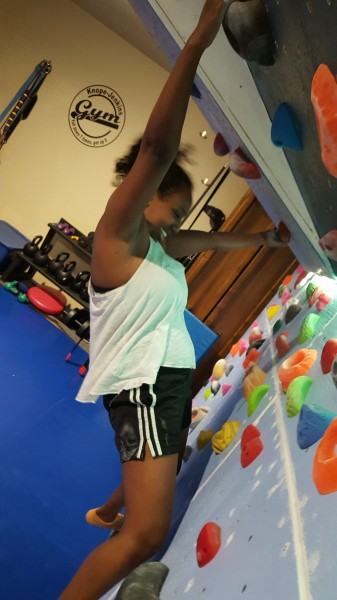
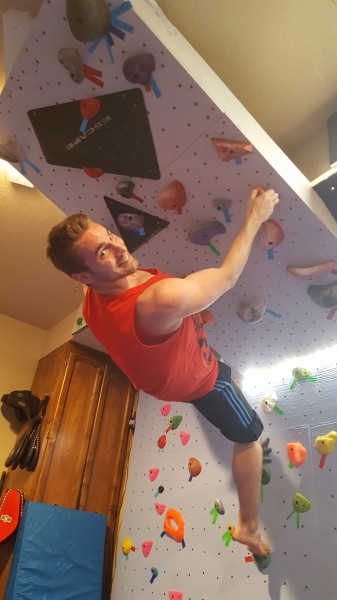
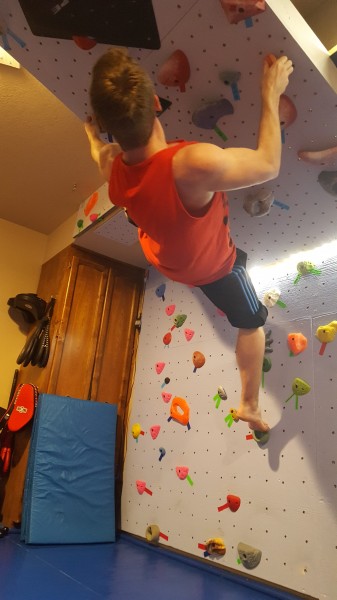
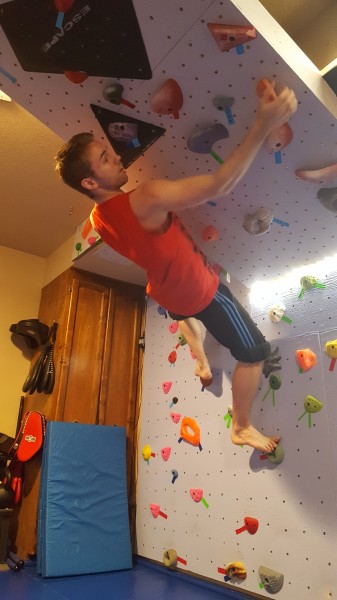
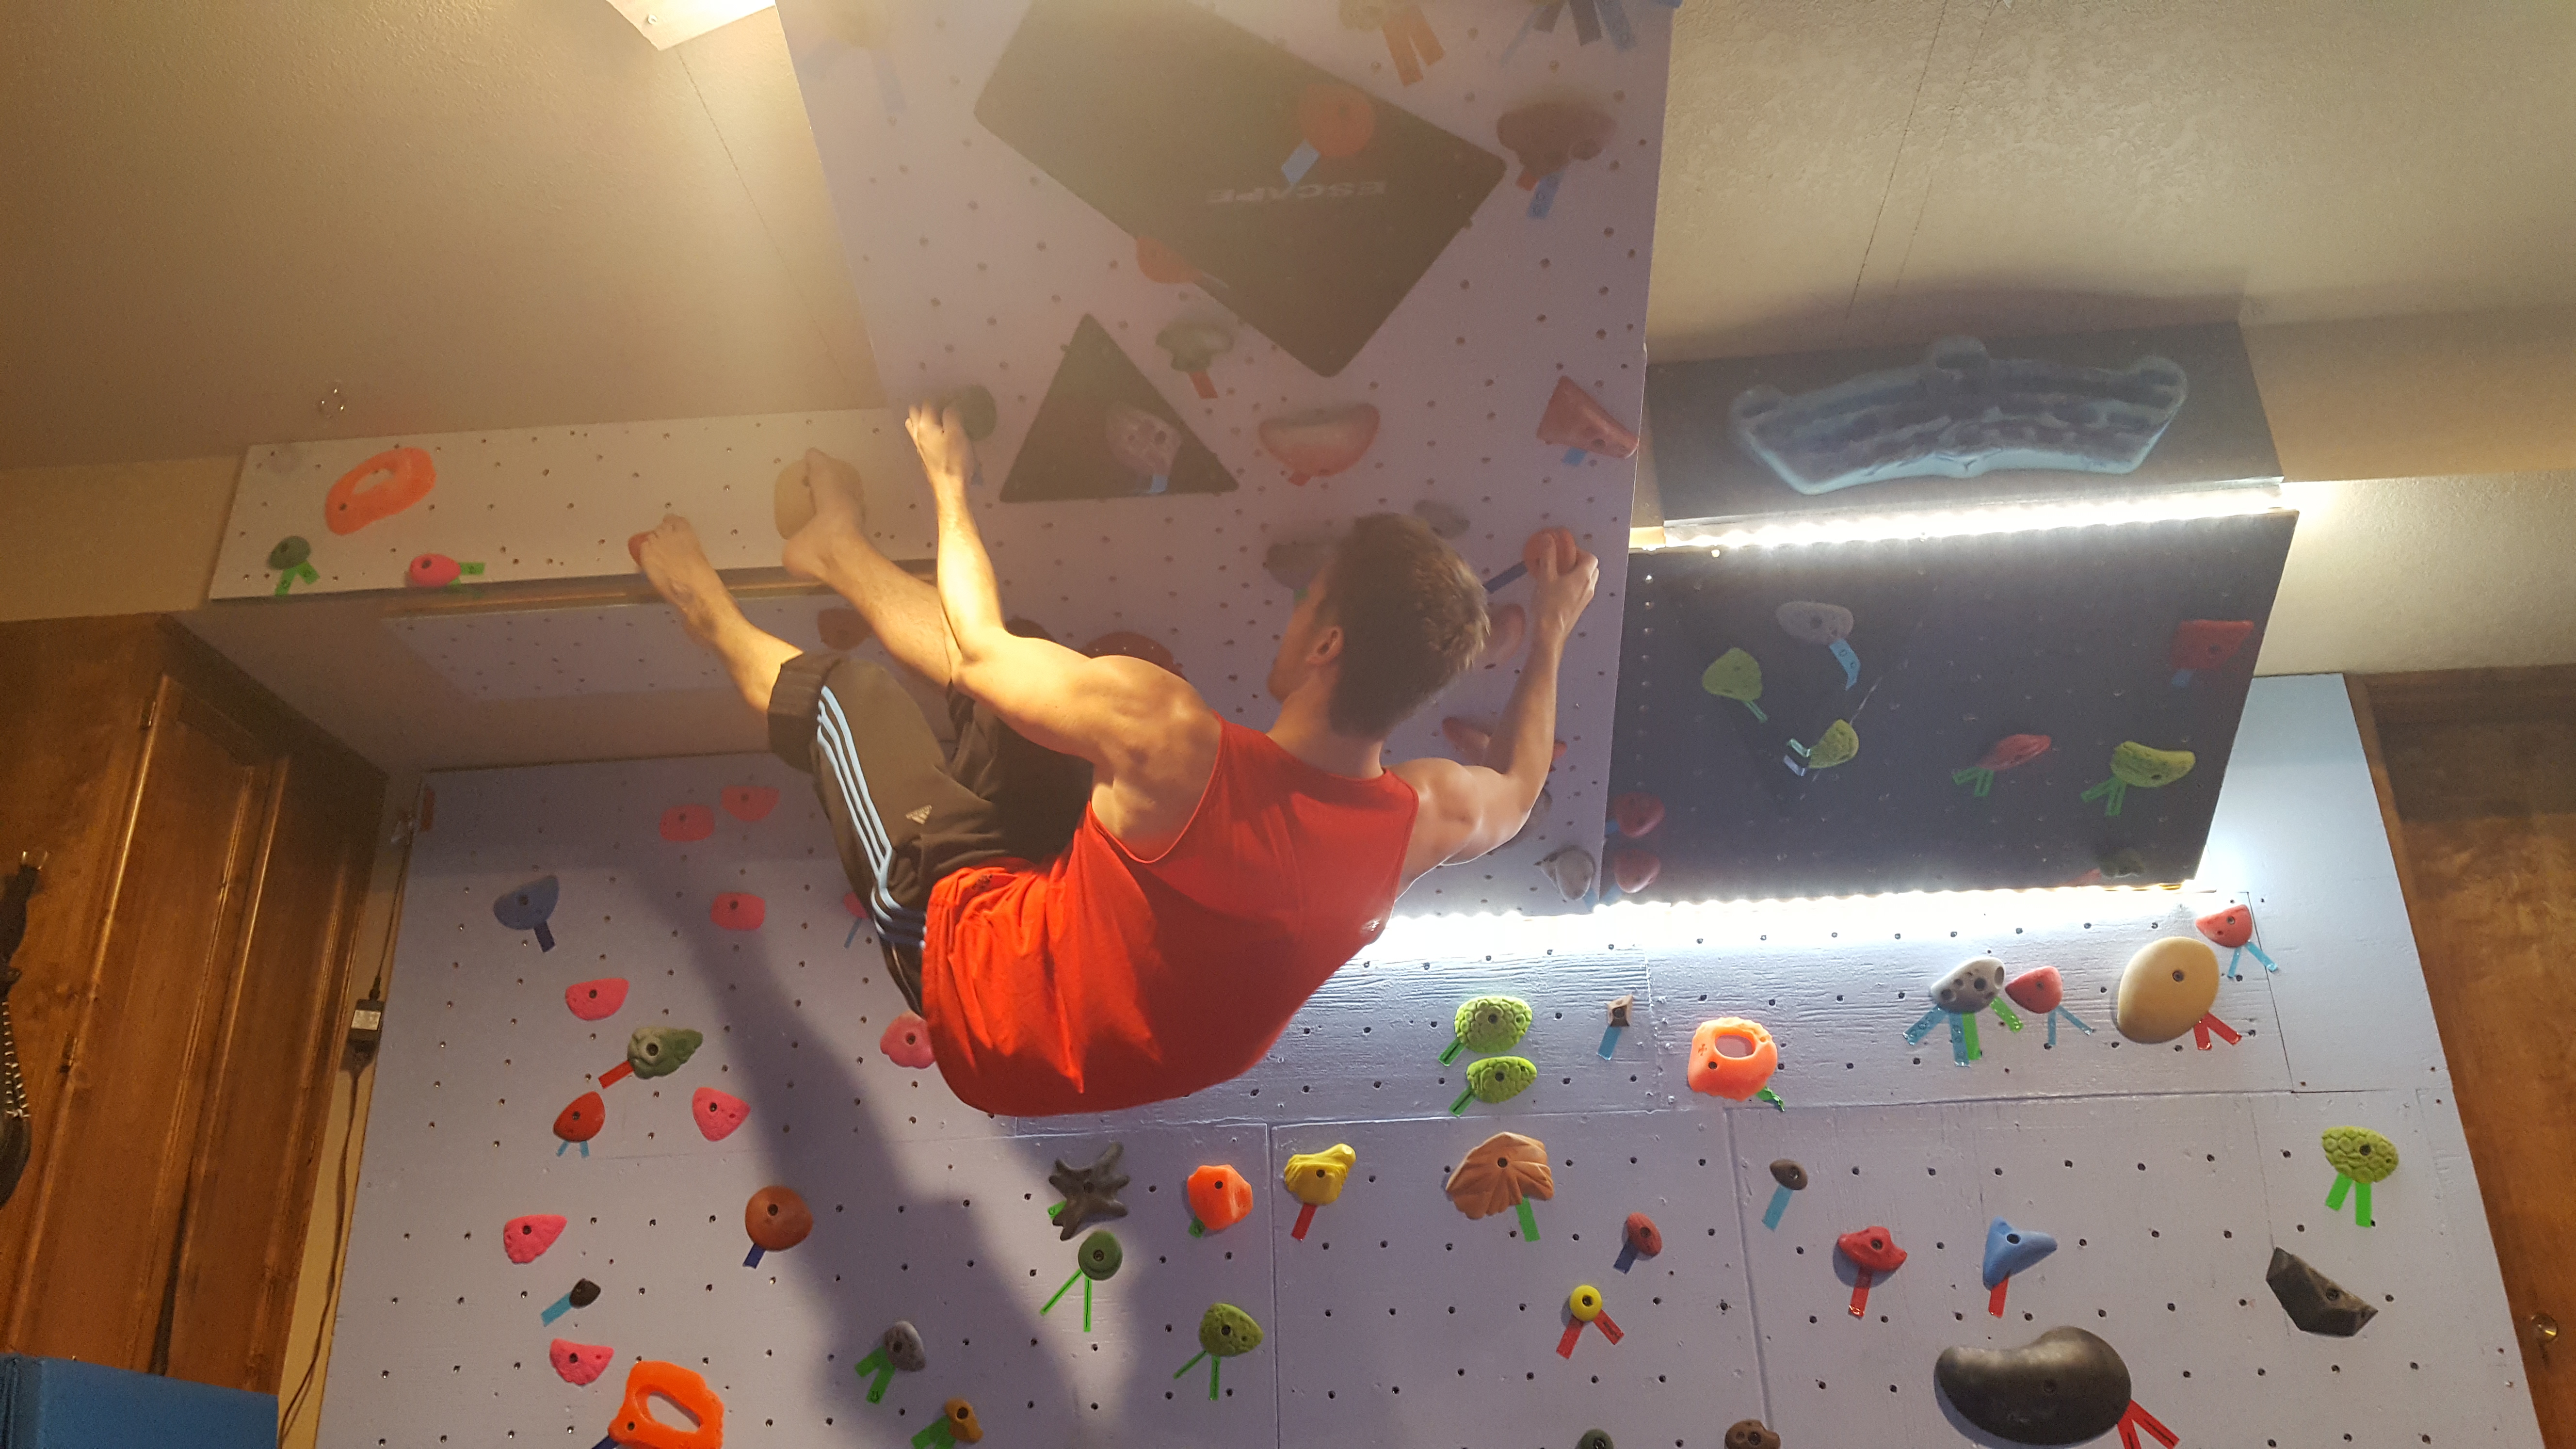
| Of course, the purpose of a bouldering wall is to have fun and get stronger! So we took a break and tried it out a few times during the building process. My clients seem to like it a lot! Once the framework is finished, we put up the finished plywood sheets. |
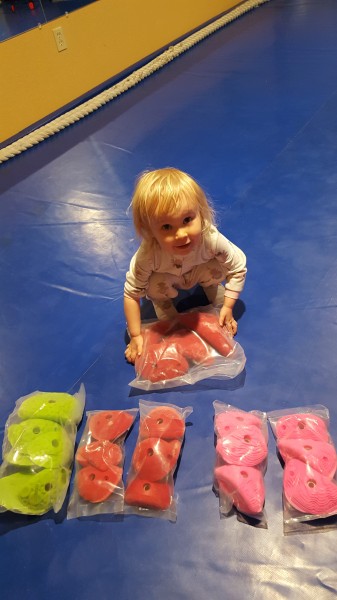
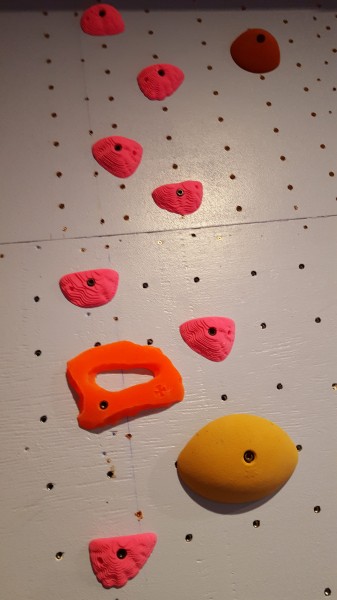
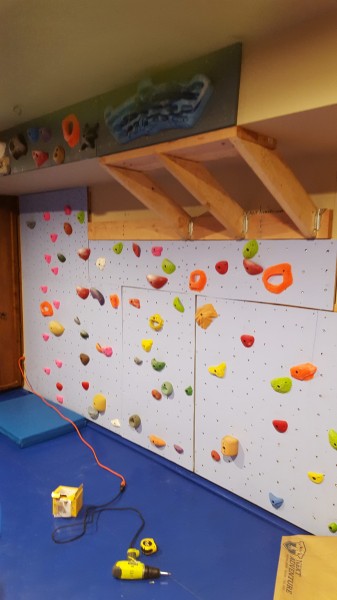
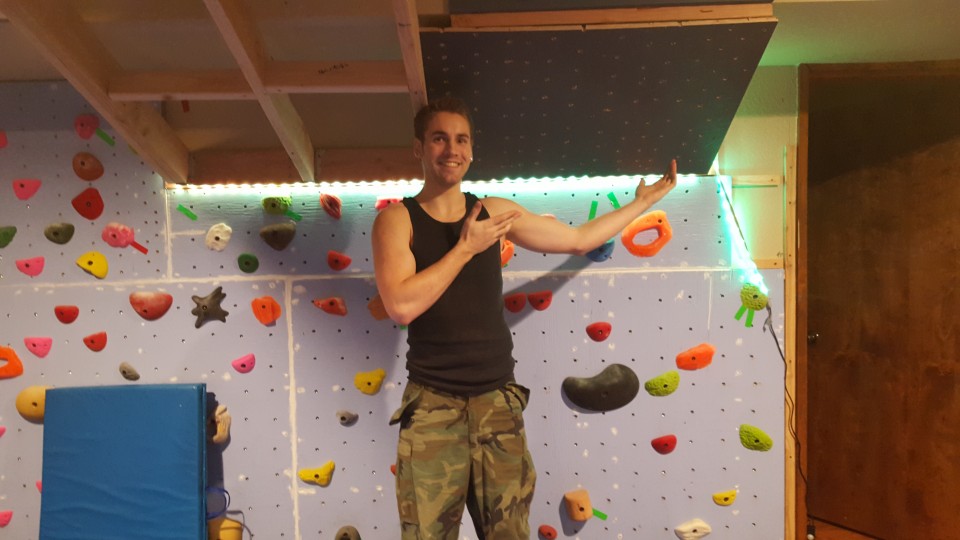
| The next step was route setting! Since the wall was finished, we pulled down almost all the holds, and got to setting and fore-running. I am so glad we made the wall! |