Building a home bouldering and climbing wall
There is no better way to improve your hand and grip strength then building a wall at home to climb on. Here at Knope-Jenkins Personal Training, we love anything that challenges our clients. We have always loved climbing, and with our focus on helping people prepare for American Ninja Warrior, putting in a climbing wall was only logical. The only two people to complete the American Ninja Warrior course were both professional climbers. To answer a common question we get asked, “How do I start training for American Ninja warrior?” you need to be working on your climbing skills. Strengthening your forearms and grip strength on a home climbing wall will help you reach your goals!
A bouldering wall, especially a home one, is constructed much the same way that a house is made. The individual walls are made from a lumber framework that you will attach to an existing structure, or one that is self supporting. Next, the frame is covered with plywood sheets, which is what you will climb on. If you are much a of a DIY person, this will be a snap for you, however, if you’re new to construction, this guide will save you time, money and headaches.
Step 1: Design
First, take a look around the potential places you can put your climbing wall. Having the wall in an easy to access area will mean you climb and train more often. If you have to move a bunch of boxes or furniture every time you want to climb, you’re going to get tired of doing that very quickly. So, look for a spot that is convenient and has an adequate amount of climbing space. Remember, climbing and falling are noisy, chalk will get everywhere, and if you put it in your garage, see if you have room to park your car with the wall and crash-pads afterwards.
Once you have settled on a space to install your climbing wall, start with a few free sketches of what angles you want your wall to be at. Beginners will find it easiest to climb on a flat or 15 degree overhang, but advanced climbers will get bored of that pretty quickly. Intermediate climbers will want some 15 degree and some 30 degree overhangs, and advanced climbers will want both of those plus some 45 degree overhangs. Plan a wall that you can grow into as a climber, you will improve quickly with a home wall!
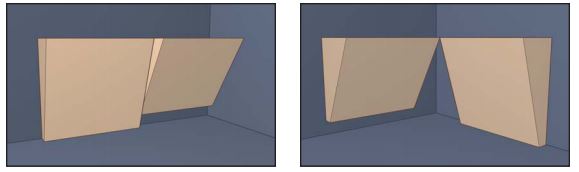 |
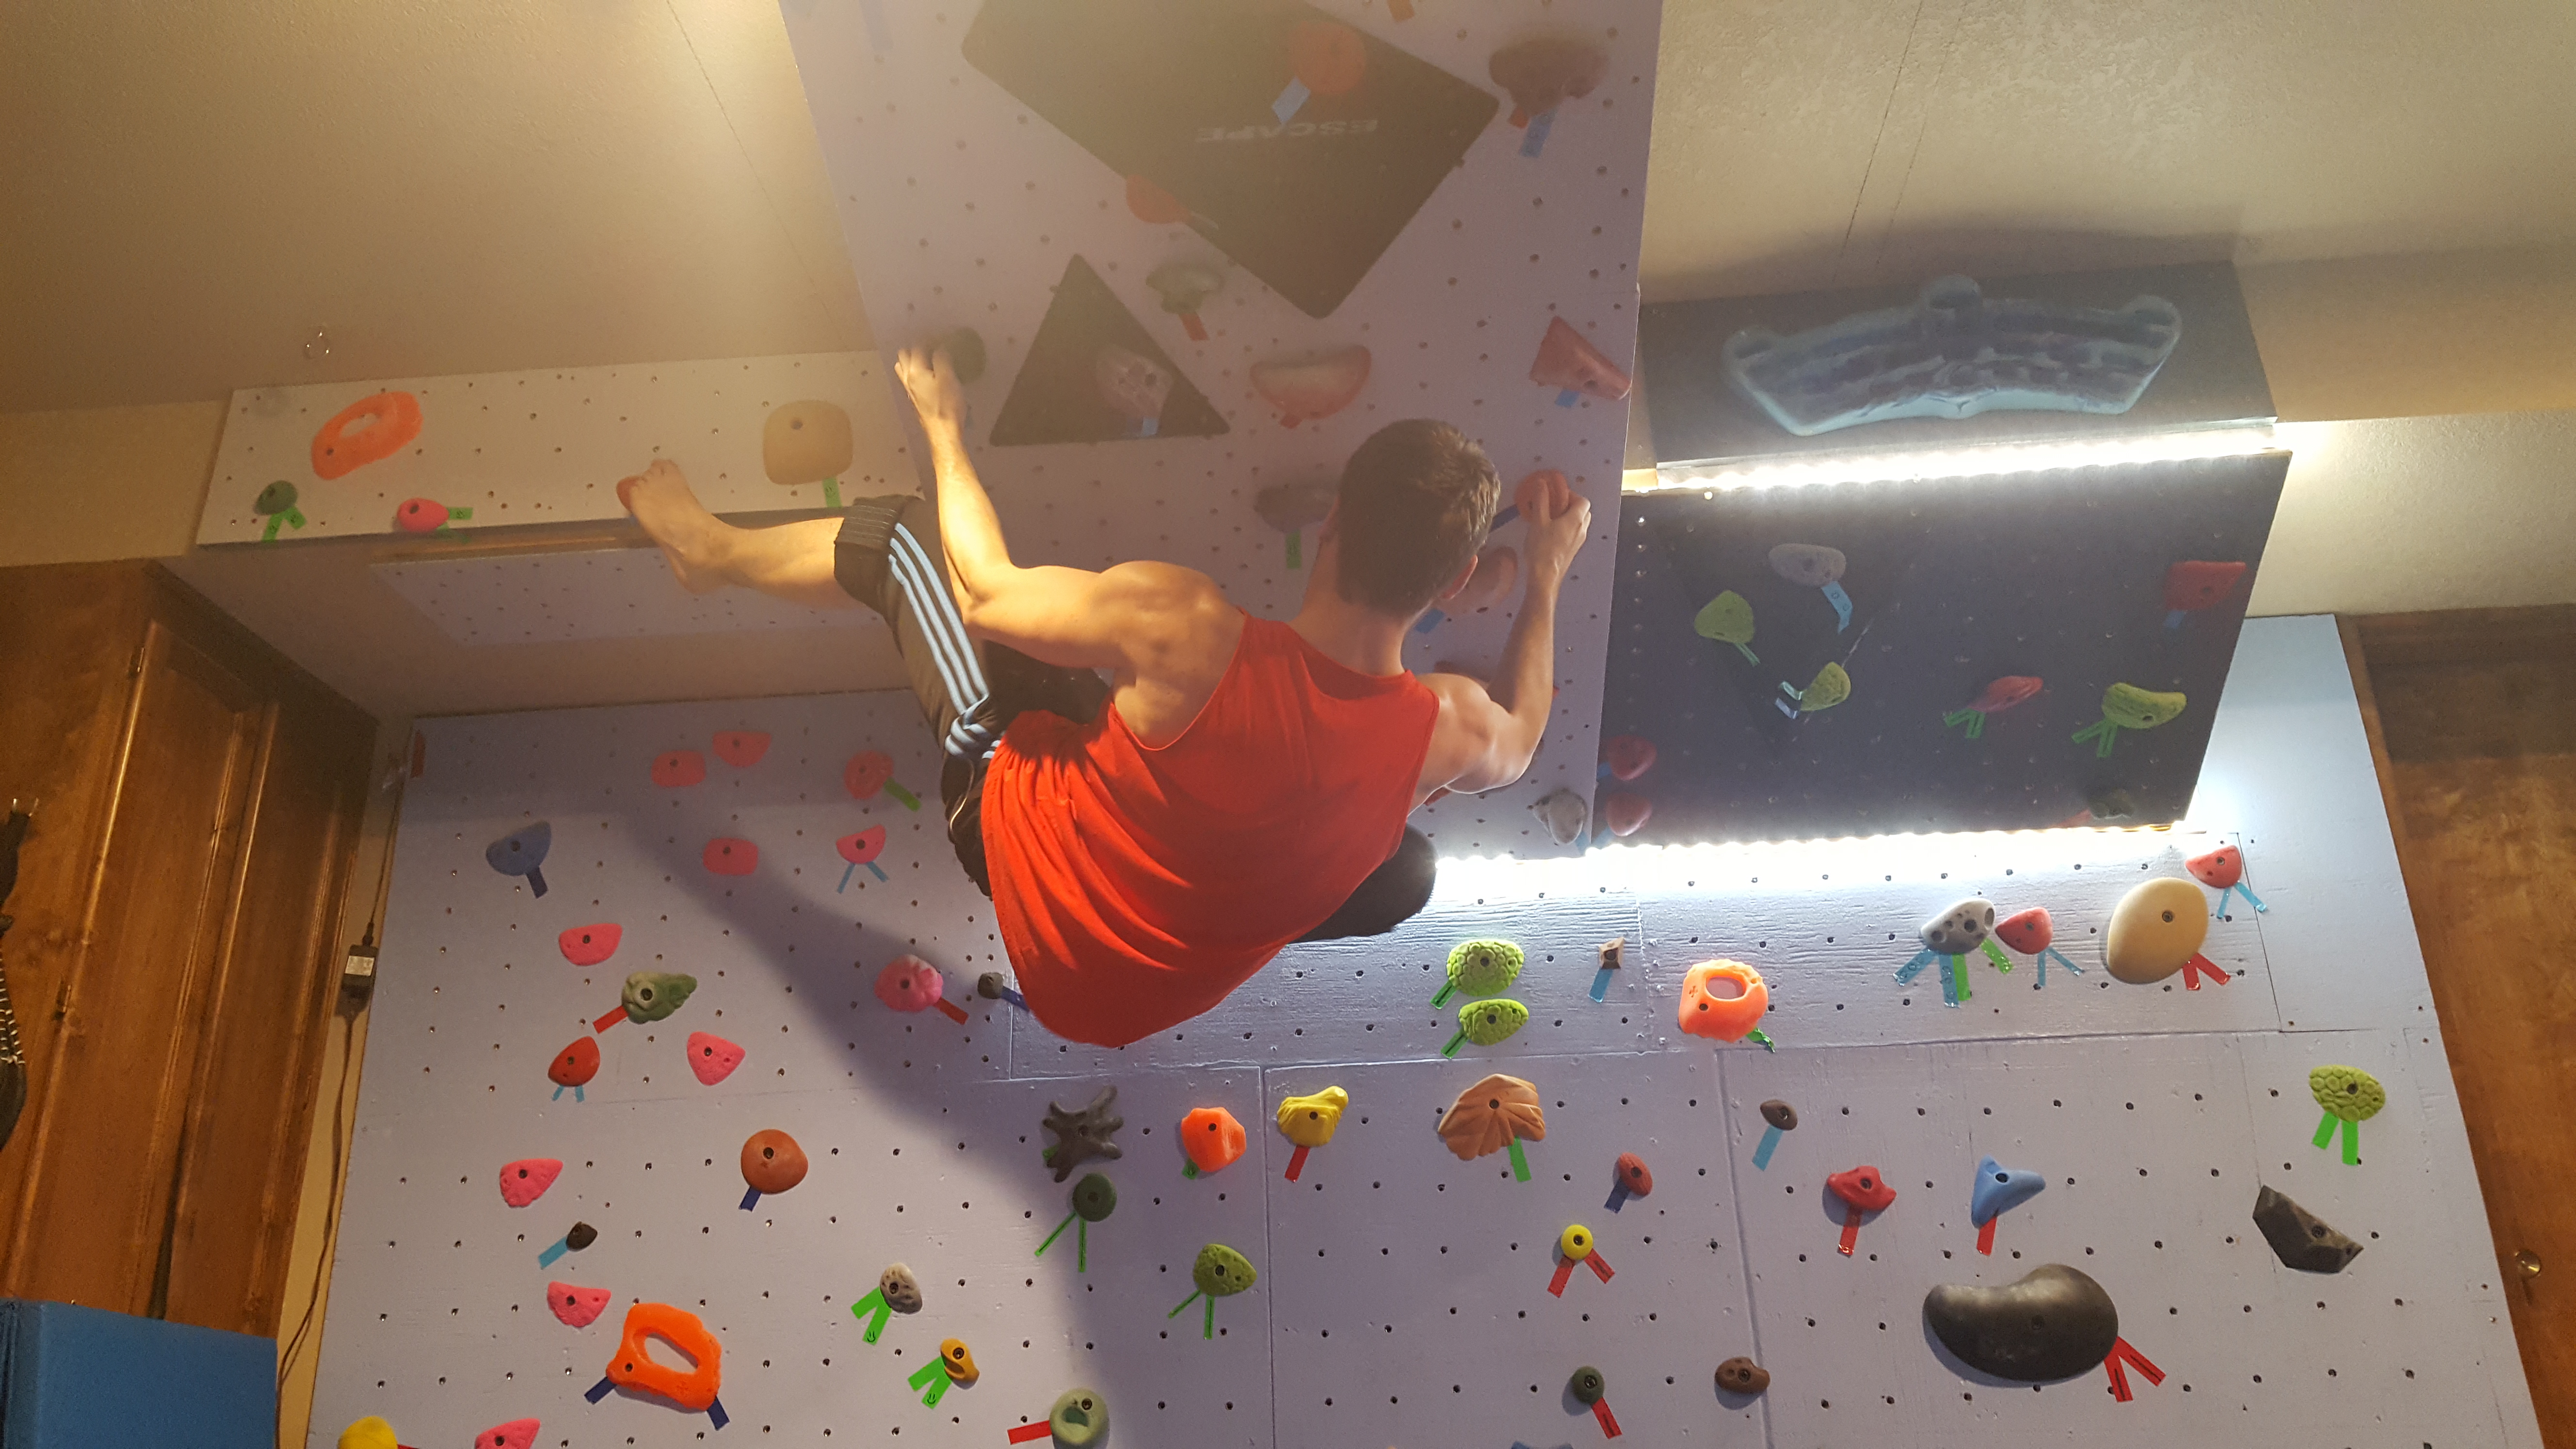
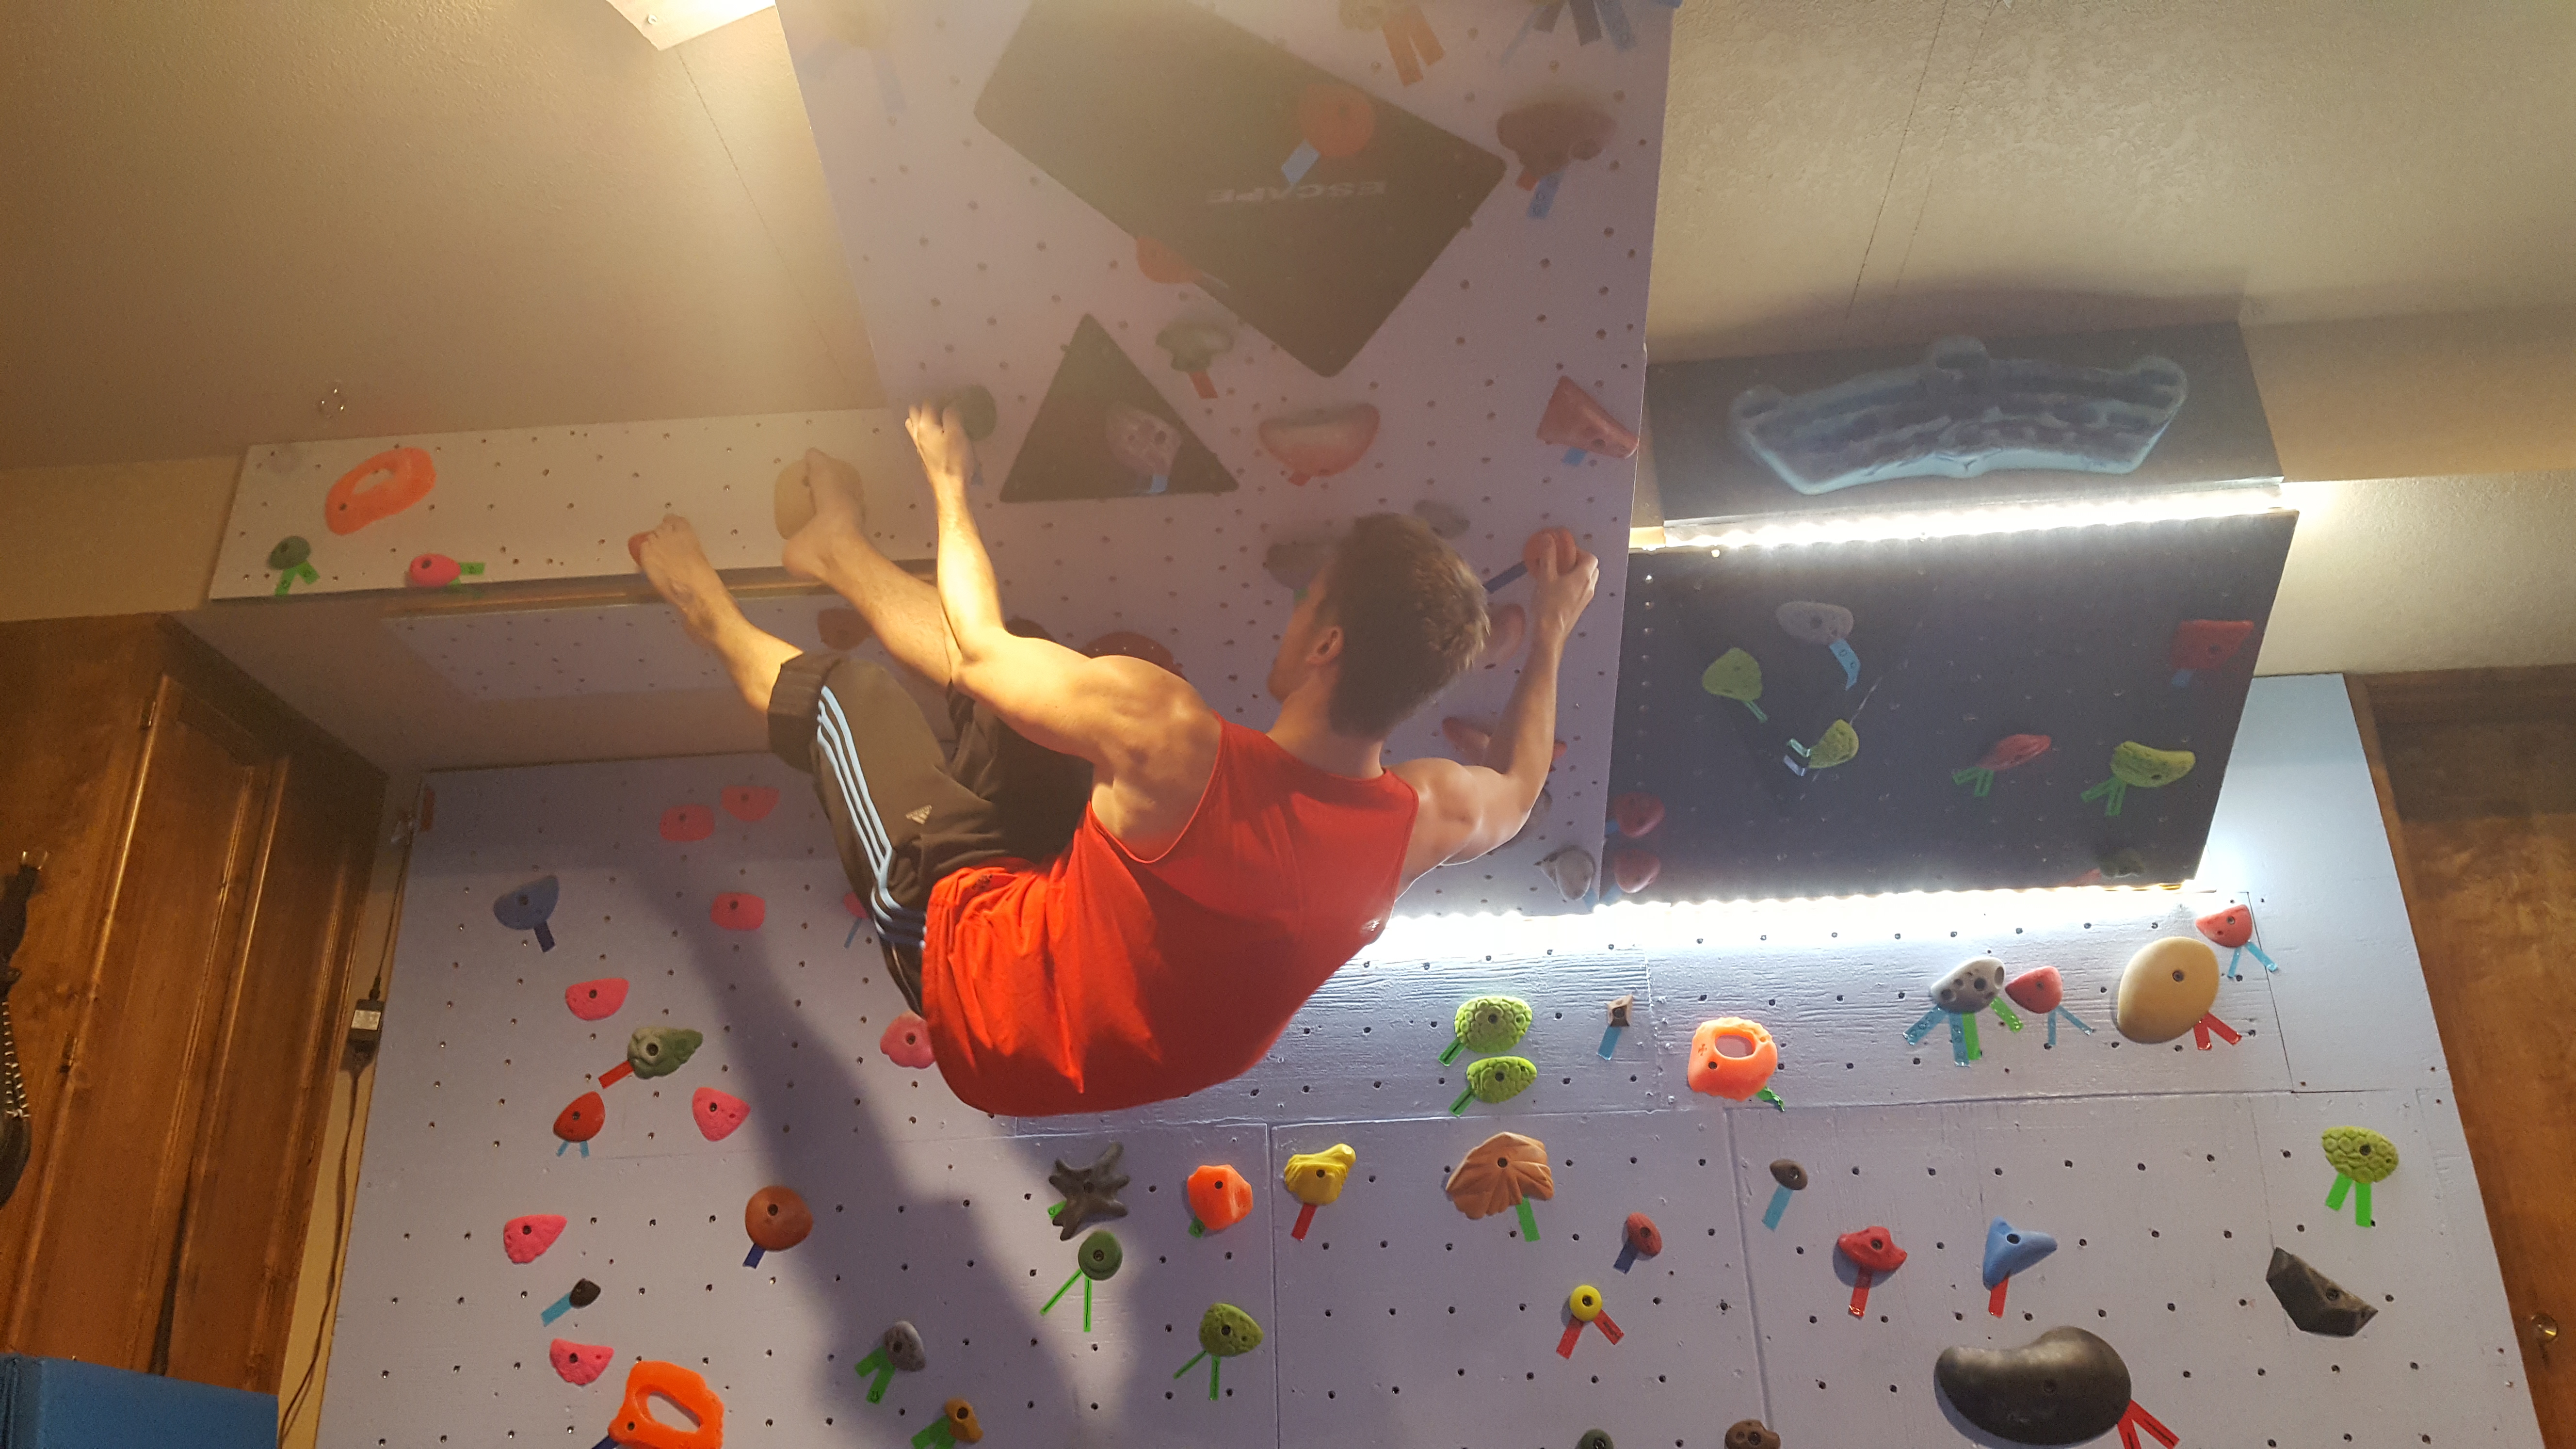
Something else to think about as you design your wall, what kind of climbs do you enjoy the most? I enjoy climbs in corners where I have to do a lot of technical movements that don’t rely solely on strength, but require technique and flexibility, but I also needed something that was super steep to help my clients develop better grip strength. With that in mind, I tried my best to incorporate both of those into my final design.
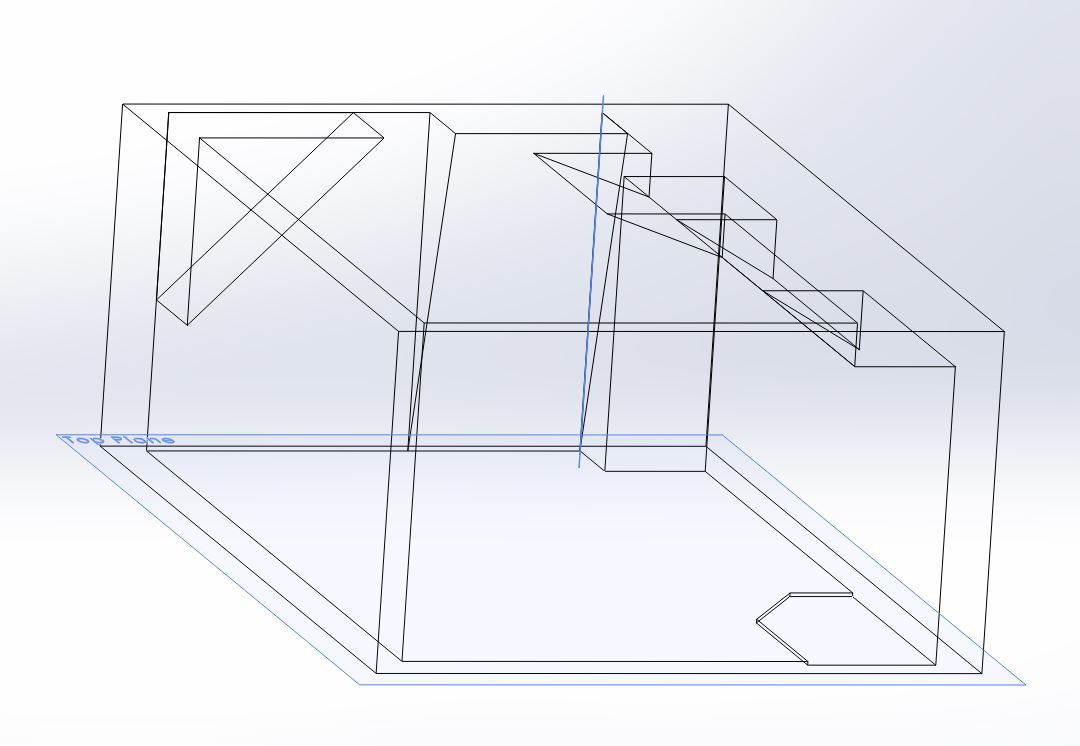
Once you are confident you like your design, draw it with some 3D modeling software. Technically this step isn’t necessary, but it definitely helps. I used solidworks, which is great because I was able to stress test my design and see how much load it would be able to support, as well as seeing how it would look in the space when it was all finished. If you don’t have access to 3D modeling software, take your design and use tape, string, and tacks to measure out where you will want the wall to be. The string being tacked from the ceiling to the wall will show you how the climbing wall will look when its sticking out into your living space. Because I just relied on a 3D model, I didn’t realize that I was going to build my wall over a light fixture in the room. Whoops.
Step 2: Materials and Tools
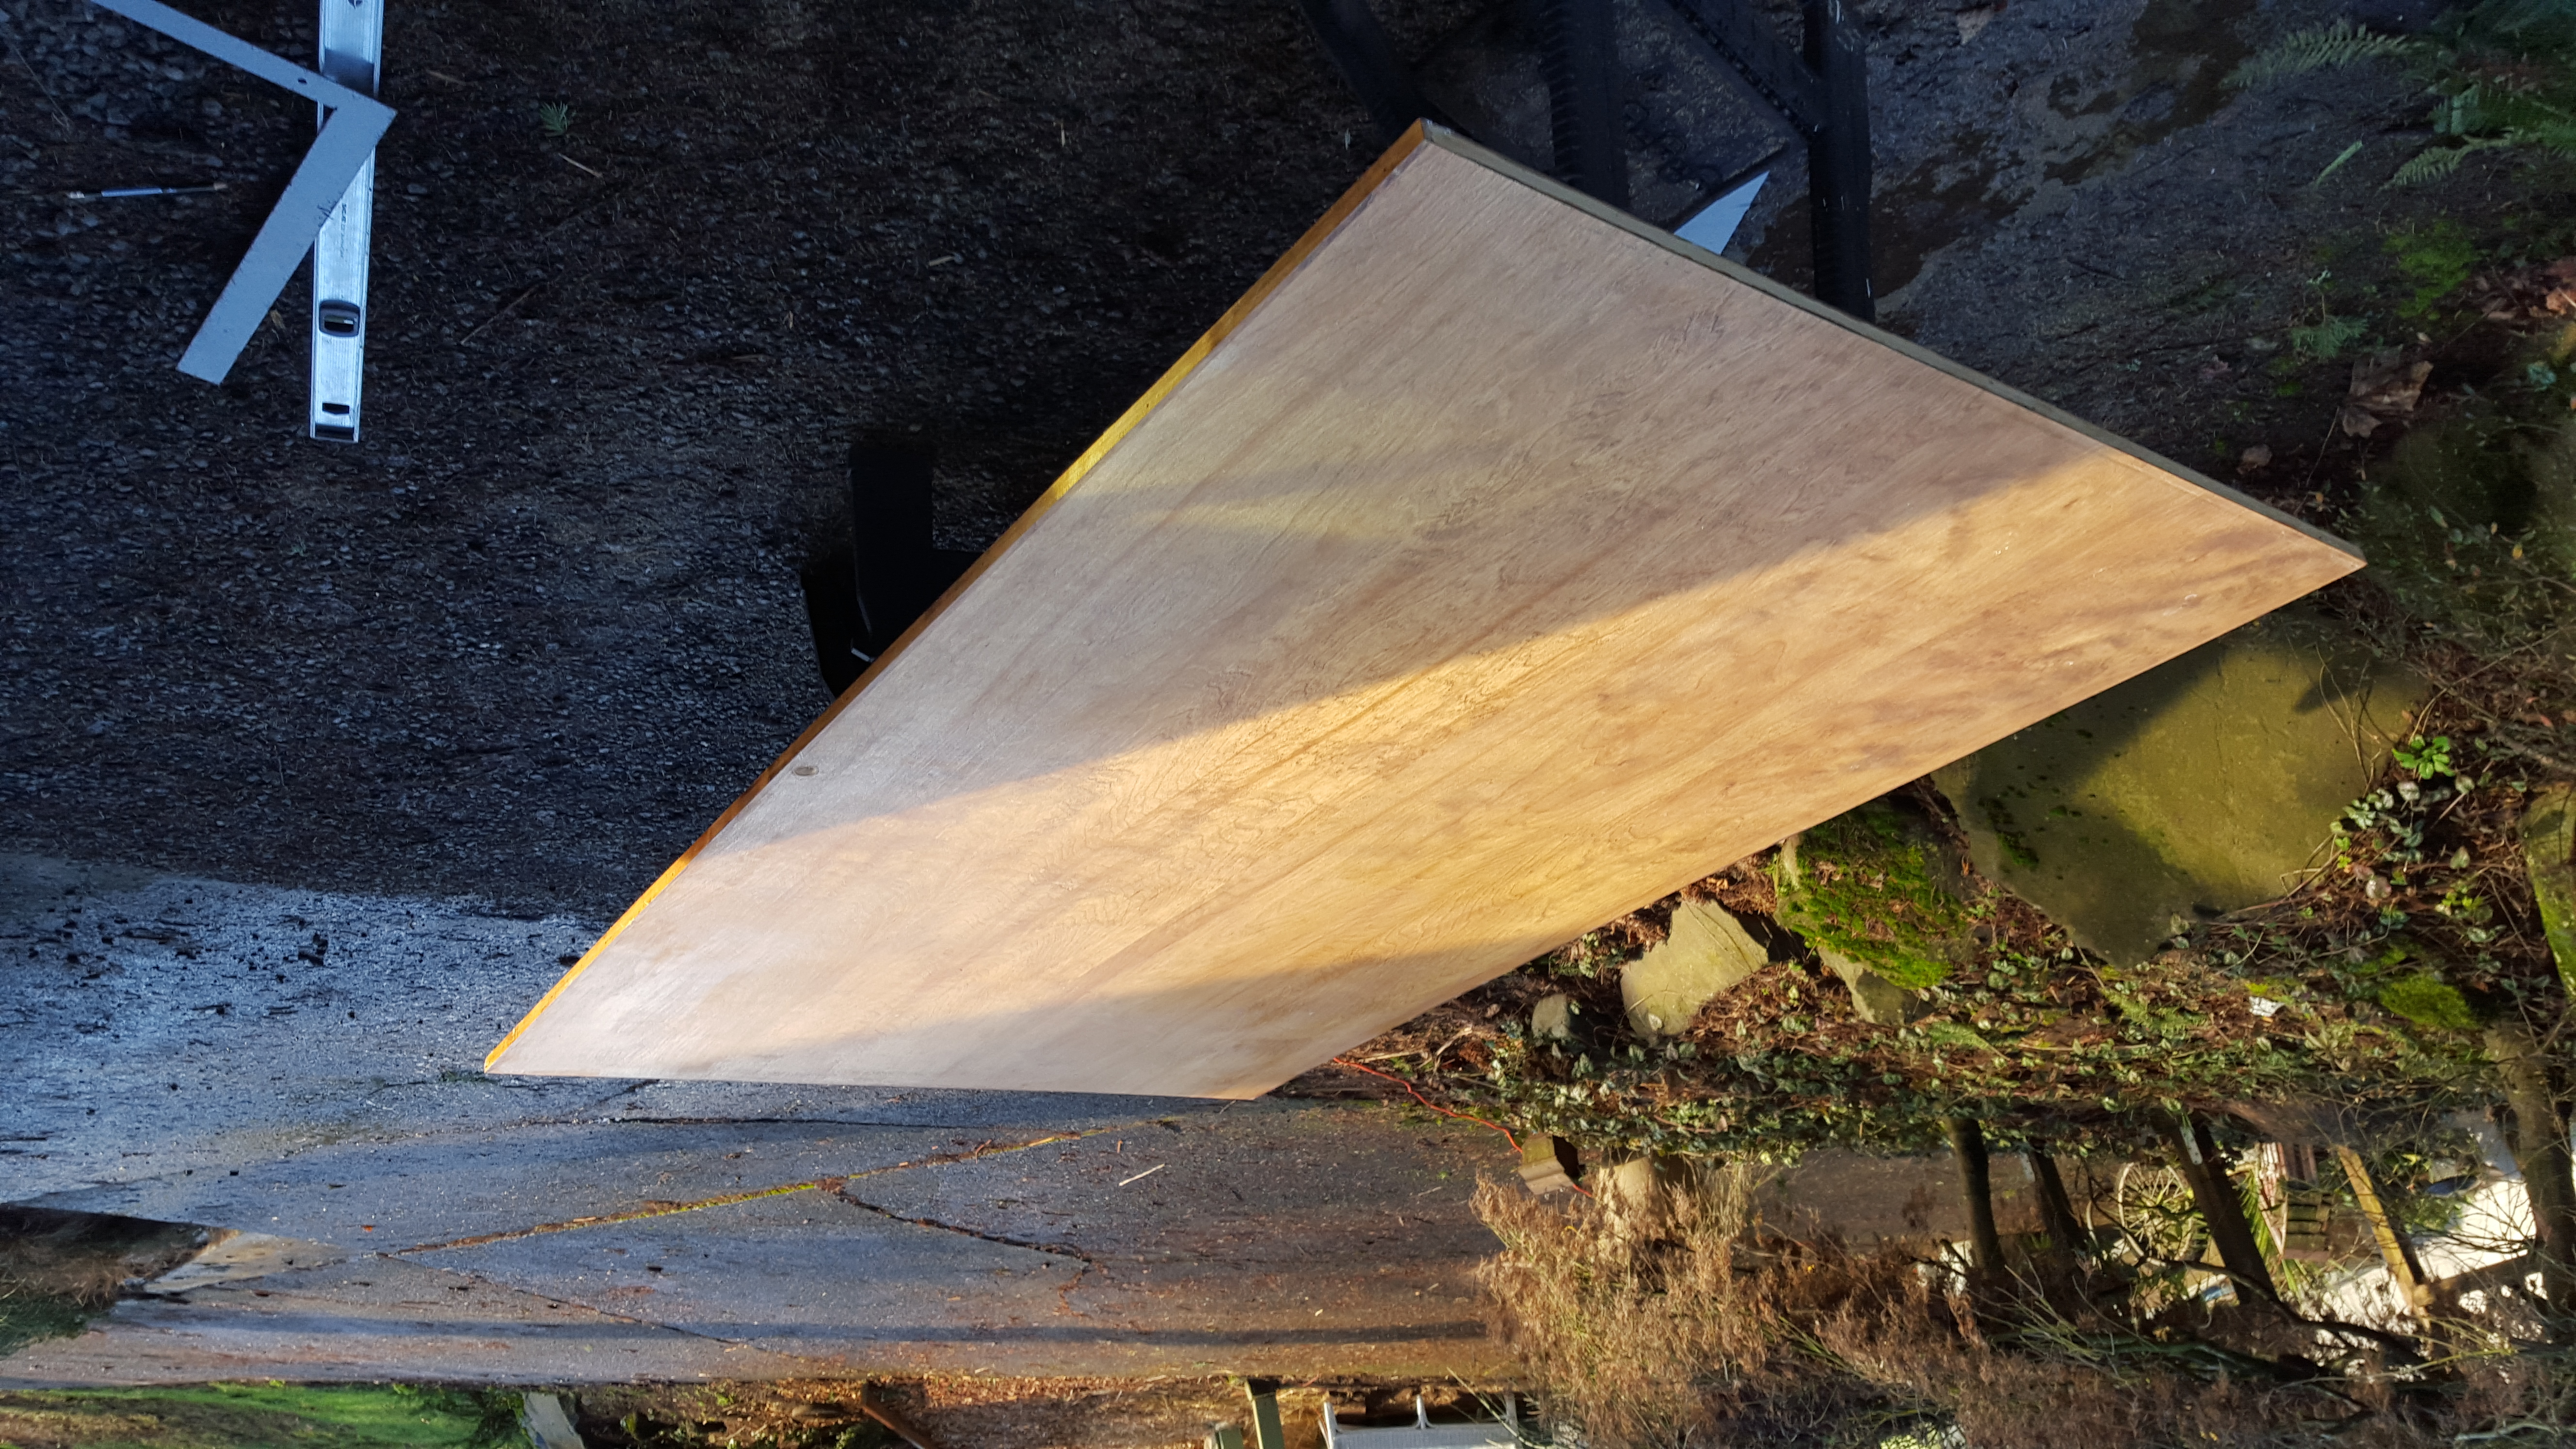
The plywood you should use is 3/4″ ACX, 4’x8′ sheets. This is an exterior grade plywood, which means its stronger and will hold up better then other types. While the type of plywood doesnt have to be ACX, it does need to be at least 3/4″ and be a solid sheet. If you use the cheaper OSB or particle board sheets that are pressed and glued together wood chips, the t-nuts can pull all the way through when you put all your weight on the holds.
 |
You will also need wood framing-studs: 2″x 4″, 2″x 6″, 2″x 8″, 2″x 10″ The thickness of the wood framing studs will depend on how much weight your wall needs to be able to support. I went with 2″x 8″s for the majority of my wall, since I want it to support more then one person at a time. If you only plan to have one climber on your wall at a time, you can probably get away with thinner support studs. The studs you use for overhangs need to be thicker the steeper the overhang.
When you’re assembling the walls, make sure to use Self-drilling decking screws: #14 x 3-1/2″ (or 4-1/2″) #12 x 3″ #8 x 2″ instead of drywall screws or hardened screws which tend to break under the type of load that climbing walls can experience.
Once the framework for the climbing wall is assembled and finished, you need to prepare the plywood sheets to be hung up, which means drilling and placing t-nuts. the typical 4 prong t-nut works for most home gym applications. I purchased mine from escape climbing for a good price, after doing a lot of shopping around.
 |
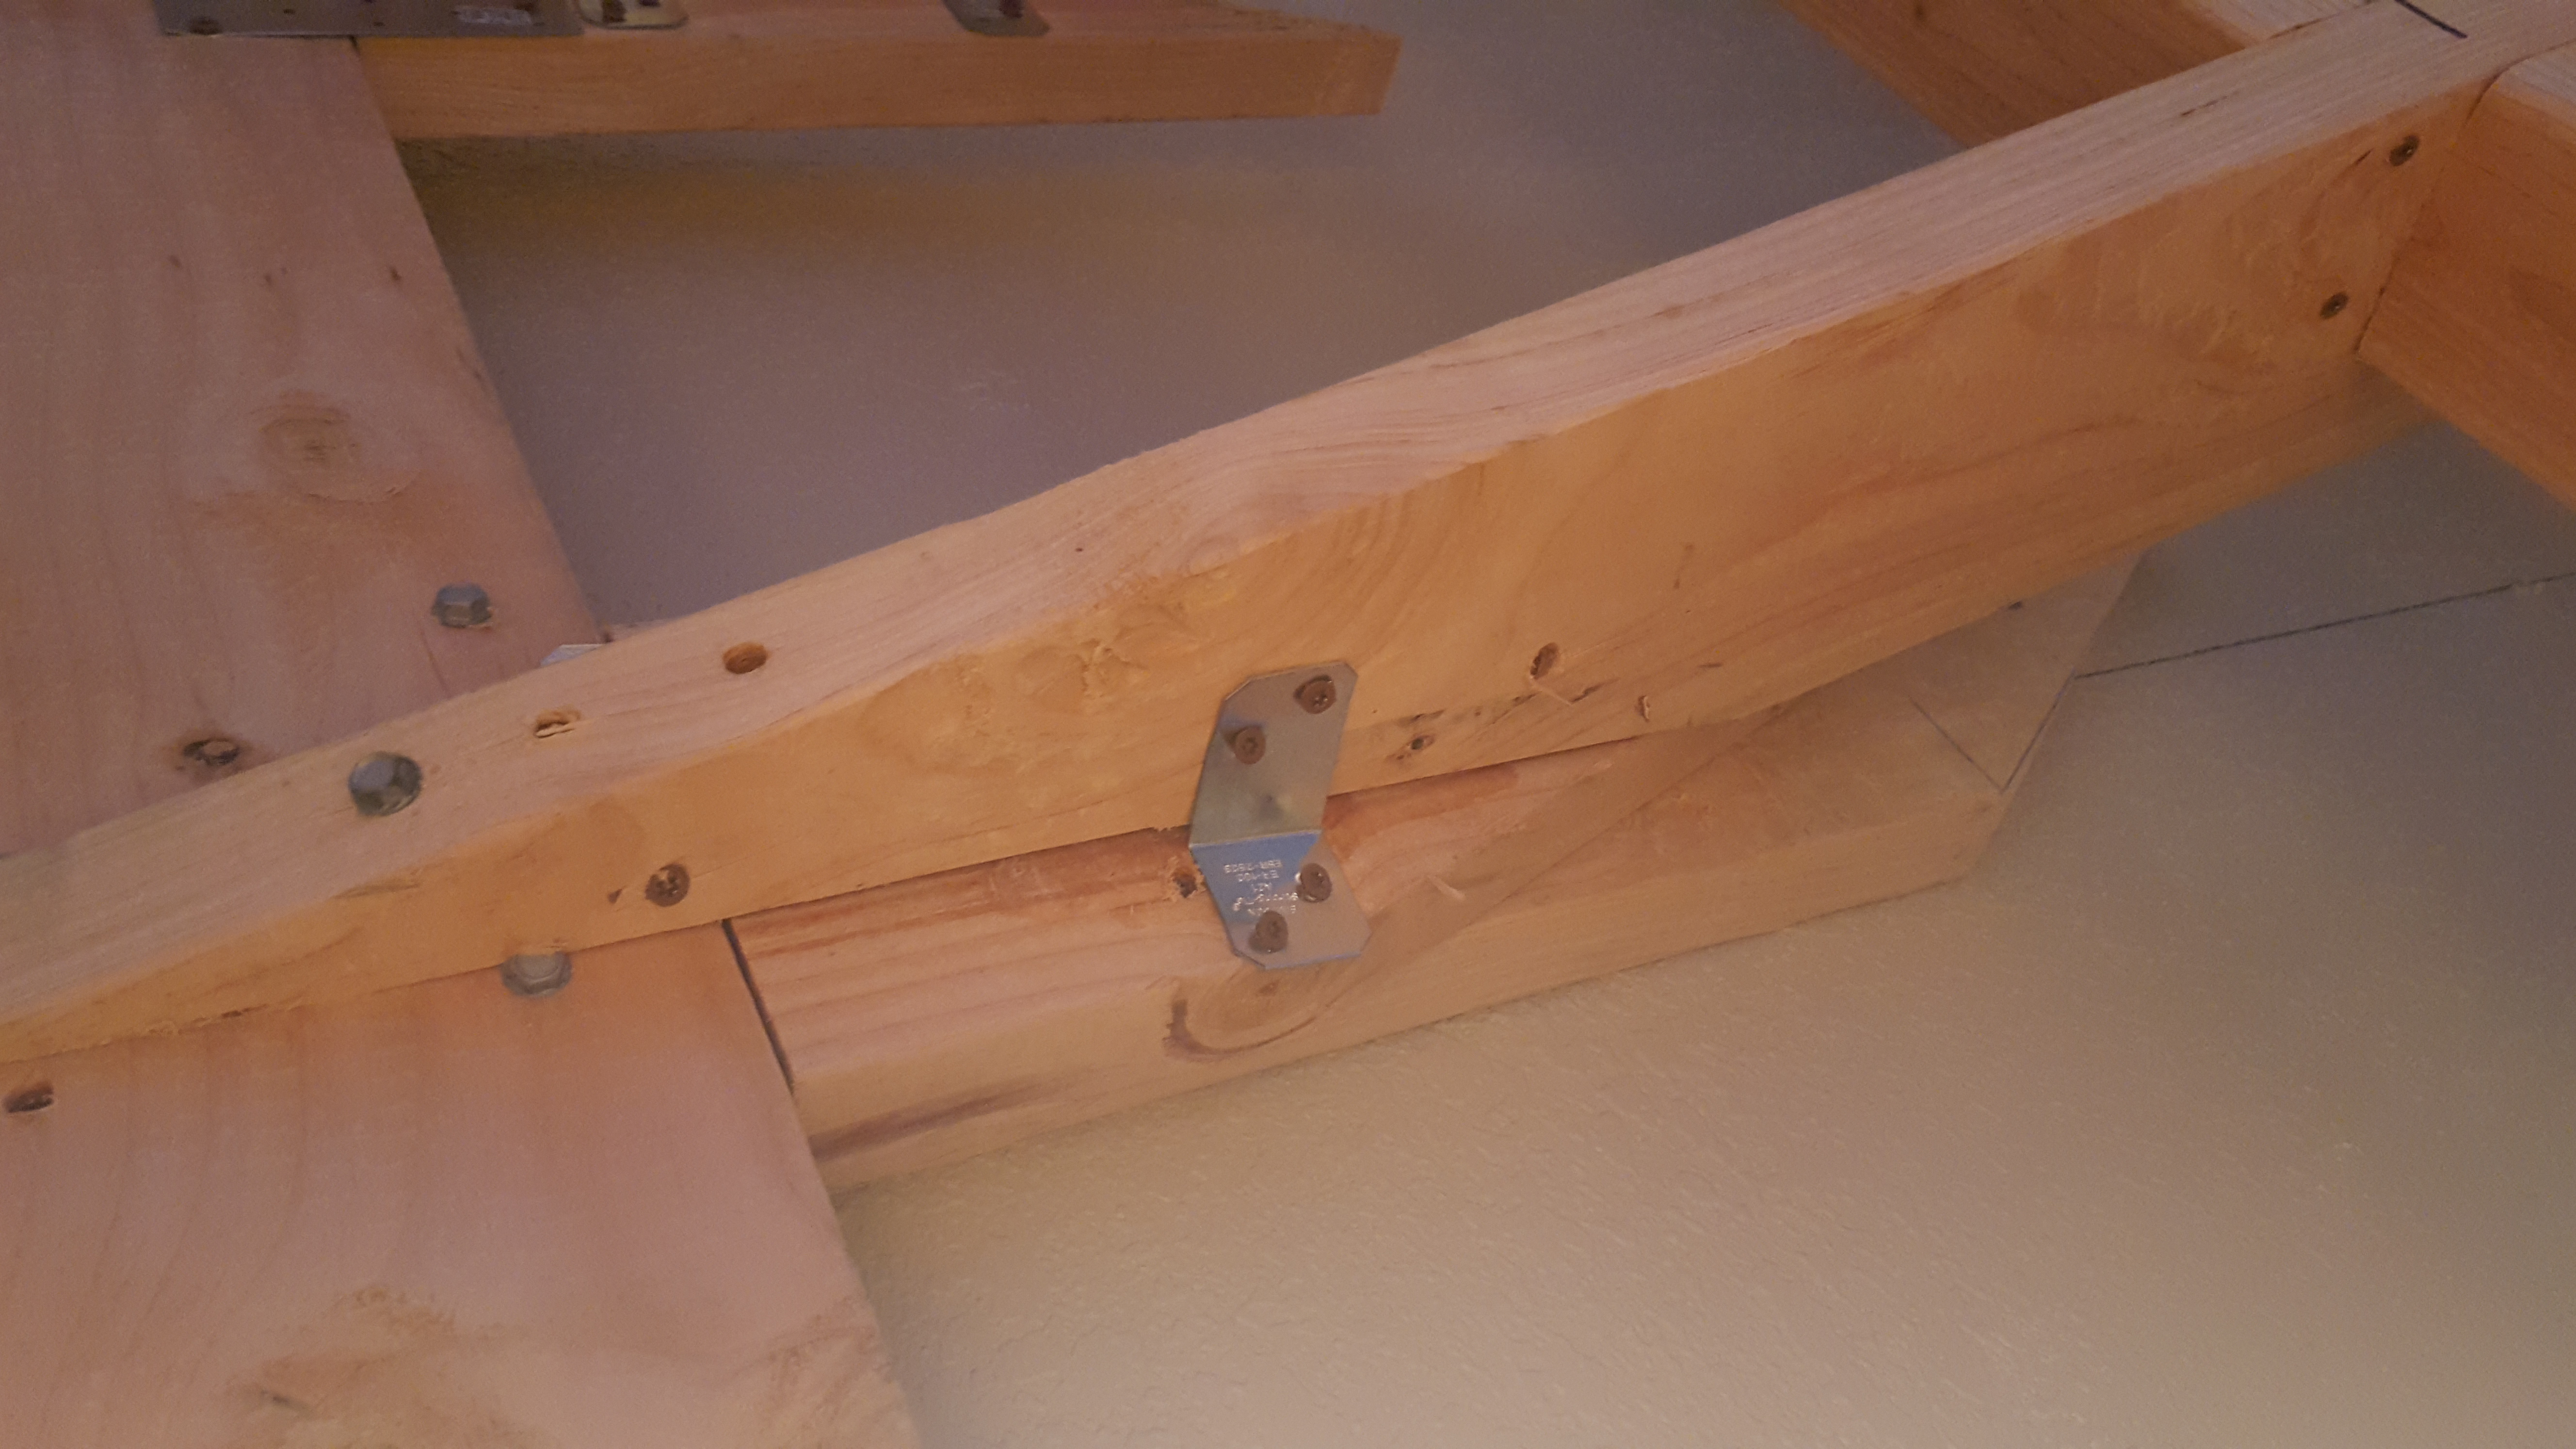
Framing connectors are also very important, and can be picked up cheaply. Toe-nailing boards alone will not be sufficient due to the stresses the wall experiences from the dynamic movements from the climbers. There are many different types of joist hangers and framing connectors, go to your local home improvement store and they can help you select the best ones for your project.
 |
As far as tools go, the bare essentials needed will be a drill, a measuring tape, a level, a square, a hammer, and a jig saw. There are many other tools that will make your life easier, but these are the very minimum you can get by with. The size of the drill bit you want for putting t-nuts in your climbing wall is a 7/16. You can use a spade tip with a threaded tip, or a fostner bit. The fostner bit is more expensive, but the time it saves you since it makes cleaner holes makes it worth its weight in gold.
Step 3: Constructing the frame for your climbing wall
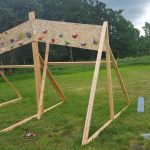
Here comes the best part, aside from actually climbing on your finished wall, putting everything together and seeing it take shape. Keeping everything organized will save you time and headache. The first step before you start making the structure of the wall is the anchoring process. I made mine indoors, so I anchored it to existing studs that were in the wall behind it. If you build outdoors or want to anchor to concrete, you will need to follow a different process. Check out the book: Building your own climbing wall by Steven Lage for details if you plan to do that.
 |
To transfer the load that the climbing wall will exert on the studs in the walls and the ceiling joists, you will need to construct something similar to the picture above. You will want a header joist and footer joist, as well as sleeper joists depending on the direction the ceiling joists run. The sleepers spread the load so that there is not a single ceiling joist that takes the whole weight of the wall. I put mine in to the wall using huge bolts as well as decking screws, as I didn’t want to risk injury or accident by using just screws.
 |
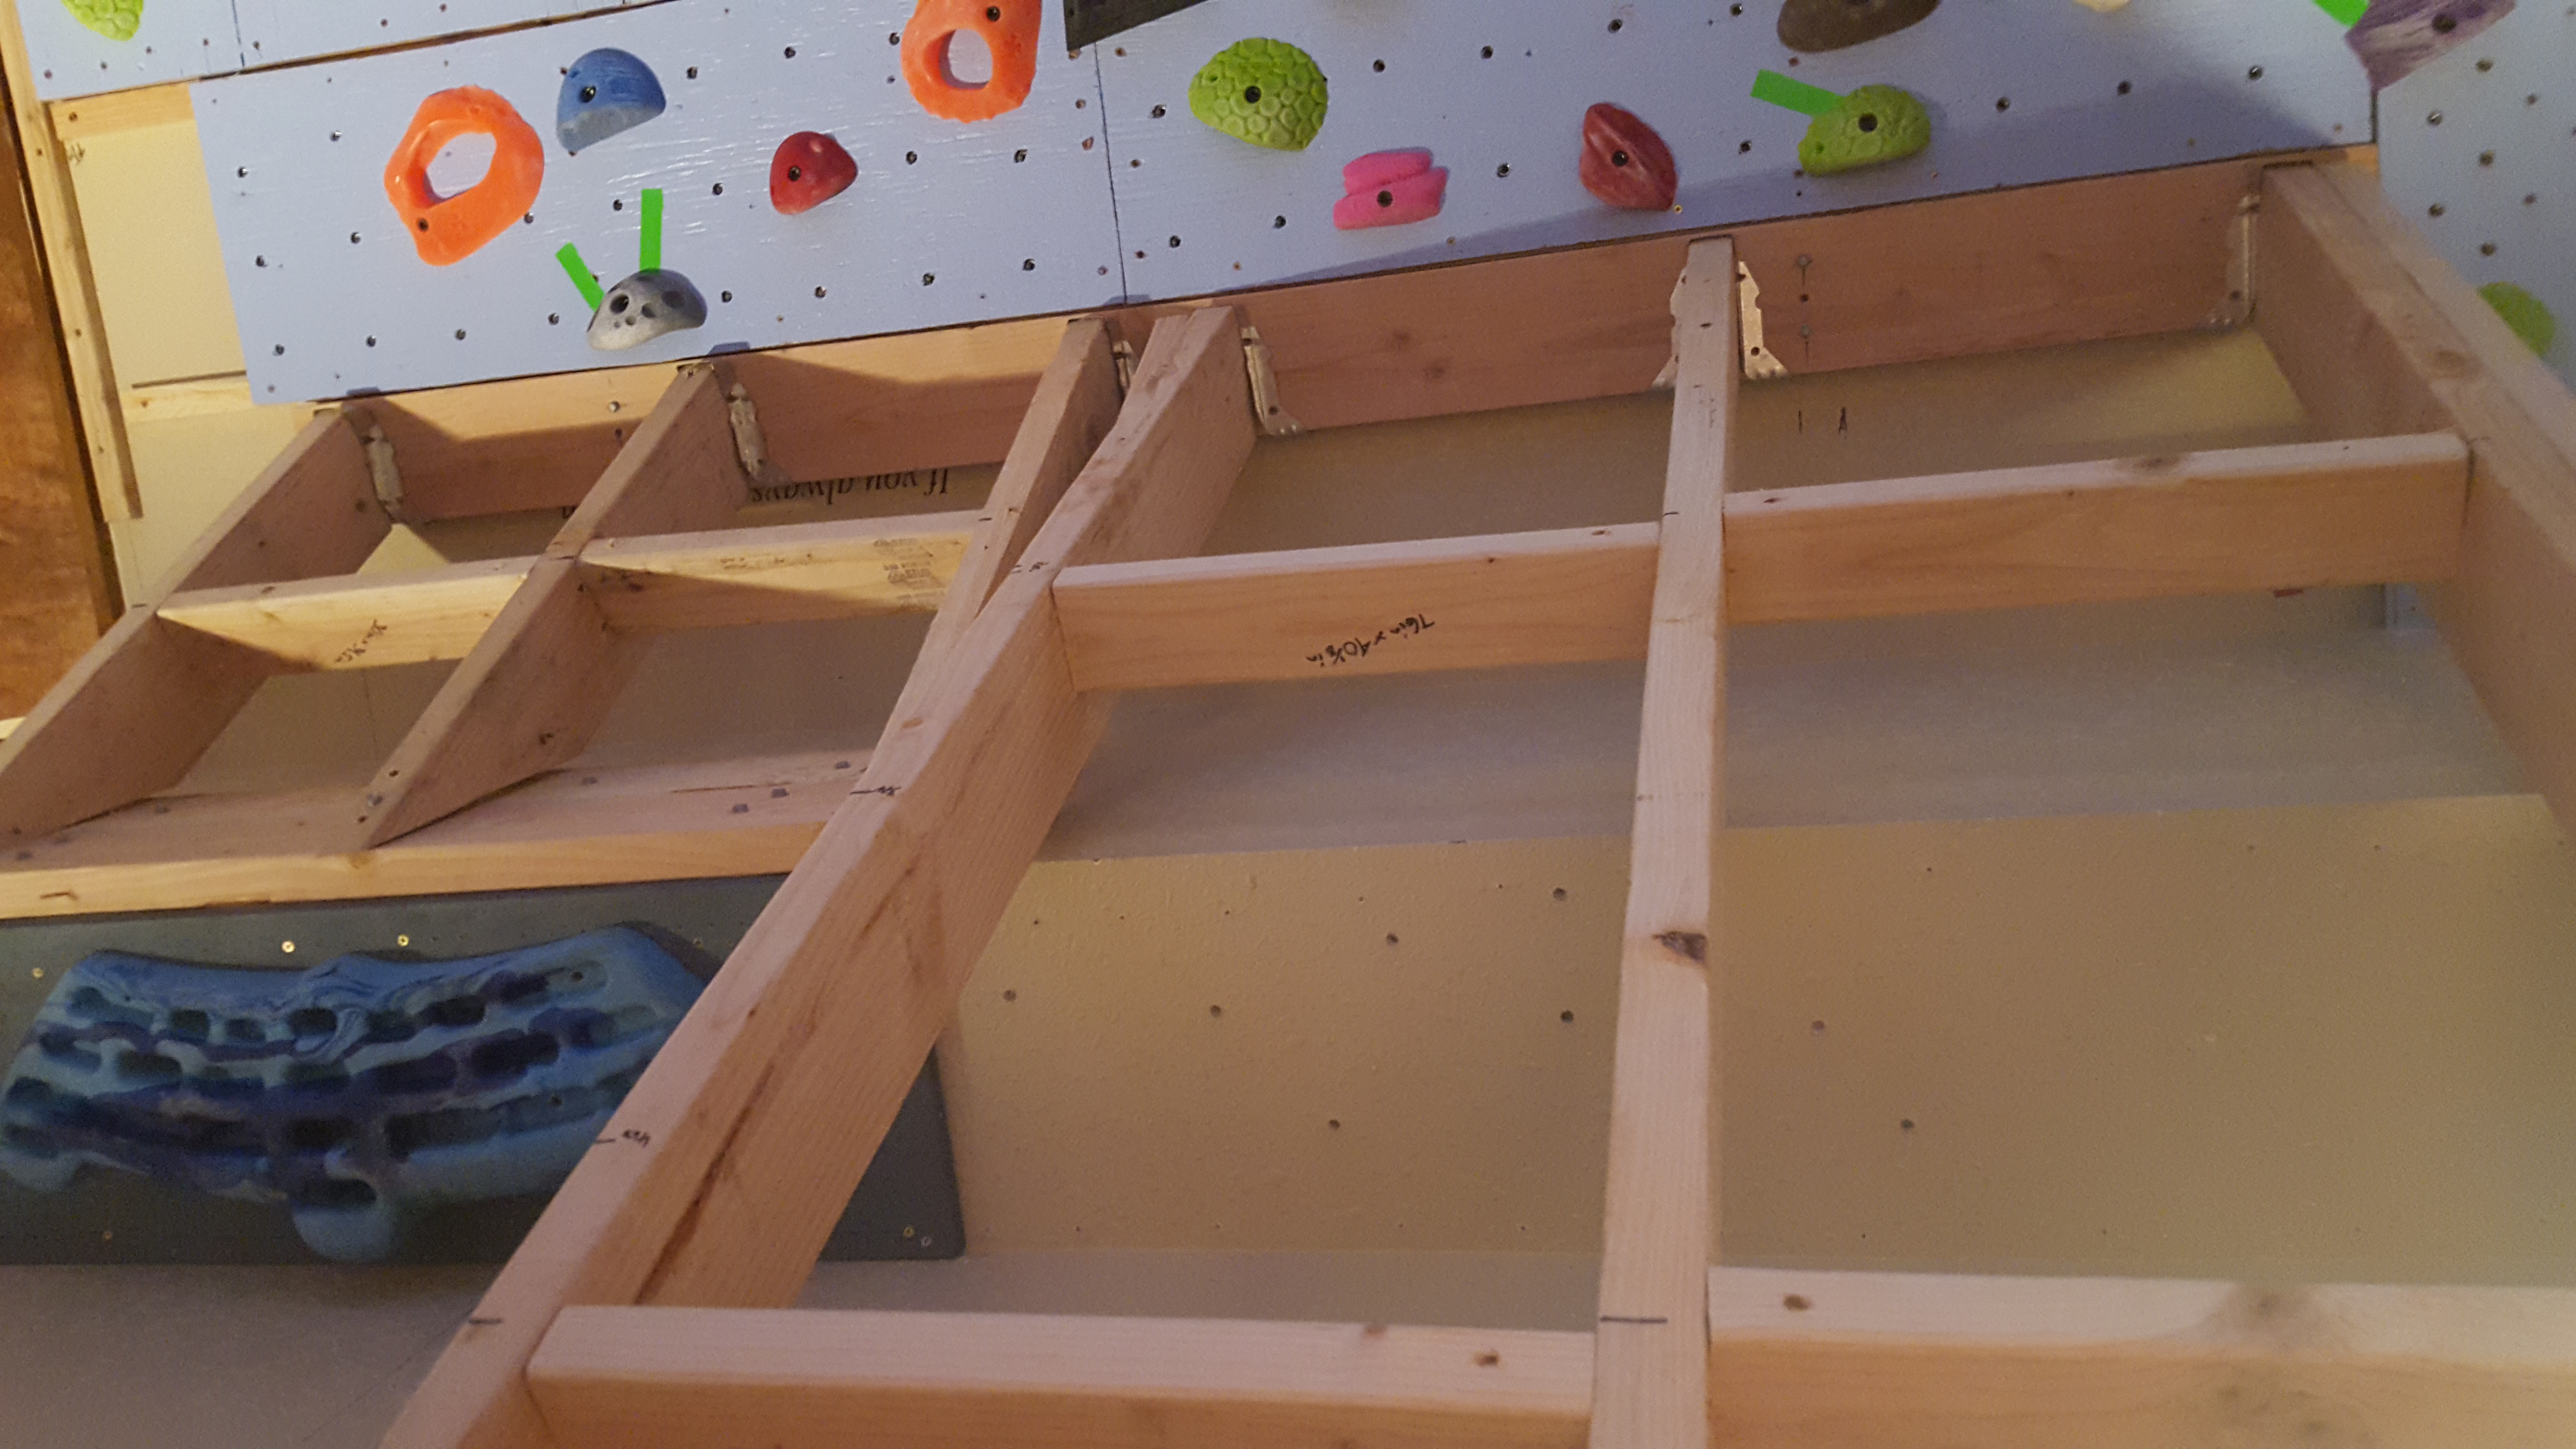
Once you have the anchors made, it’s time to construct the frame for the wall. The typical advice given by other guides for spacing is “Framing studs will run vertically every 16 inches behind each wall, as well as at the top and bottom, to form the framework. An 8′-wide wall will require nine studs (seven vertical studs spaced 16 inches apart as well as a top plate and bottom plate). Optionally, the vertical studs can be spaced 24 inches apart rather than 16, which will allow for more T-nut placements, but wider studs must be used, and the plywood sheeting will be prone to flexing. While short, vertical walls can be framed with 2″x 4″ studs, overhanging walls must use wider, stronger framing materials. The required size of framing materials is determined by both their span and the load they must bear. When you buy framing studs, sort through the stack and pick the straightest ones with the fewest knots.”
 |
What I found was that conventional wisdom for spacing of studs only works when you have studs inside your wall that are perfectly placed. In my studio none of the studs in the walls were a standard distance apart. I doubt whoever put the walls up even measured, which made my life a lot harder. This meant I had to change t-nut placement and stud placement for everything.
Step four: Painting your plywood
Before you put plywood up on your beautiful frame you spent all that time making, there are two things that need to happen to it first. you need to decide if you want to paint it, and you need to install t-nuts.
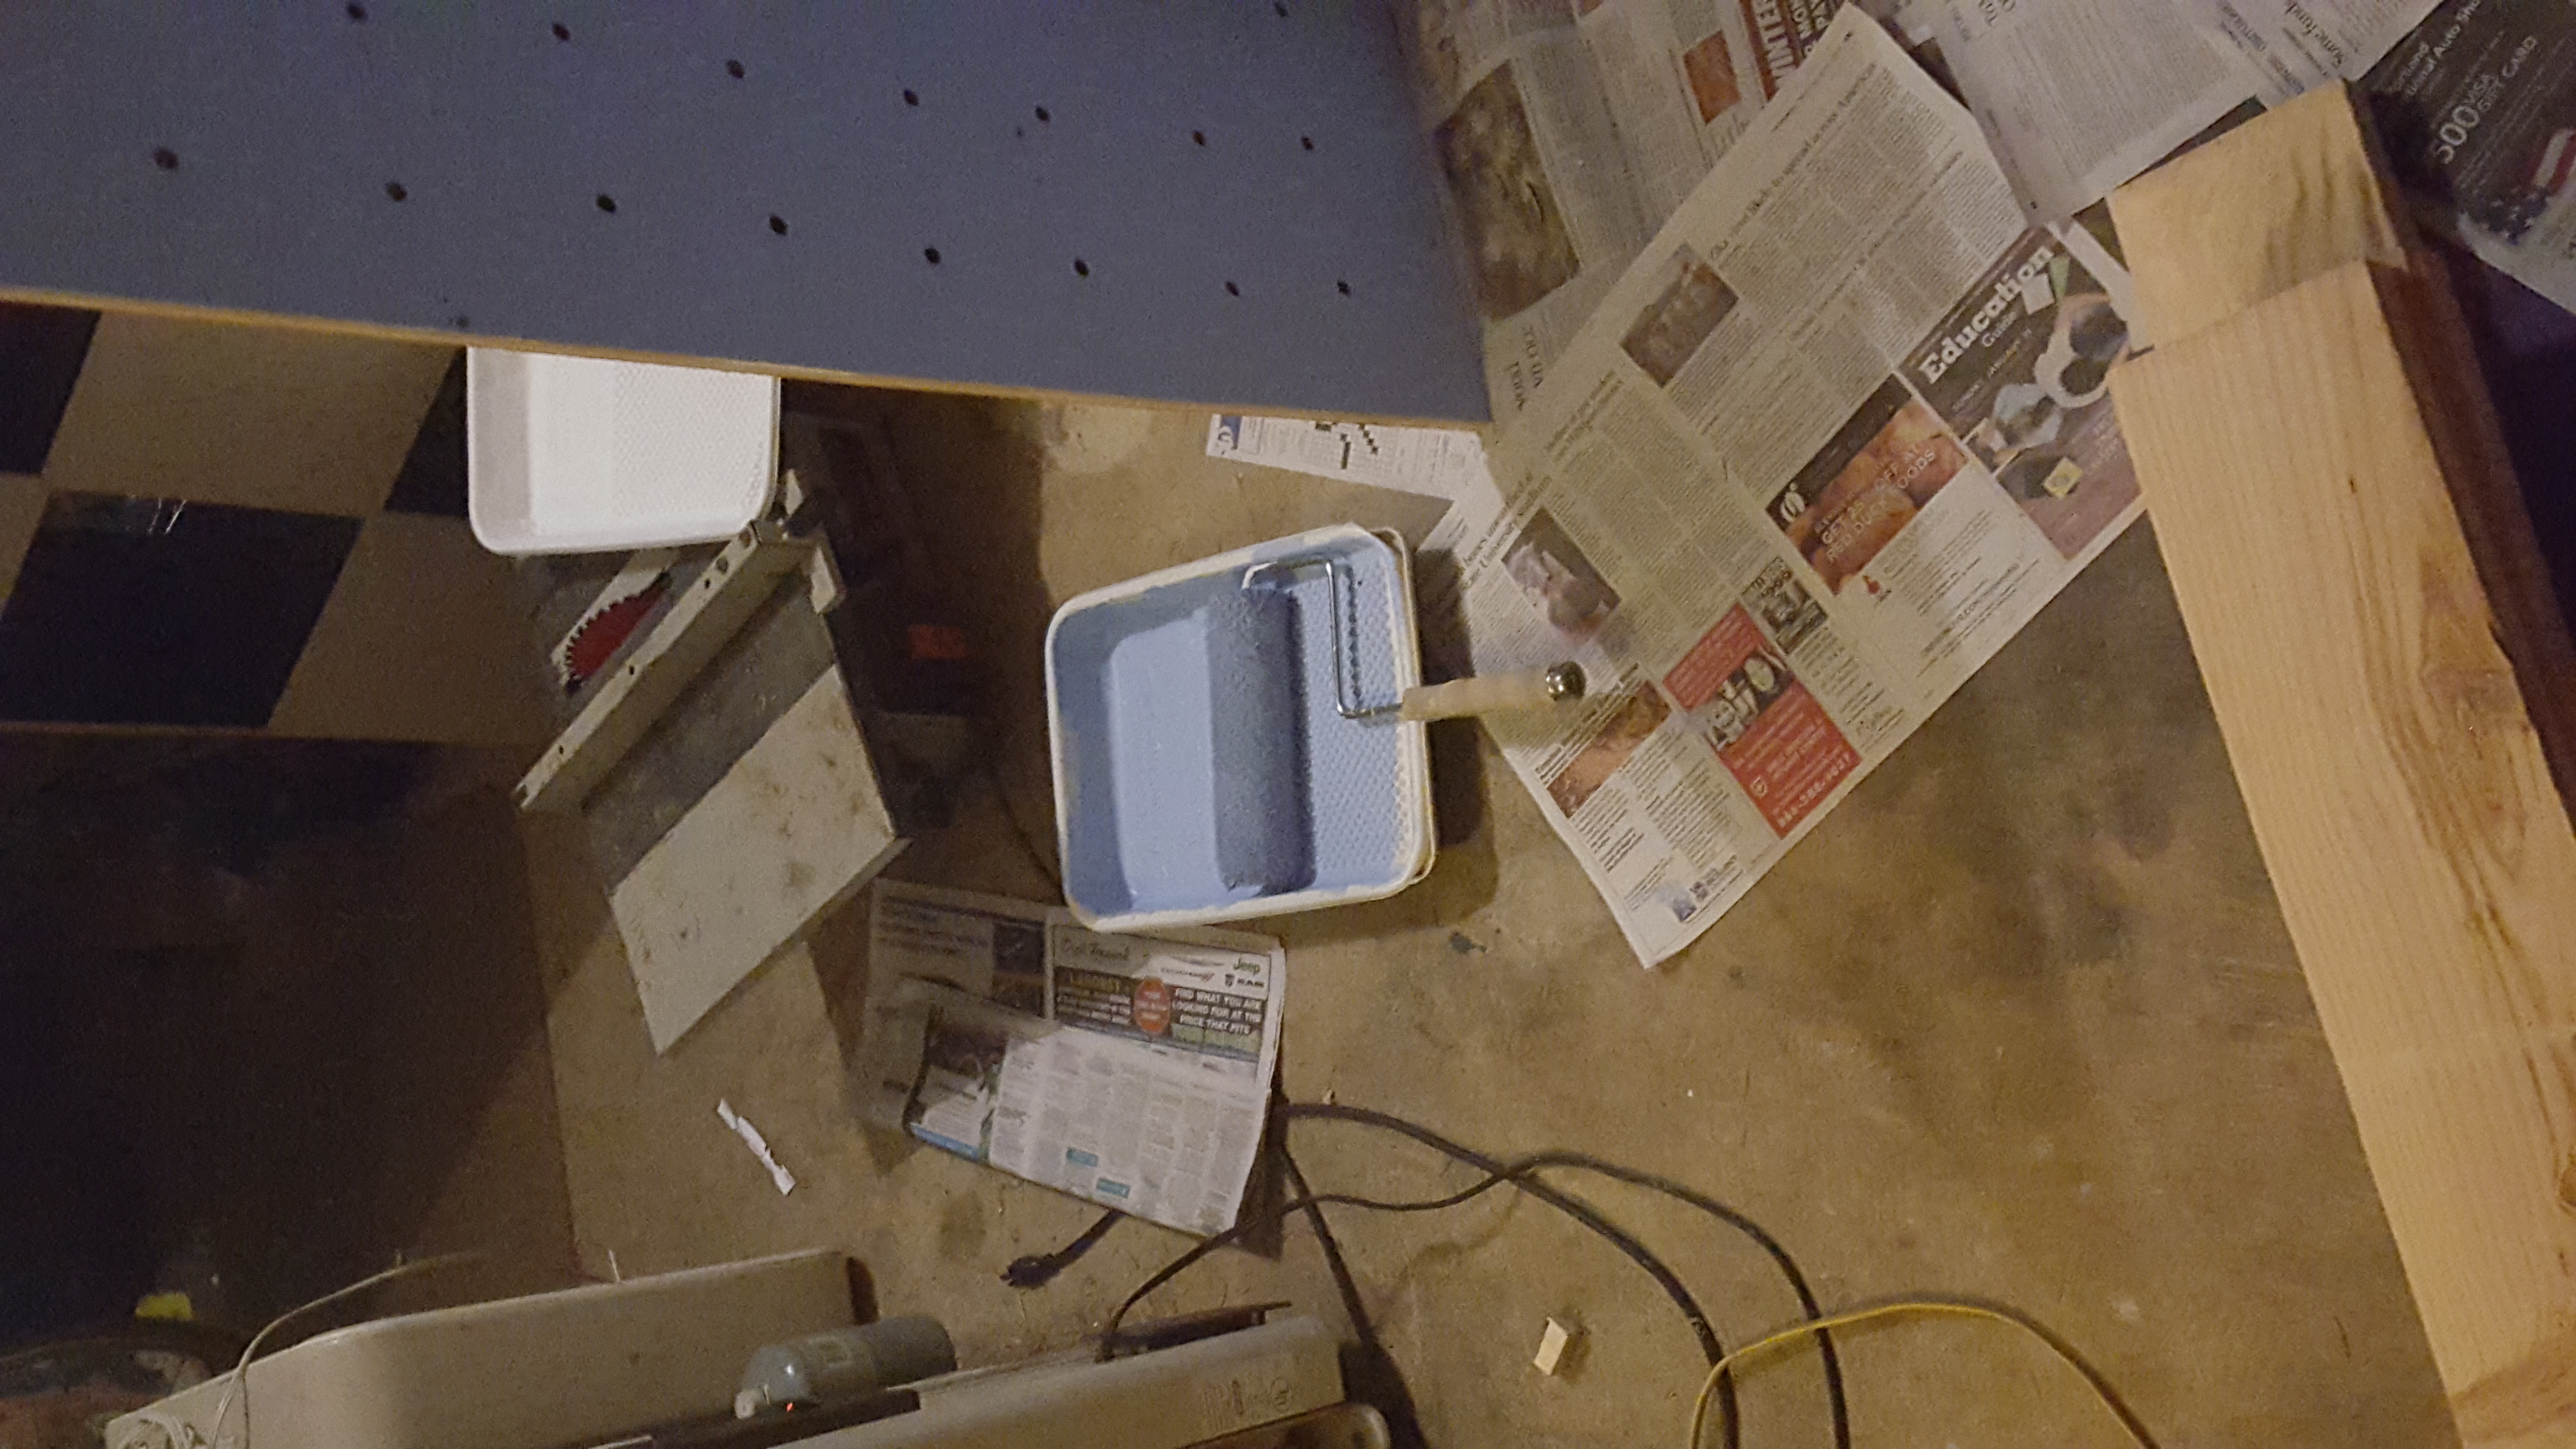
The great debate that rages across all the forums where people talk about making their own climbing walls is too paint or not too paint. Not painting your wall will certainly make things easier, you will save your self a lot of time and money. Using raw plywood for your climbing wall means that as soon as you have it cut and drilled for your t-nuts, you can install it on that frame you made. However, climbing walls that are just raw wood look, in my opinion, ugly. I know if you are a business, looking to build your own climbing wall, you will want it to look nice and professional, which means it needs paint. You cant use just paint, as when you tighten a hold down onto the painted wall, the paint will act like glue, and it will become nearly impossible to get the hold off, and if you do get it off, you will certainly mess up your paint. You need to lay a base coat of textured primer, and then a sealing top coat of paint. The texture in the paint keeps the holds from sticking. The mix I used was four to one paint to sand by volume. Use clean Silca sand, which can be purchased from most hardware stores. A little drywall topping can be mixed in and helps suspend the sand in the mixture.
 |
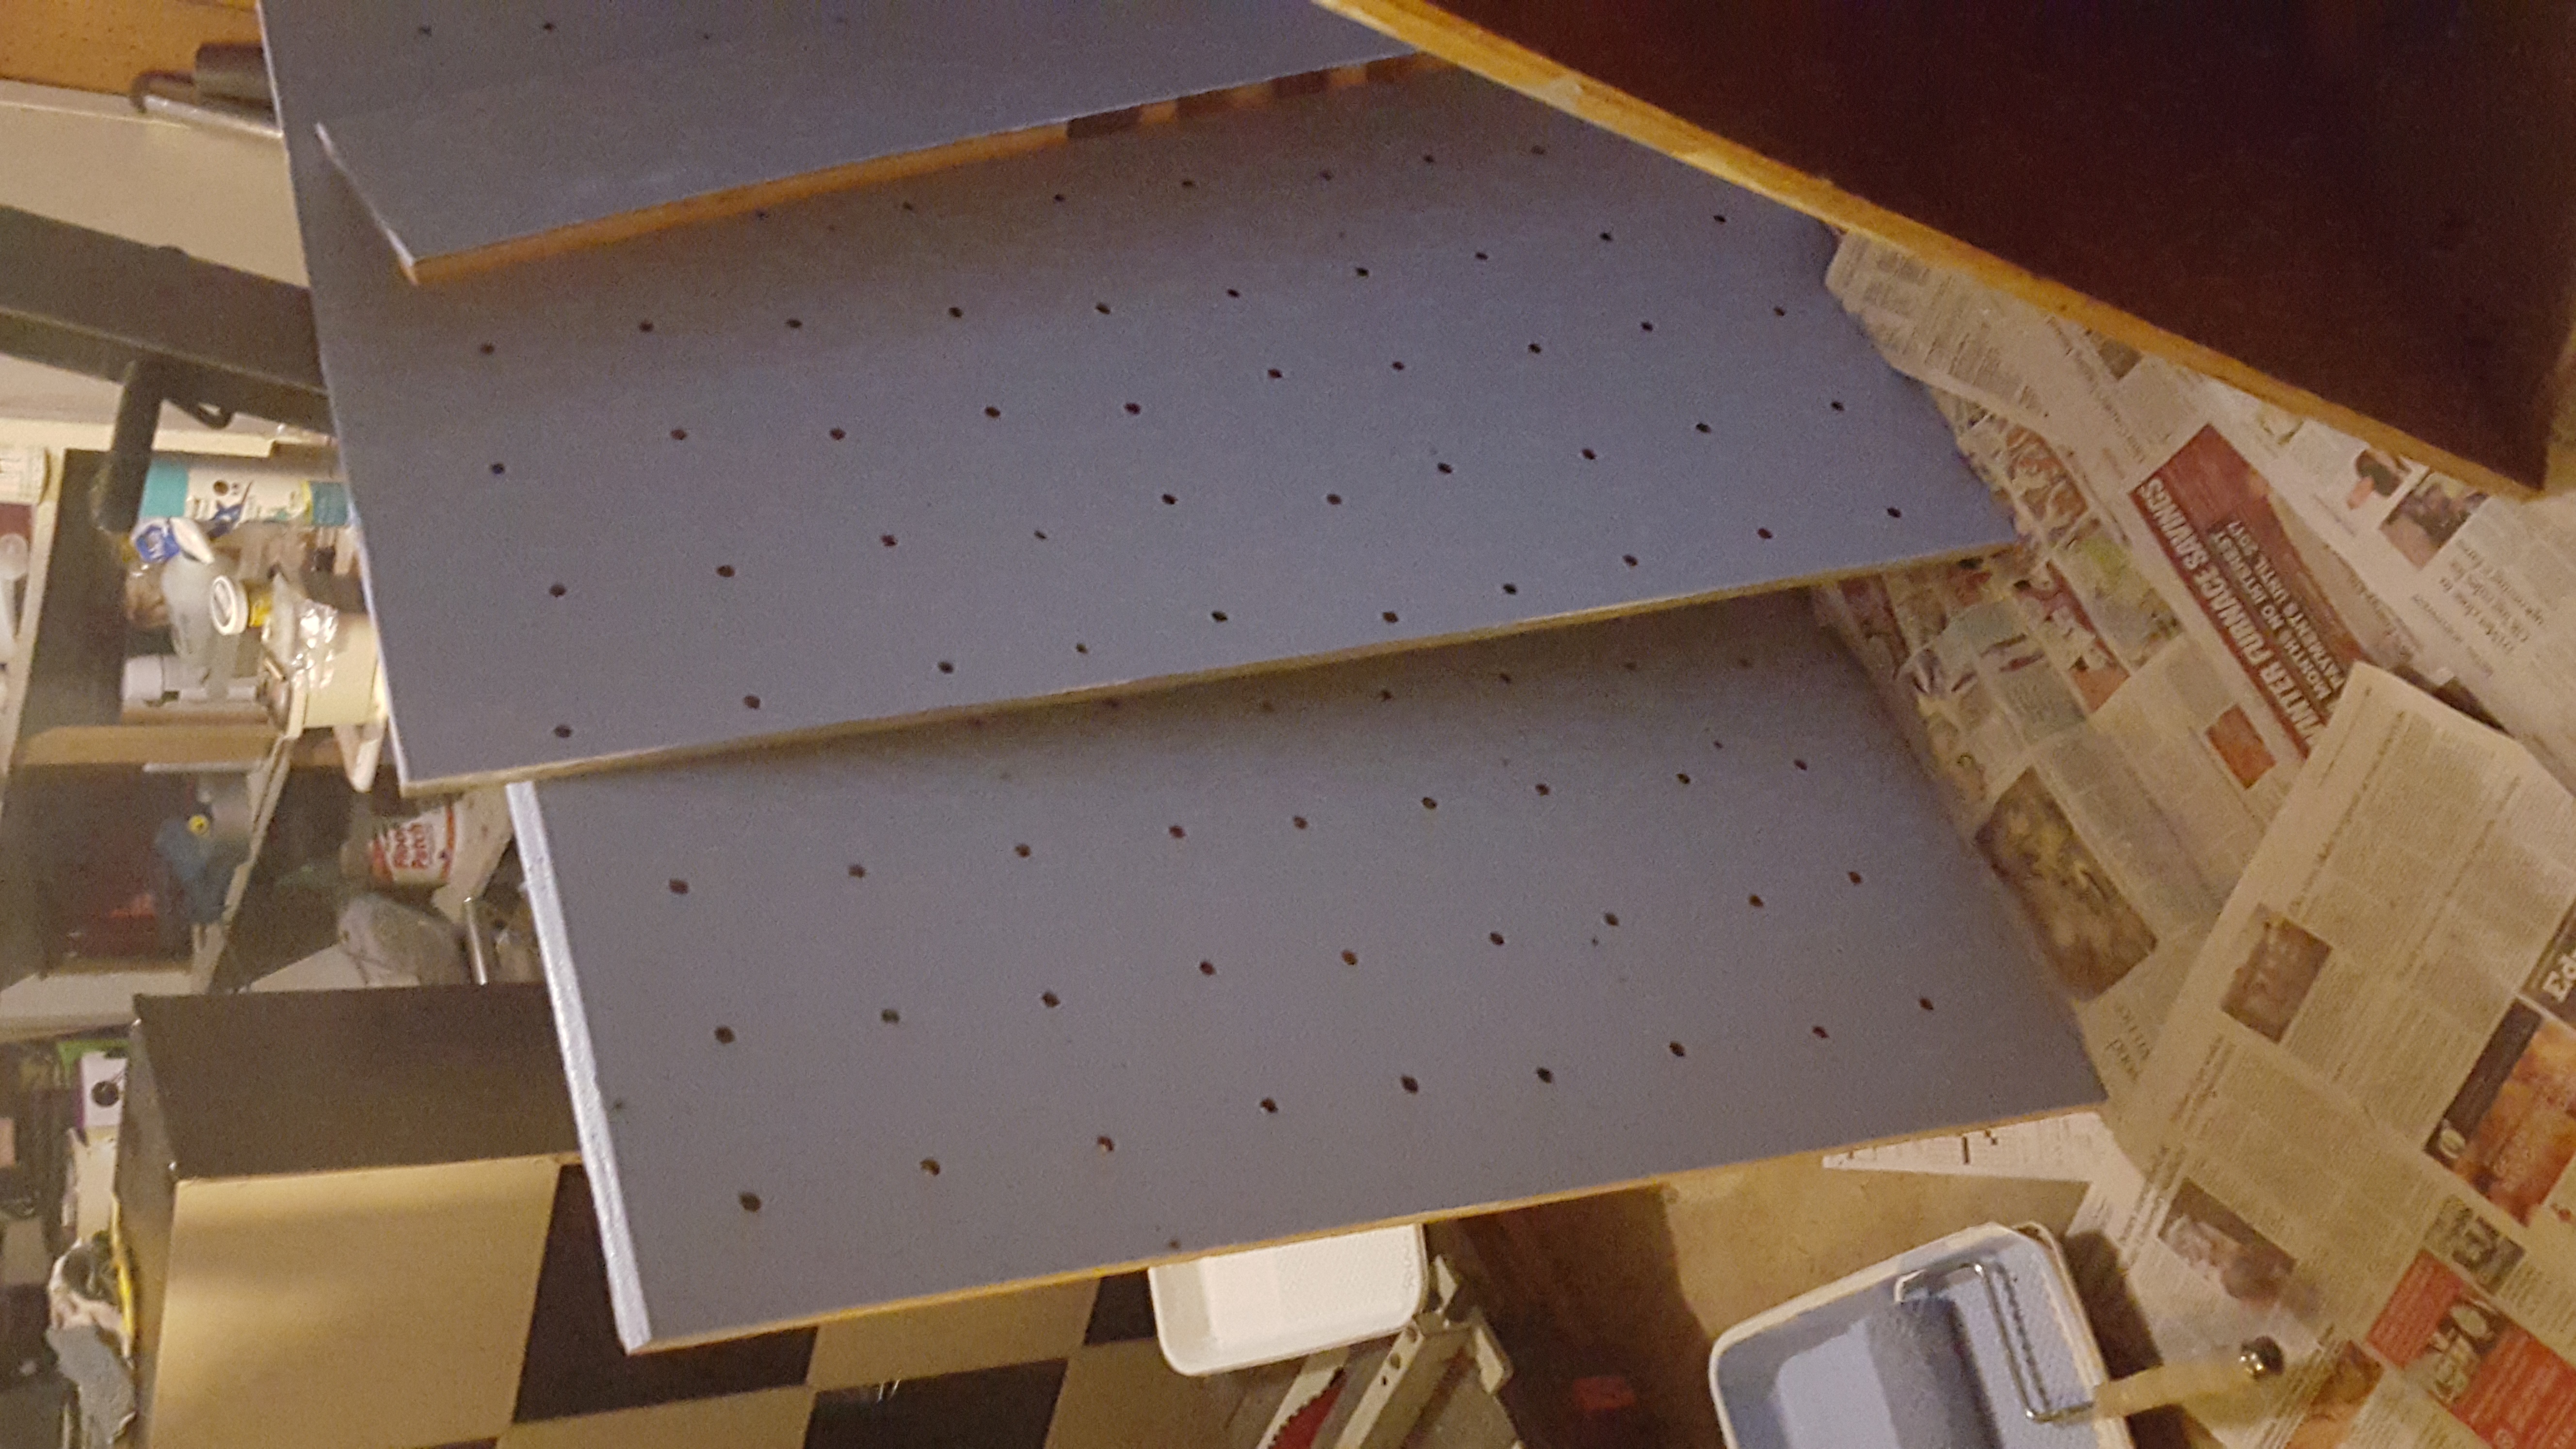 |
Depending on what guides you read, you will hear every order and variation of paint and t-nut install possible. I tried every single one, and two stand out without a doubt as being the easiest. I would recommend painting first, and then wait for the paint to dry before drilling holes. This works pretty well IF you use a Fostner drill bit; Fostner bits punch nice clean holes that wont need any cleaning afterwards, we used a threaded spade tip bit that unfortunately made very messy holes that each needed to be cleaned up with an exacto knife. That was a lot of cutting and scraping, unfortunately. If you chose to drill, and then paint, or want to paint a wall that already has t-nuts in it, order a bag of golf tees. These work to perfectly plug the holes in the wall, and while putting one in every hole, and taking them out once painted can be annoying, it is easier then cleaning every t-nut with a thread cutter/tap.
Step five: Installing your t-nuts
Drilling your t-nut holes also takes a lot of work. This video will help you with the process, but remember, use a fostner bit! The slight increase in money will be far outweighed by the time it saves you! If you decide to measure out the spacing for the t-nuts, do a small grid, then mark that grid on a piece of cardboard to use as a template and save yourself some time.
 |
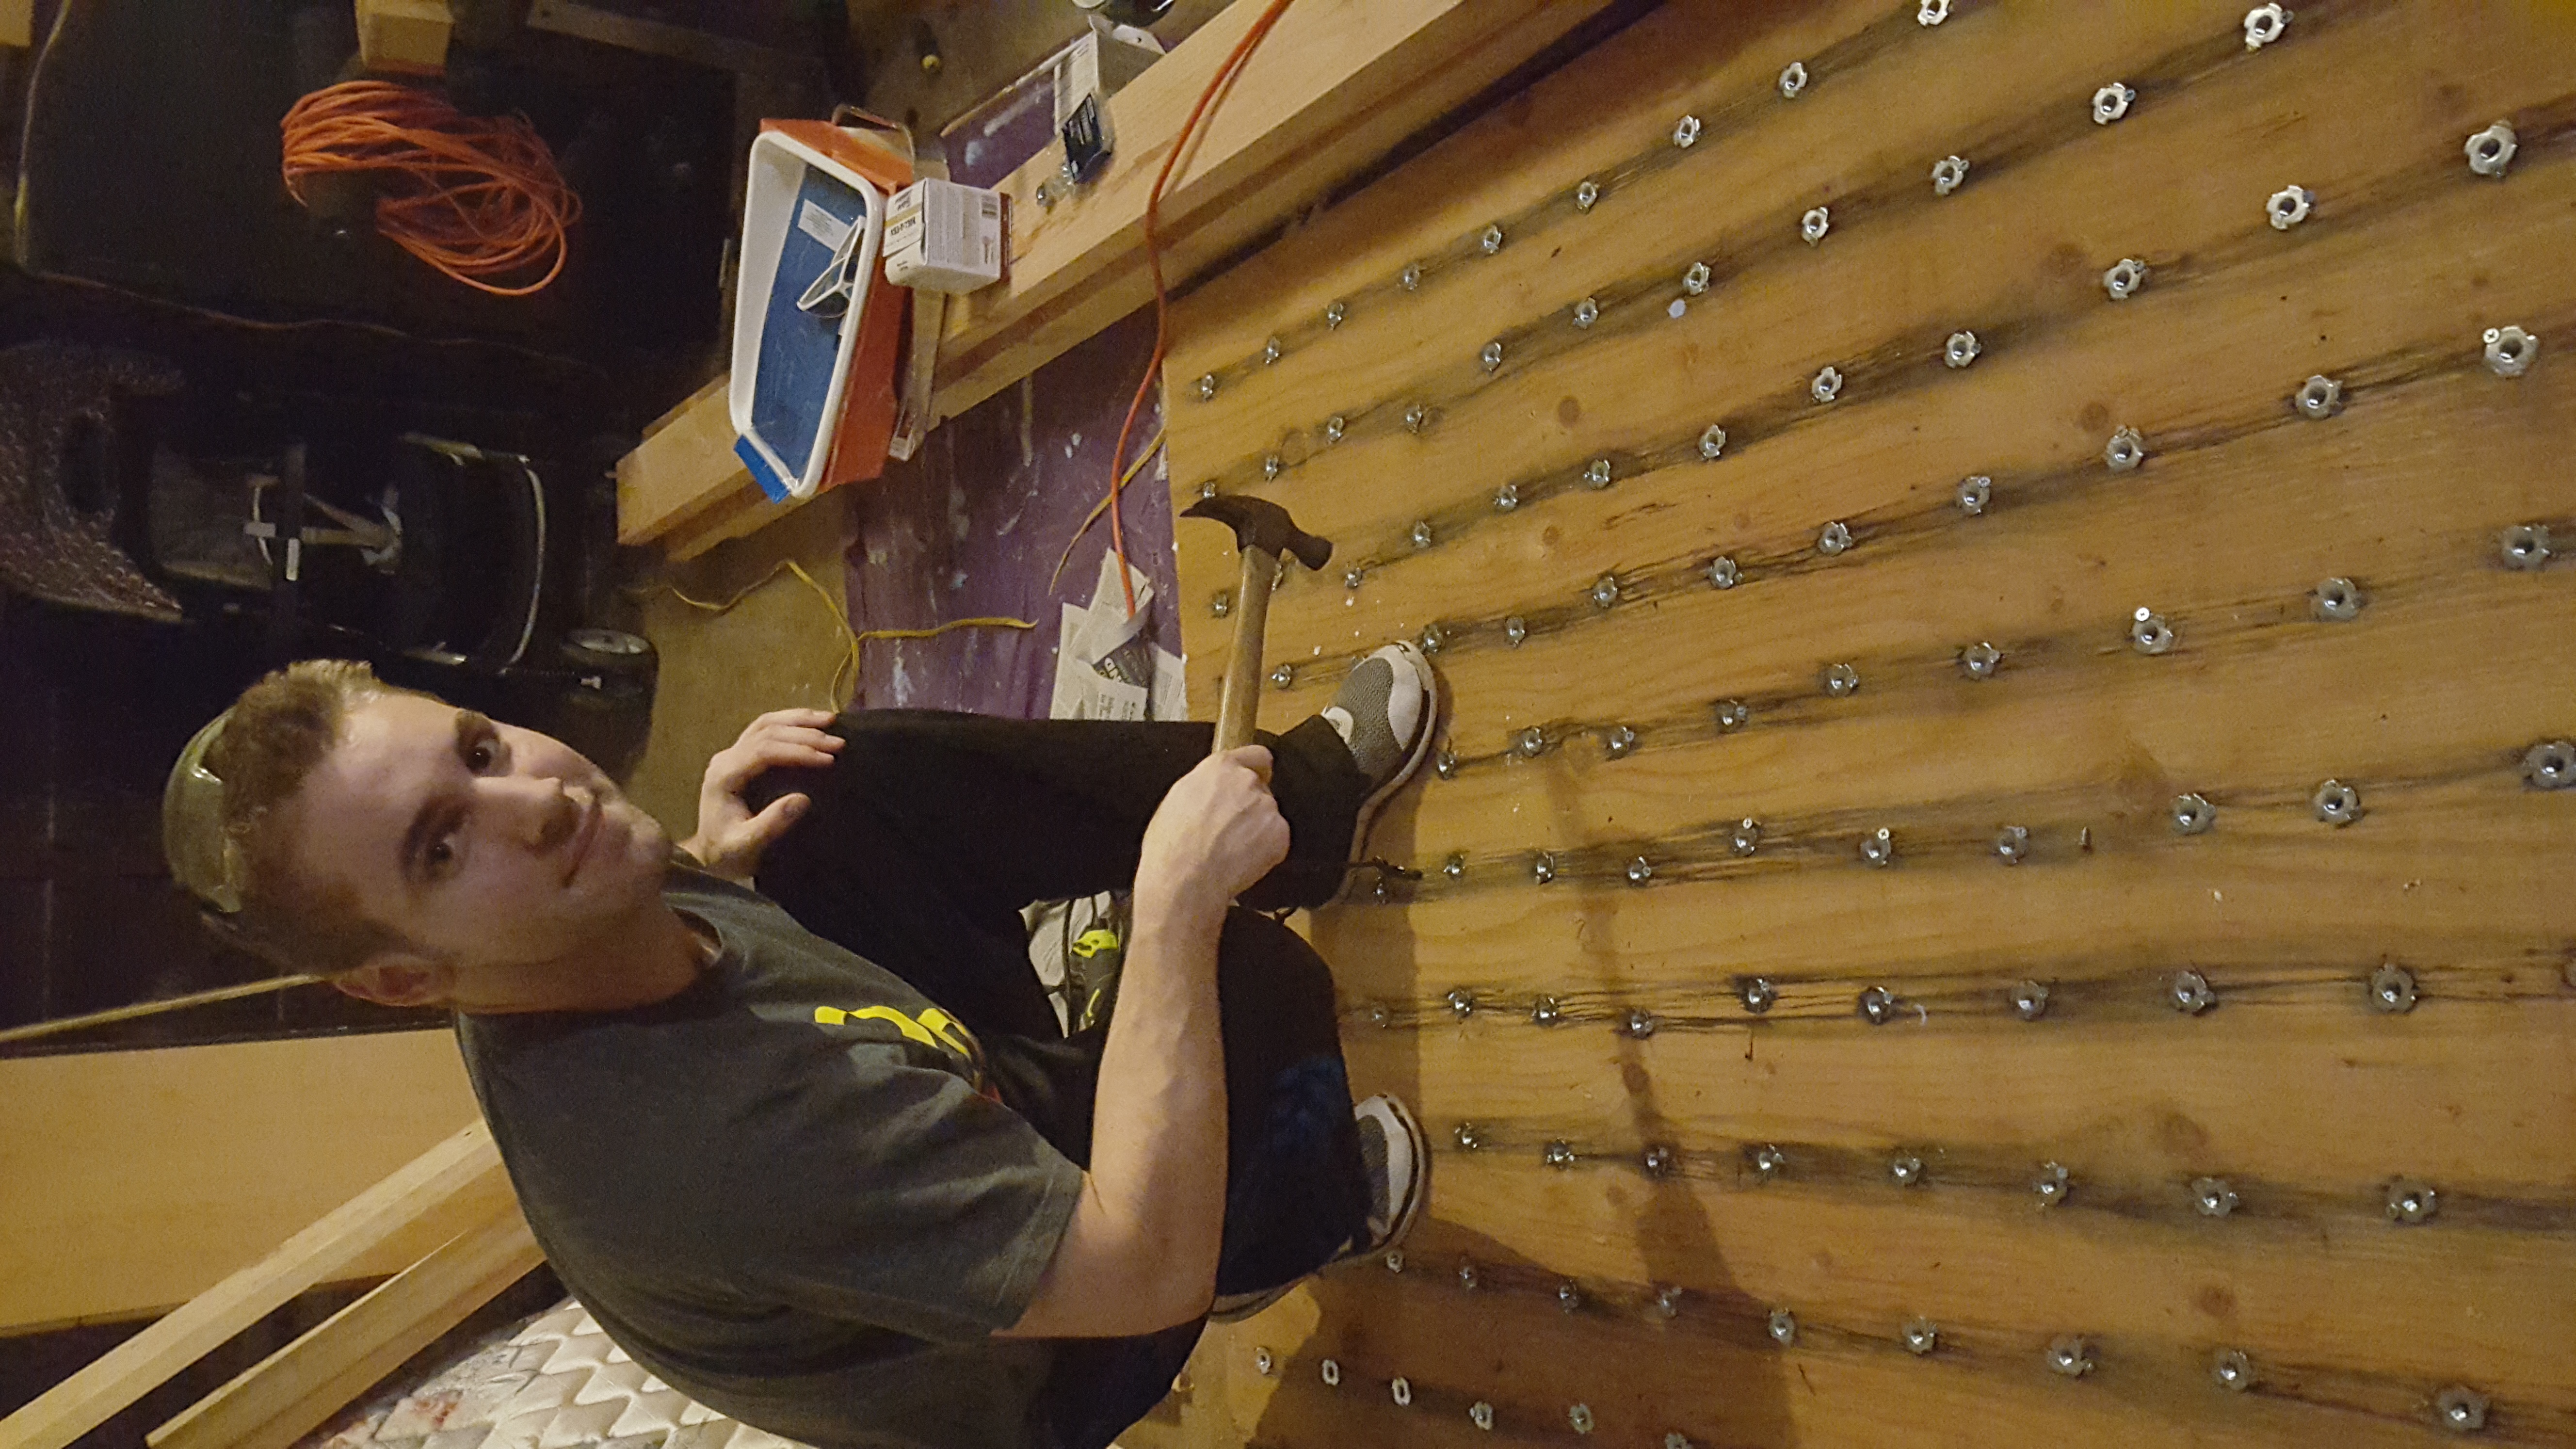 |
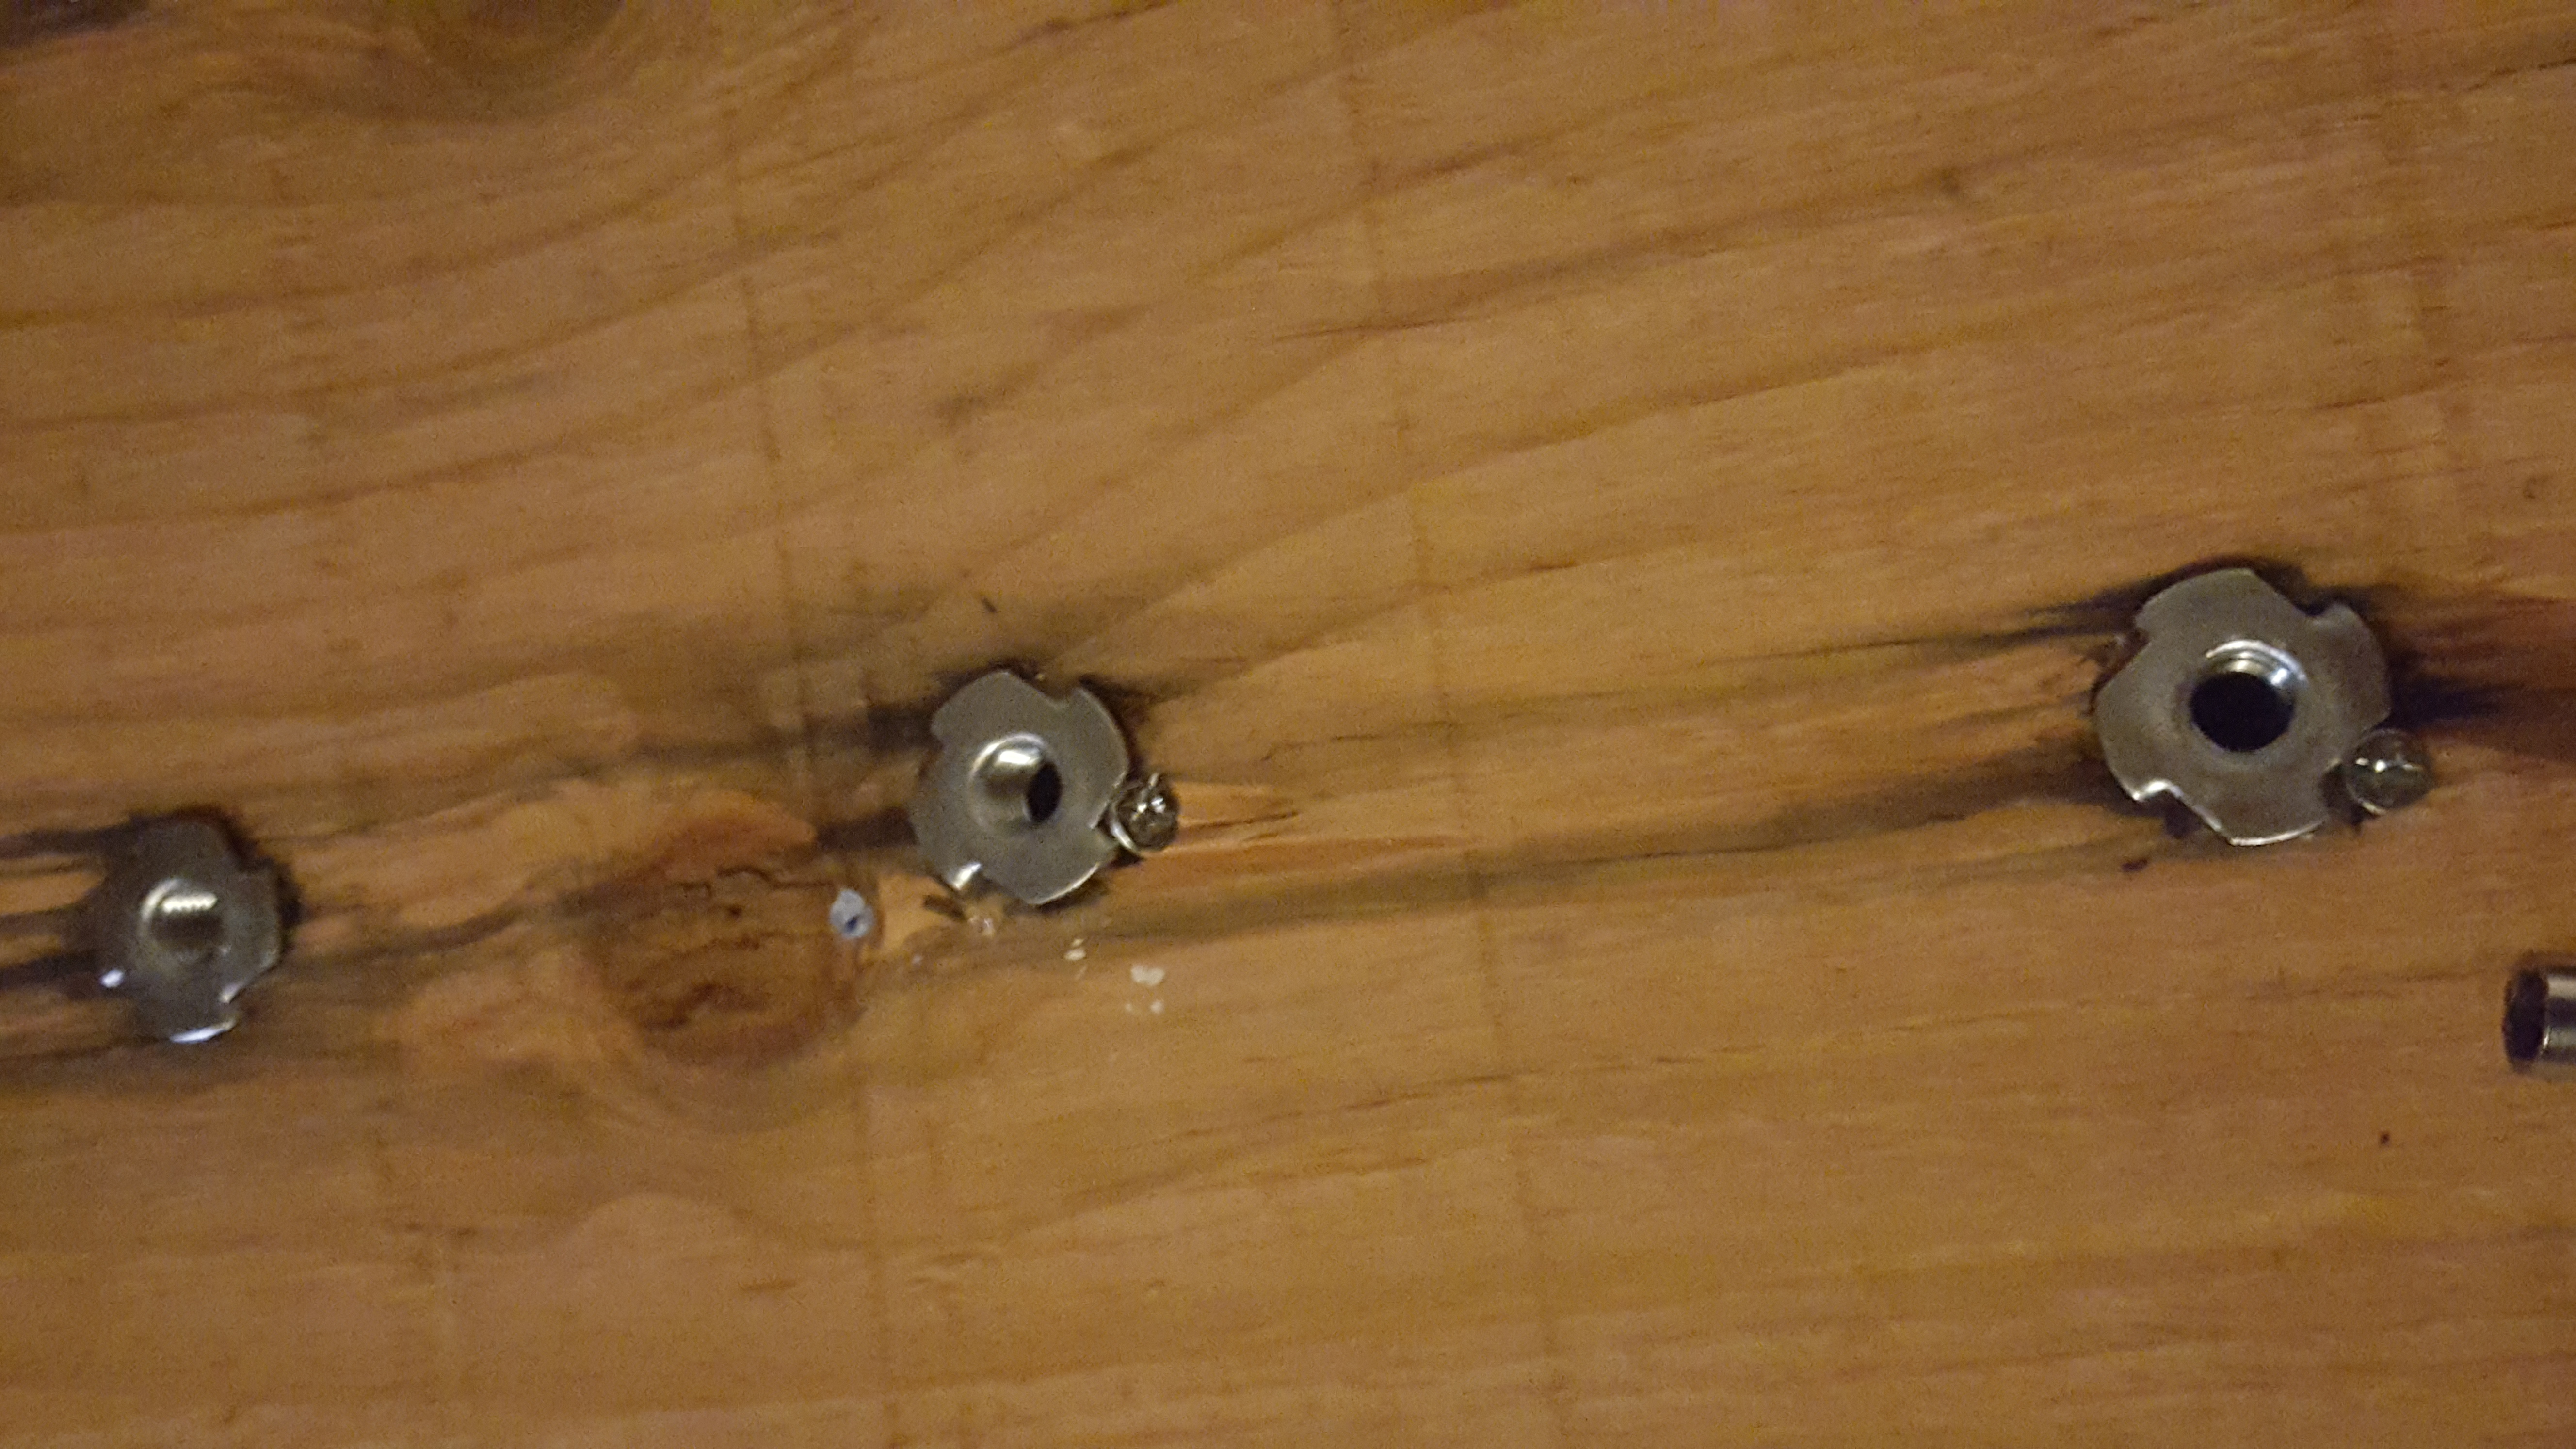
Once the holes are drilled, Its time to install the t-nuts. Again, a lot of guides show many different ways of installing the t-nut. Many involve a block of wood, a bolt and more tightening then you could possibly imagine. Hand tightening each one in to the wall did not make sense for me time wise. I had already spent way more time on this project then I meant to, so I went the easier route; a hammer. However, I was paranoid, you are supposed to leave access to the back of your climbing wall in case one of your t-nuts becomes a spinner, or you strip it out. I dont have access to the back of my wall. I had also ordered t-nuts when I was excited, and before I had done my research, meaning I had four prong t-nuts, even though many sites recommend the screw in t-nuts for commercial gyms. To compensate for this, and as extra insurance, I used gorilla glue on every t-nut, as well as a small wood screw behind each and every screw. So much hammering and screwing.
|
 |
I have only had one dead t-nut so far, and the wall has been up for over 6 months and gets reset very frequently, so I know my precautions worked! However, be careful to get the t-nuts in straight, otherwise you will have an unusable t-nut, despite your glue and screws. A final tip, purchasing a t-nut tap is a good idea. I did so, and it saved me as I had quite a few t-nuts with glue or debree in them that would have made them unusable if not for that handy little tool. as soon as your t-nuts are in the wall, the plywood is ready to be installed!
 |
 |
You can also see that I filled the holes between the edges (saws are difficult to use) this made the finished project look so much better!
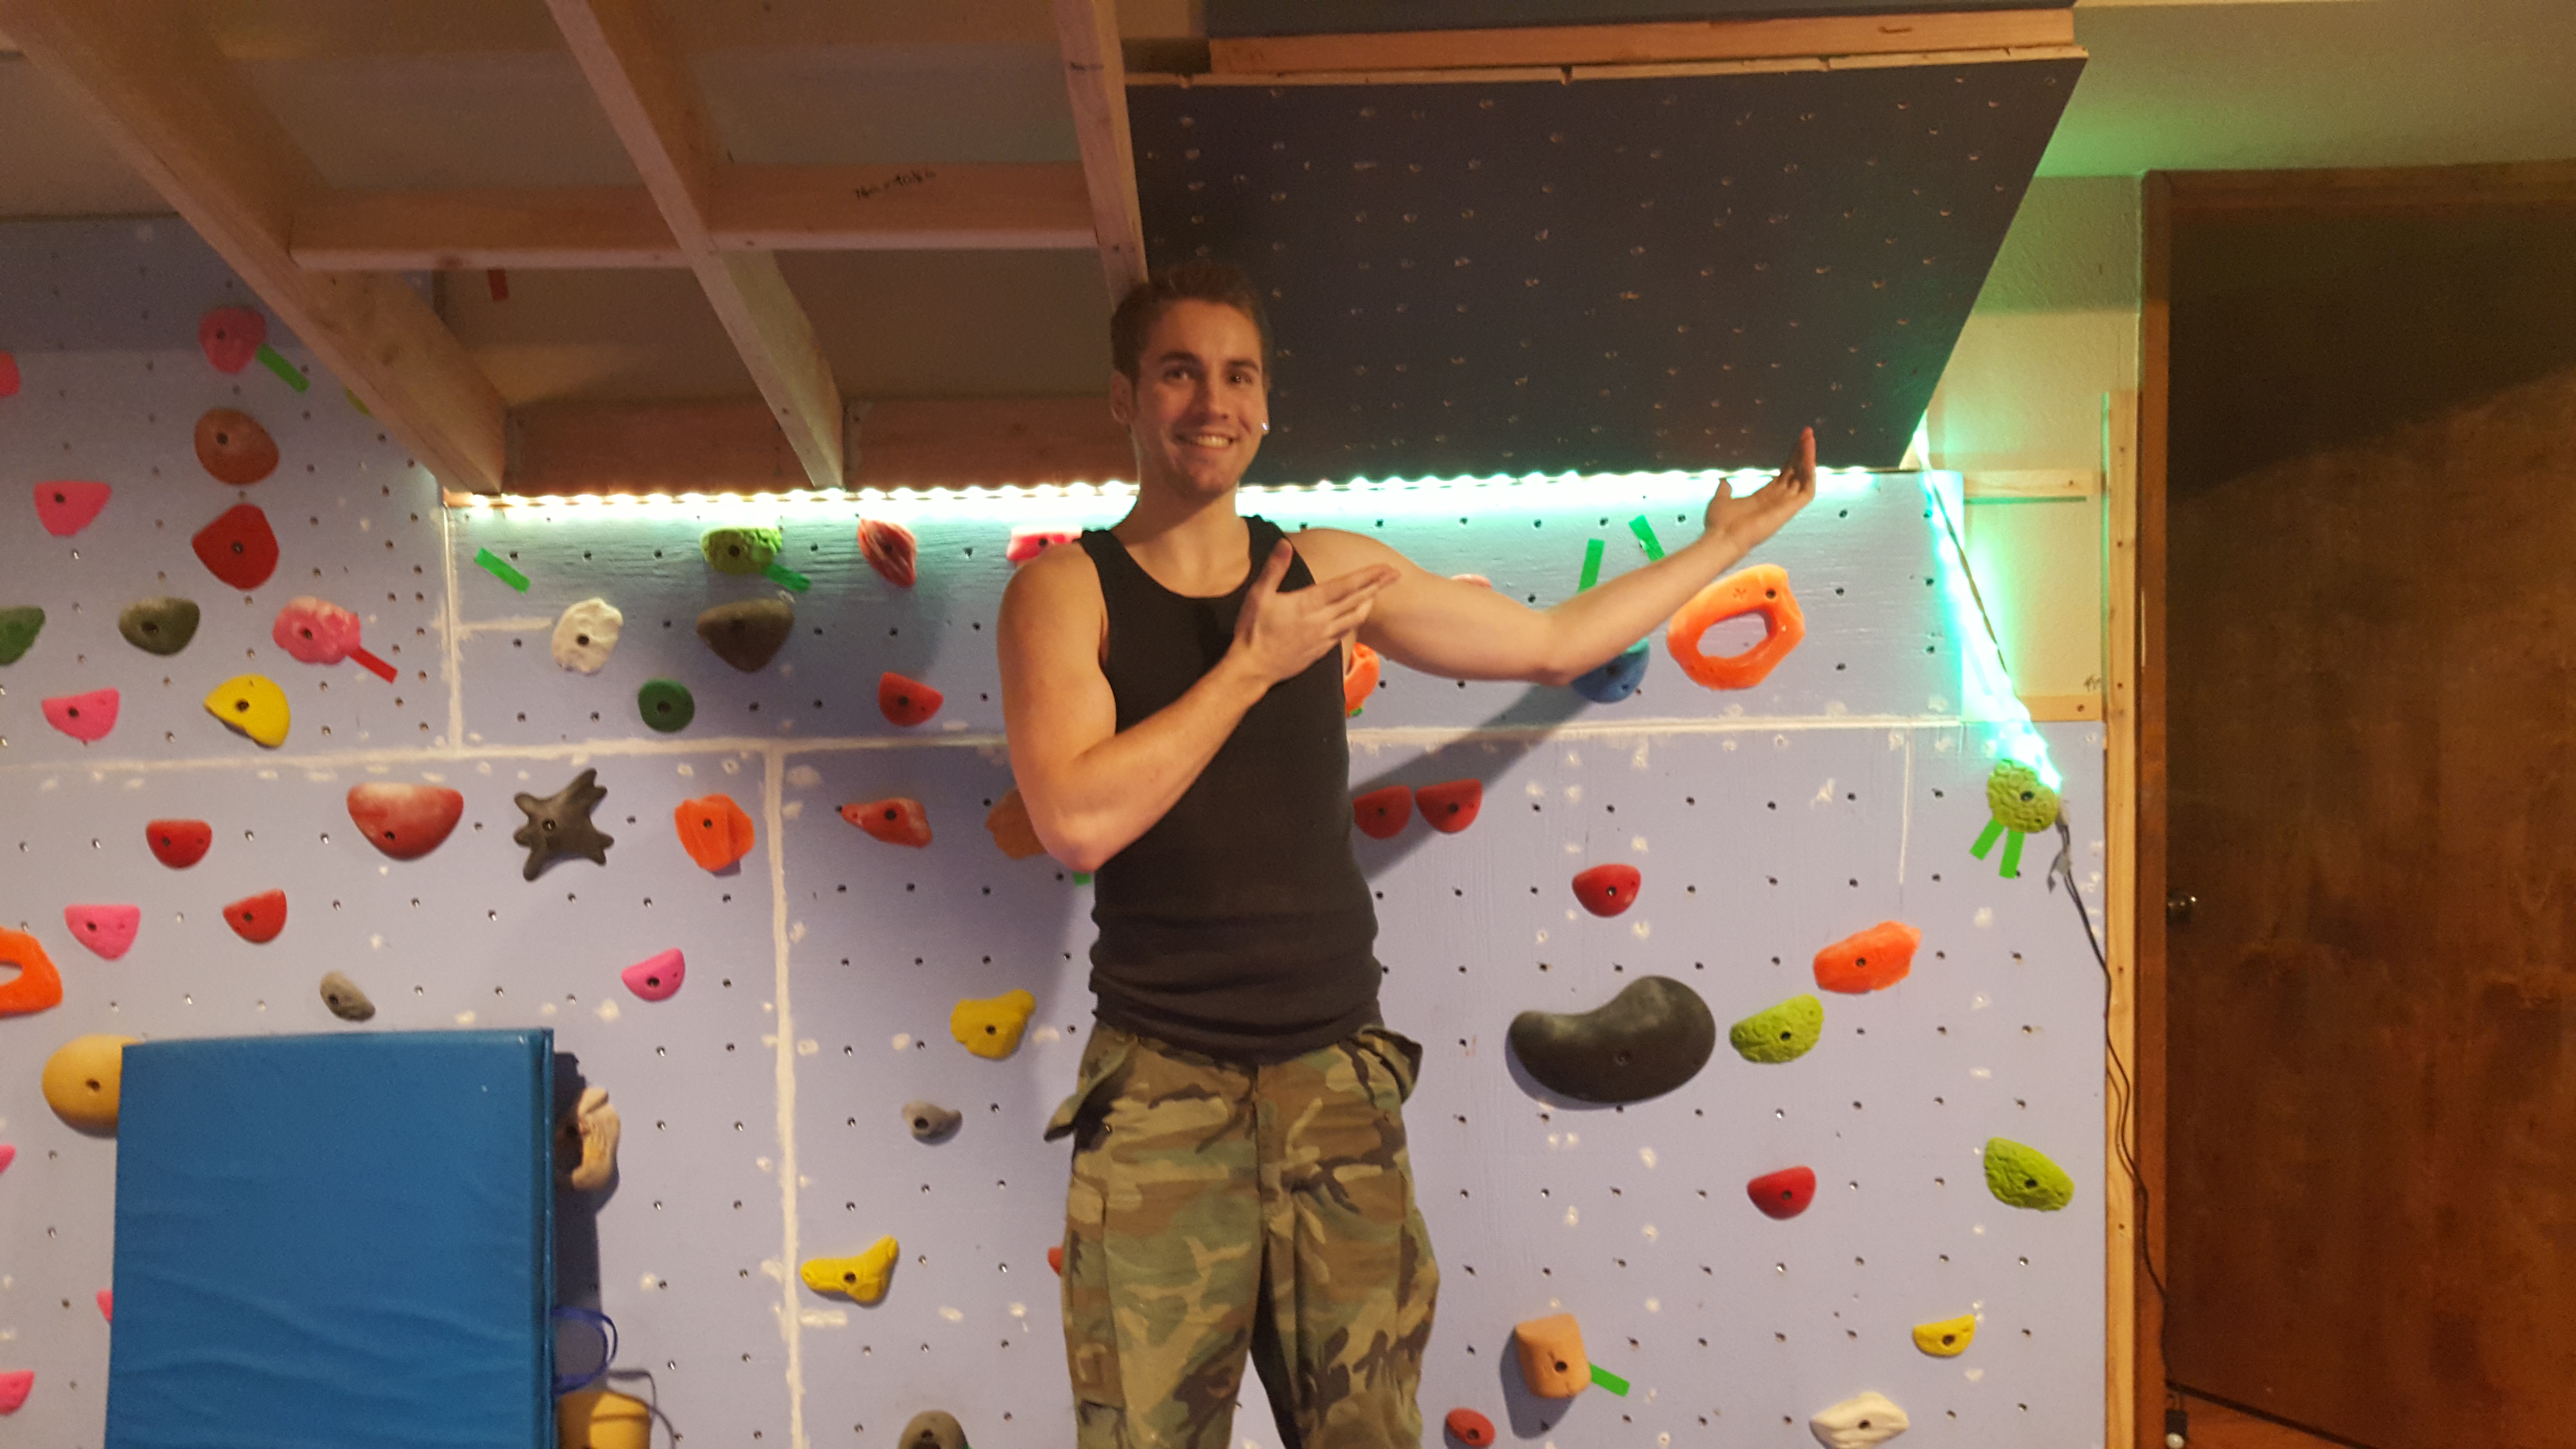
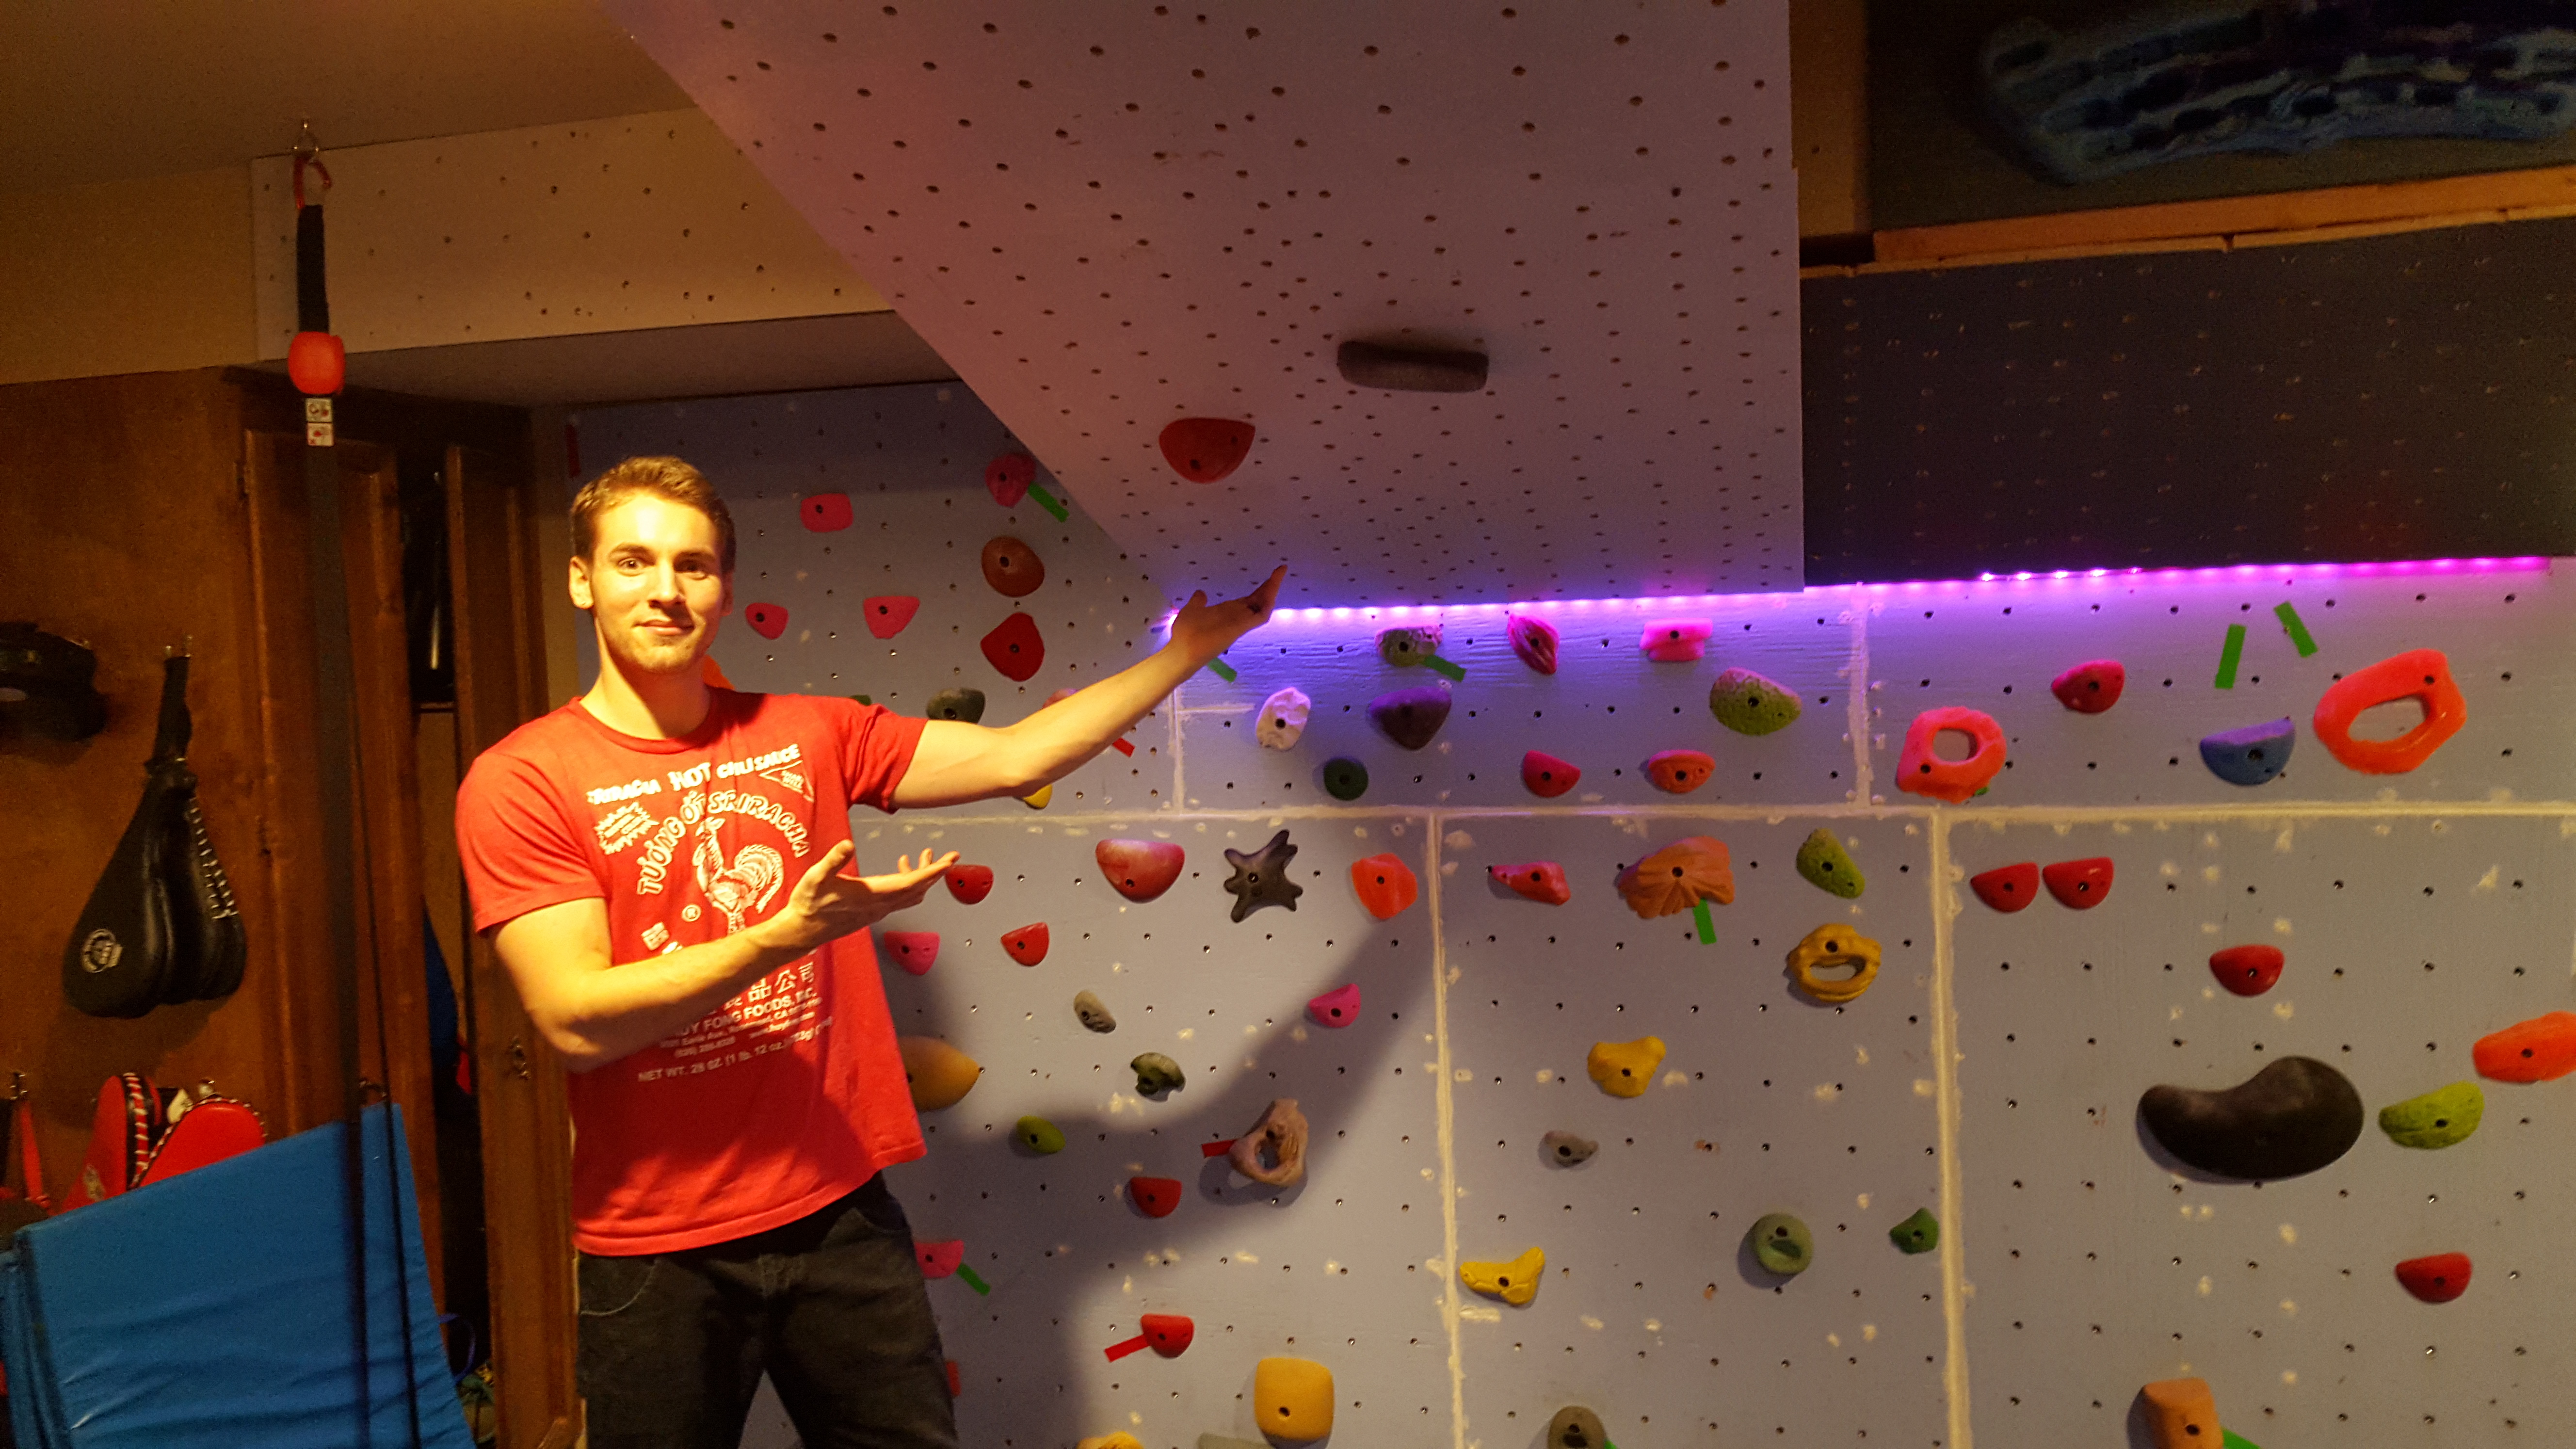
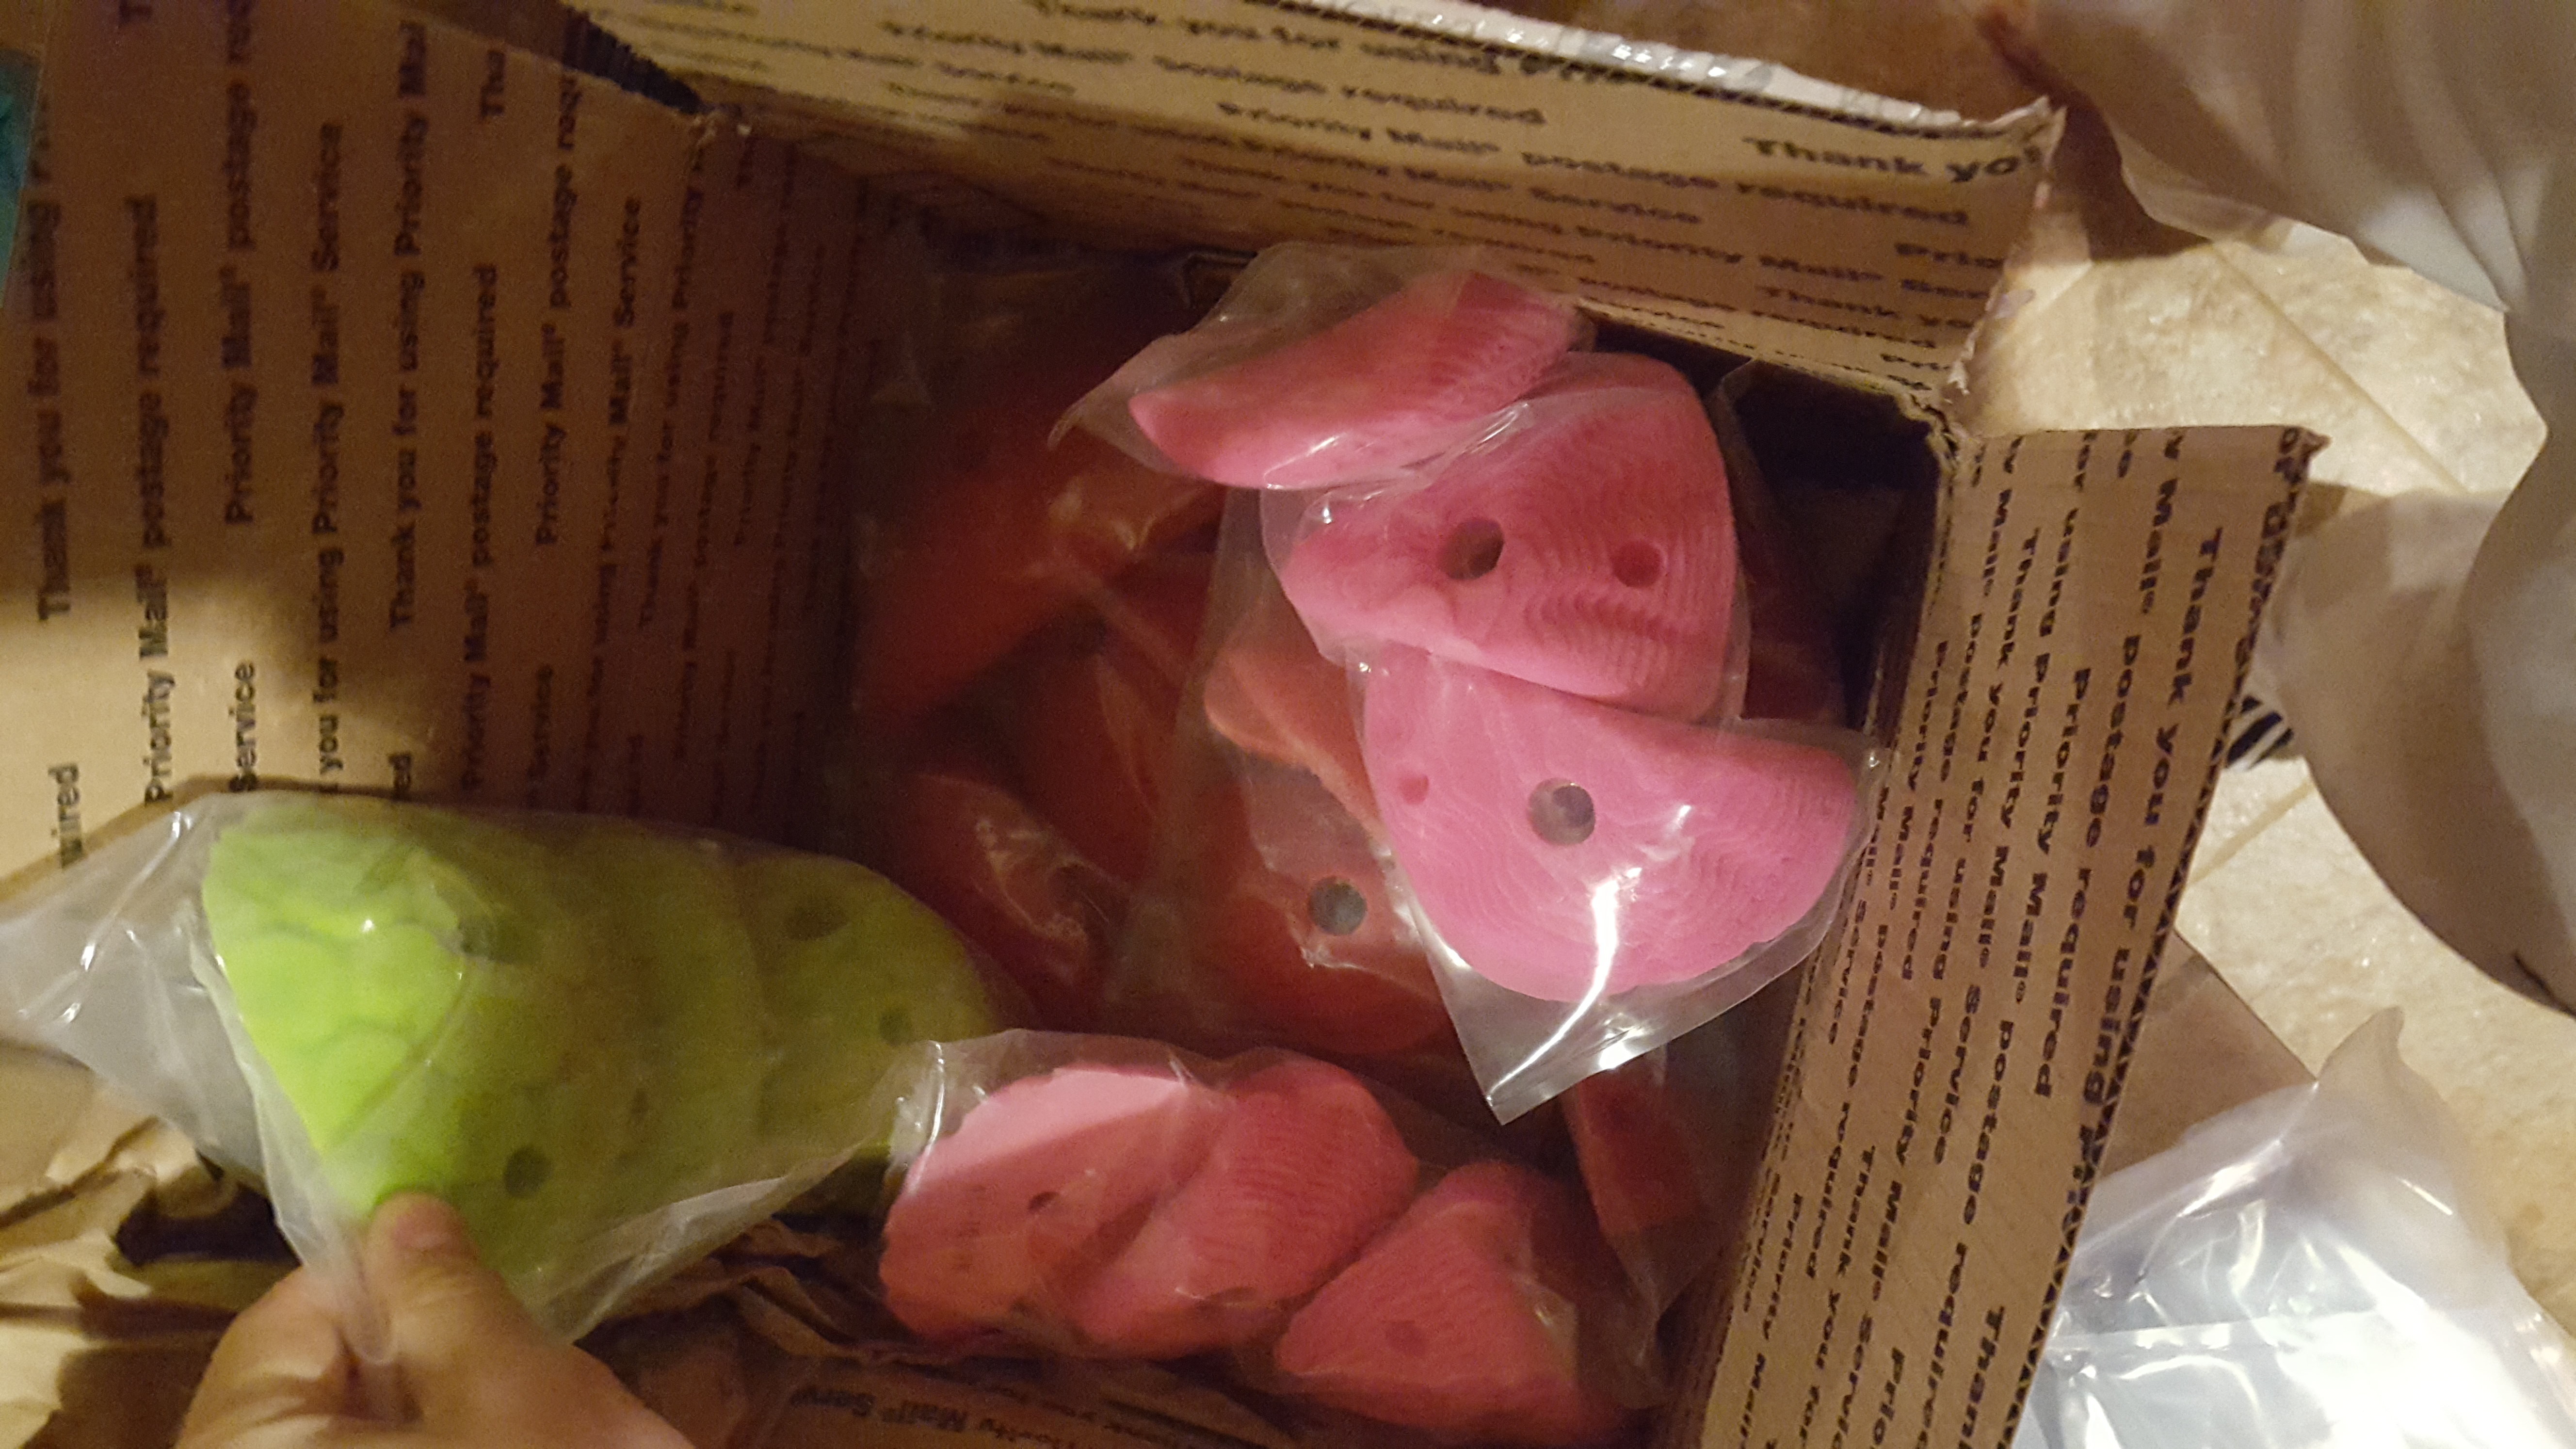
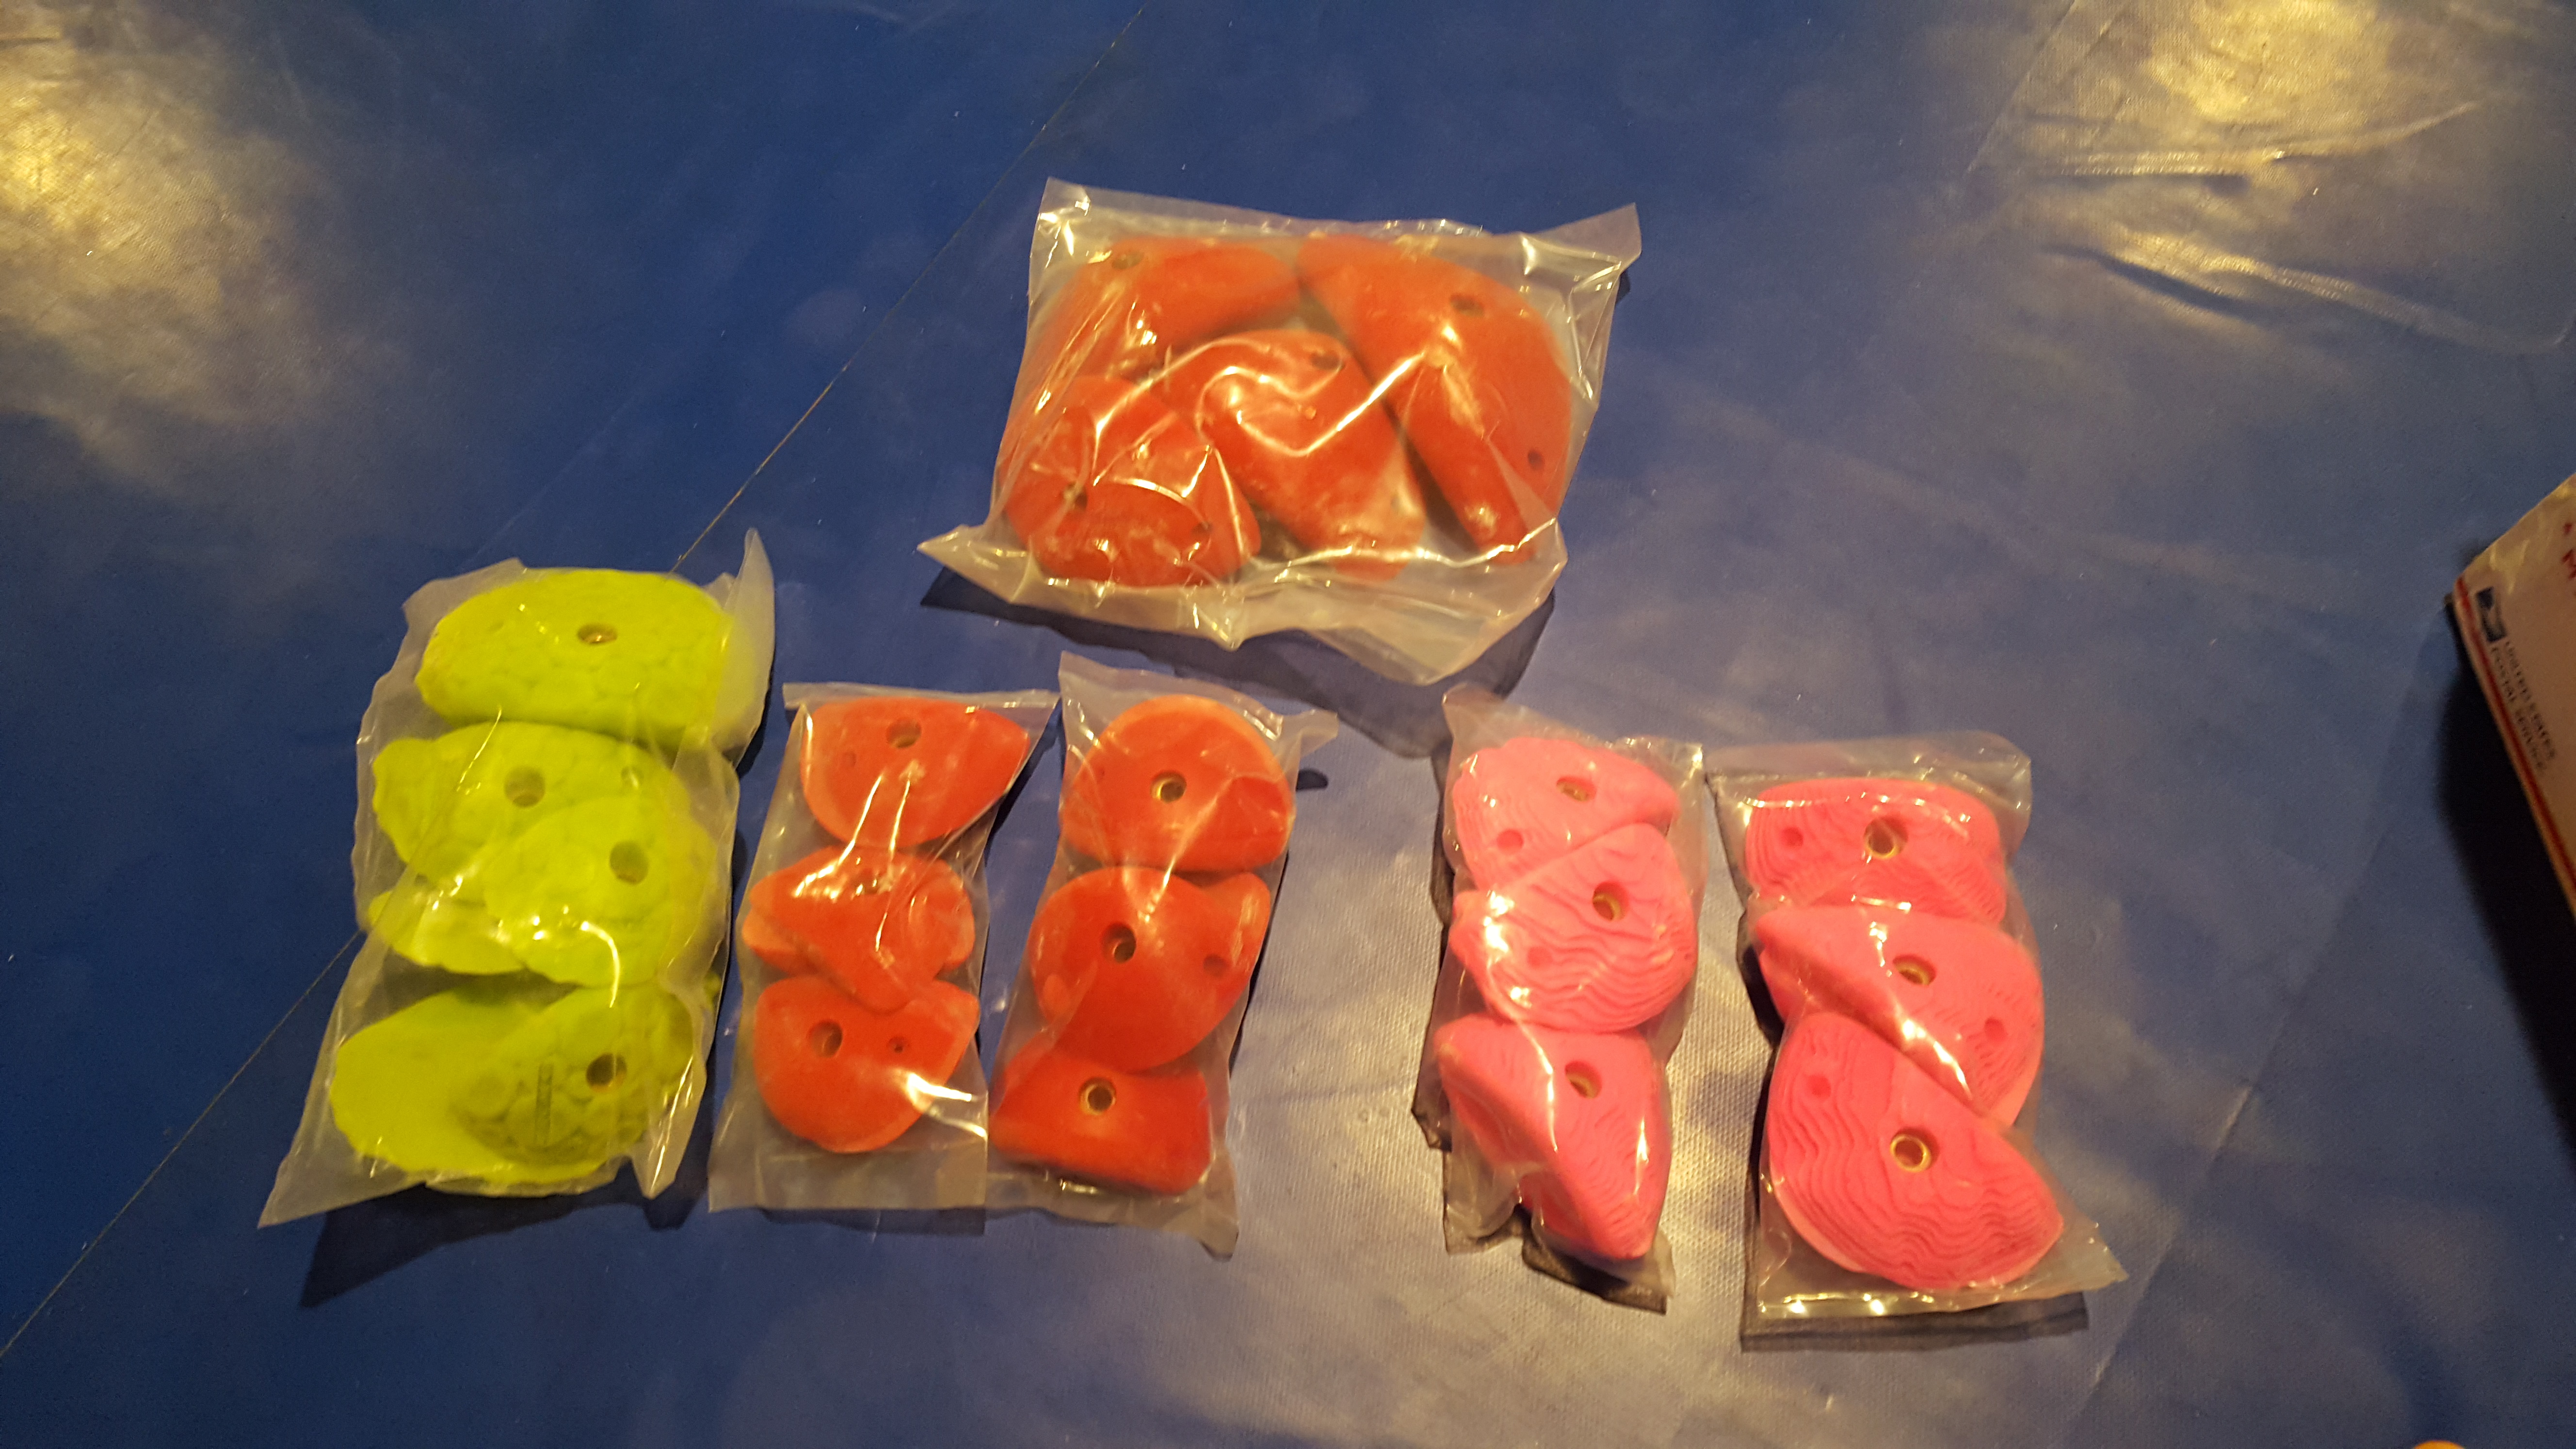
Step six: choosing holds, Route setting, and climbing on your wall
Now that your wall is fully assembled, you need to choose where to buy holds. I looked at every single climbing hold company I could find, read reviews, ordered samples, etc. My final verdict was that I loved the holds from Escape climbing, Atomic, Thrive climbing has a lot of awesome stuff, and Element was pretty cool as well. Buying new holds can be very addicting, and was honestly my favorite part of making the wall.
 |
 |
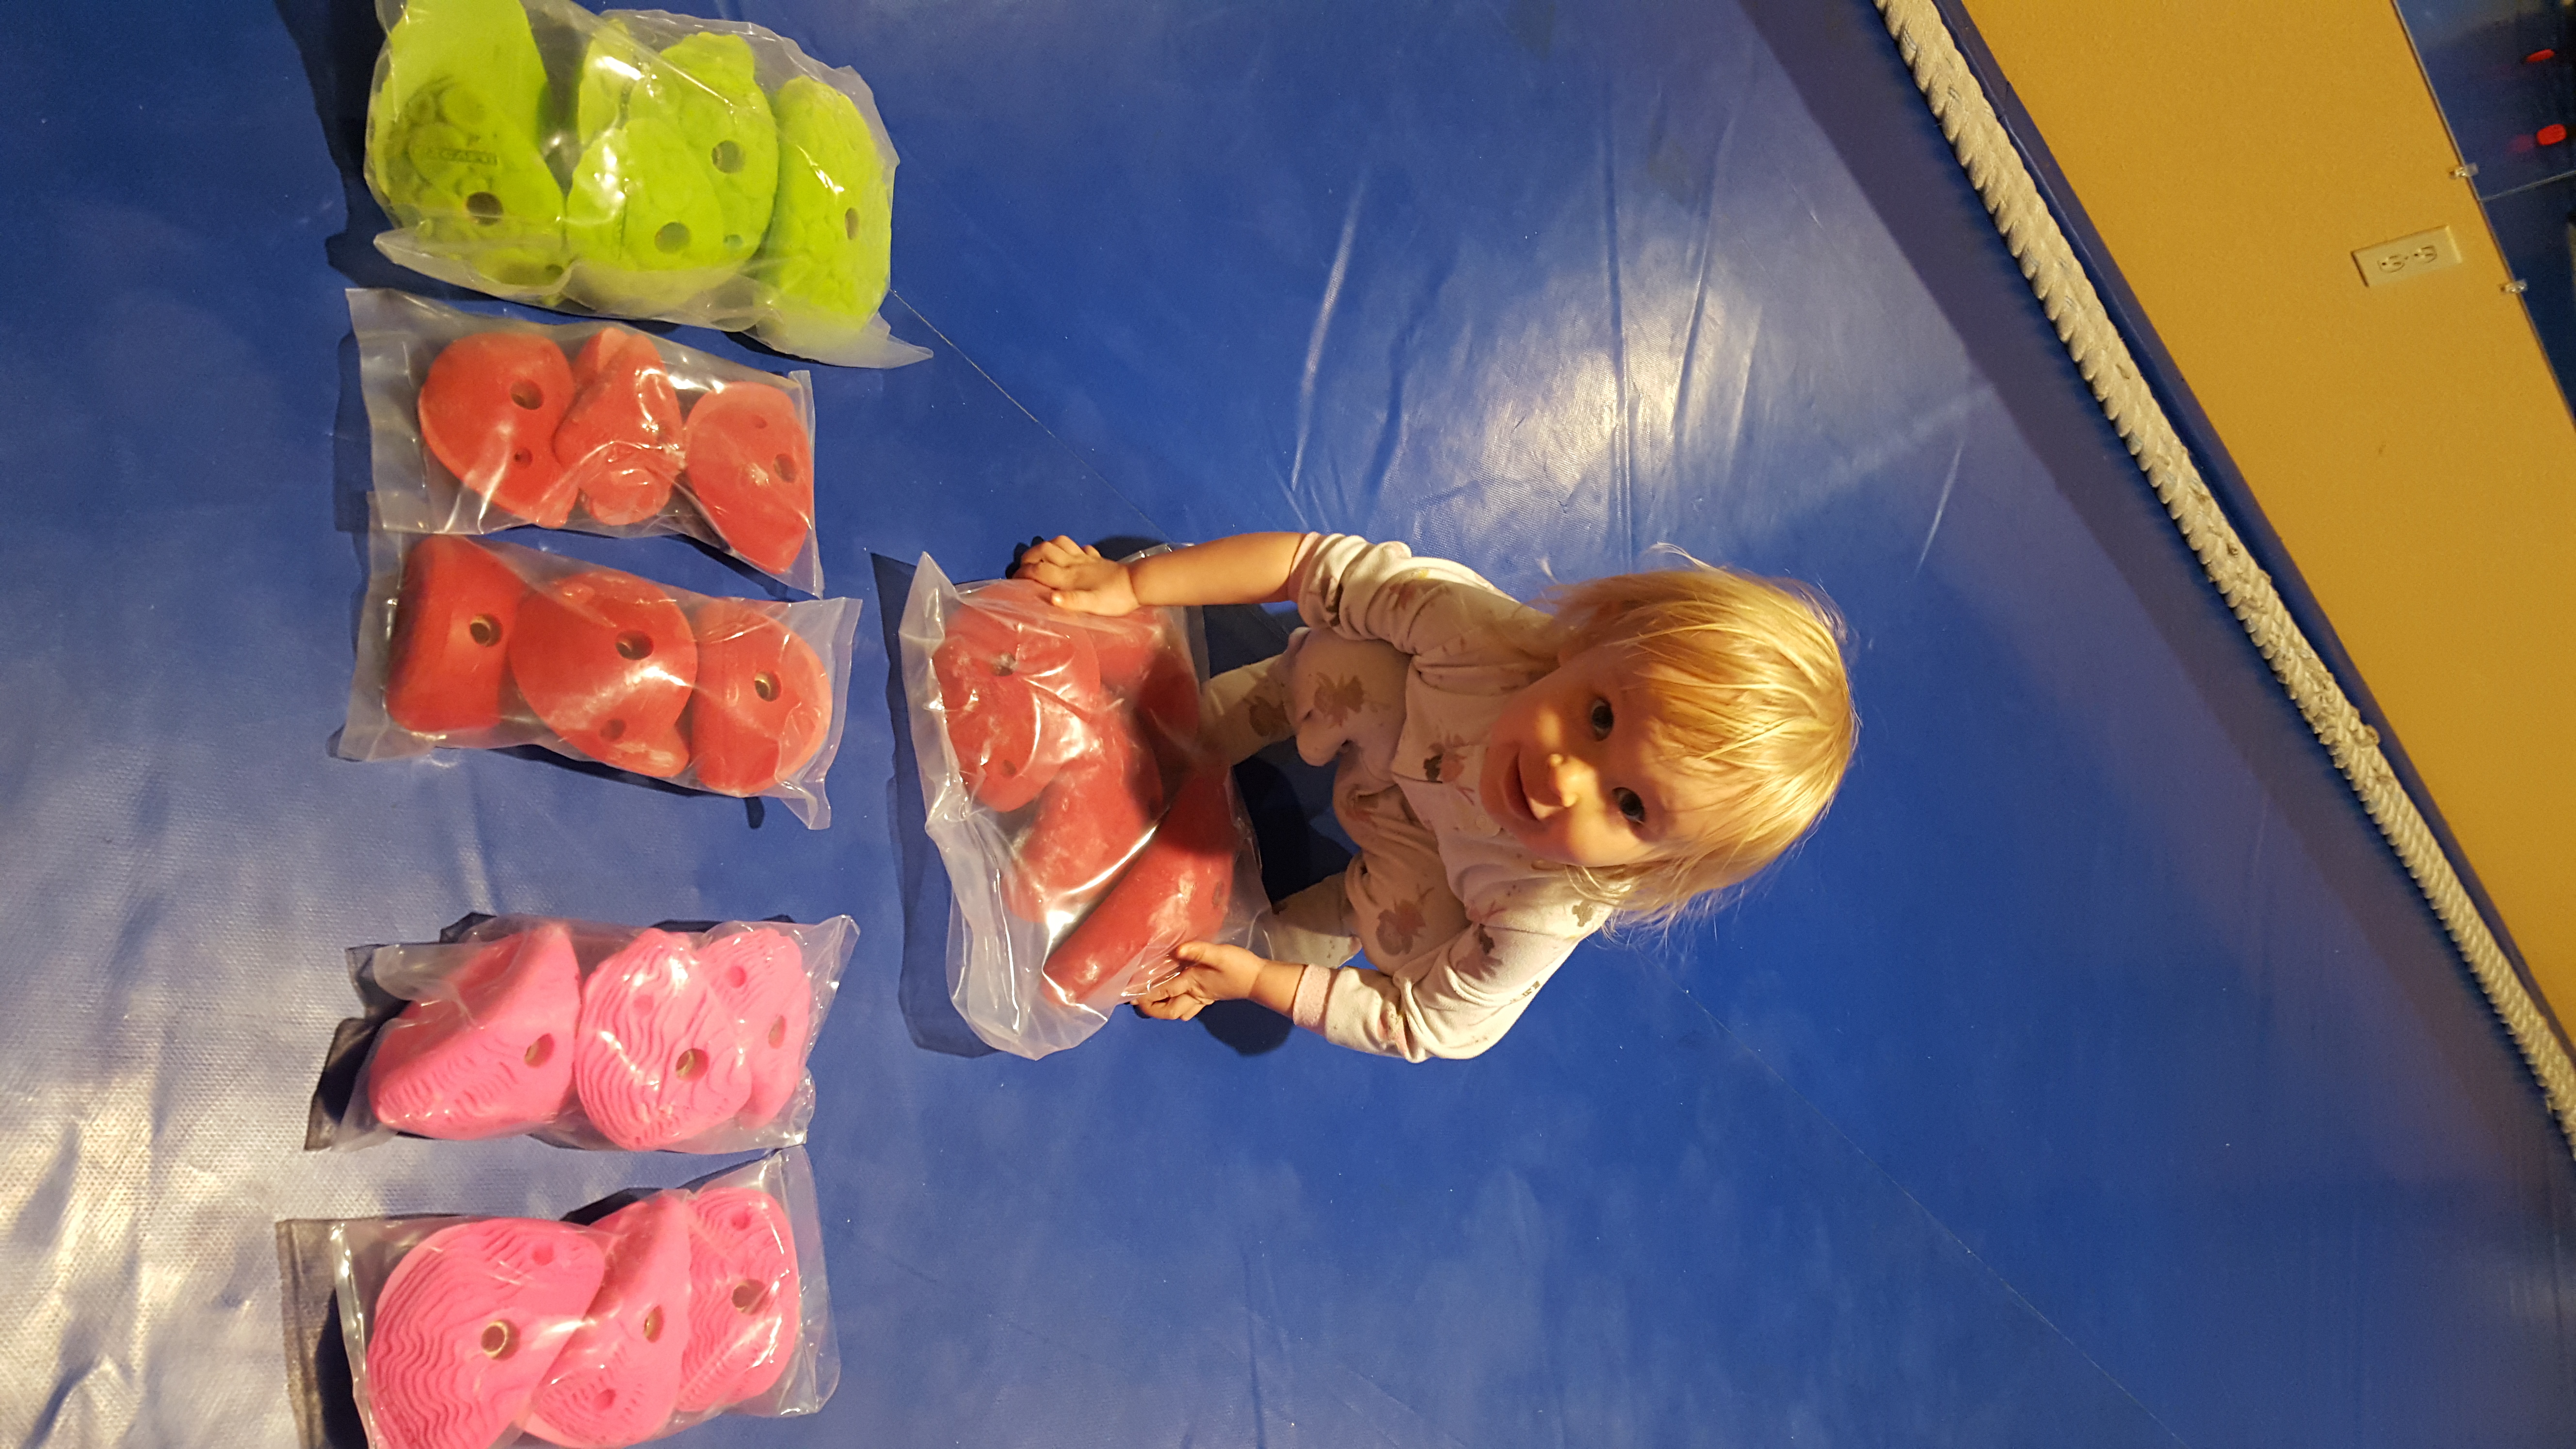 |
My daughter approves!
Some resources on where to buy your holds:
http://climbingholdreview.blogspot.com/
I plan on writing a post specifically on route setting latter on, as I have had trouble finding resources to learn from online. I will be honest, I hire a professional to set my wall, and learn from him each time he comes. Where most people start with when setting their own wall is throwing holds up on the wall randomly and seeing what feels good to climb on, and moving things around to make specific routes. Invite friends over, set routes for one another, climbing something someone else puts up is way more fun then doing your own route.
Finally, have fun! A home climbing wall is a great way to really get better at climbing fast, and have a great time in the process! The strength you gain from climbing will help you become an American Ninja Warrior if that’s your goal, but even if its not, climbing is a ton of fun!
 |
If you want to see the rest of my build process, click here.